N Train Layout
Overview
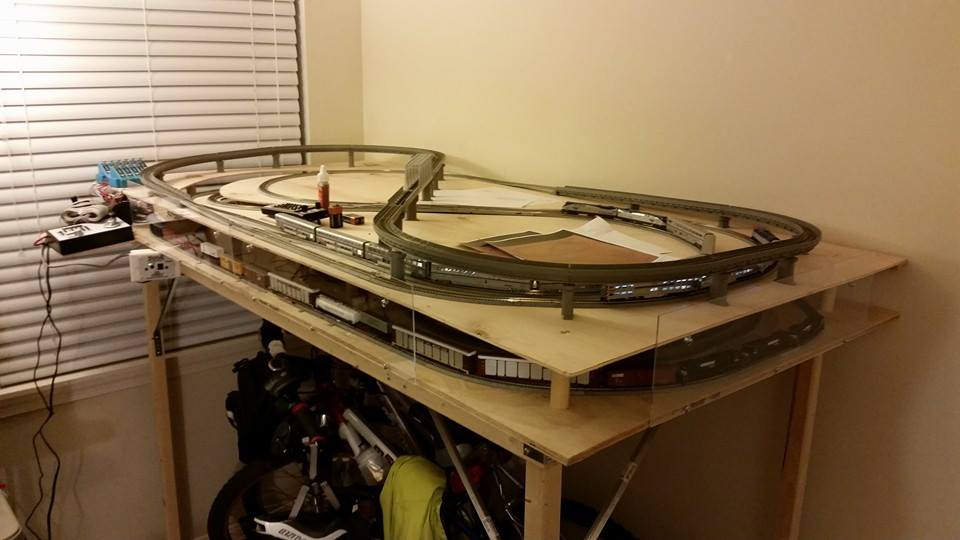
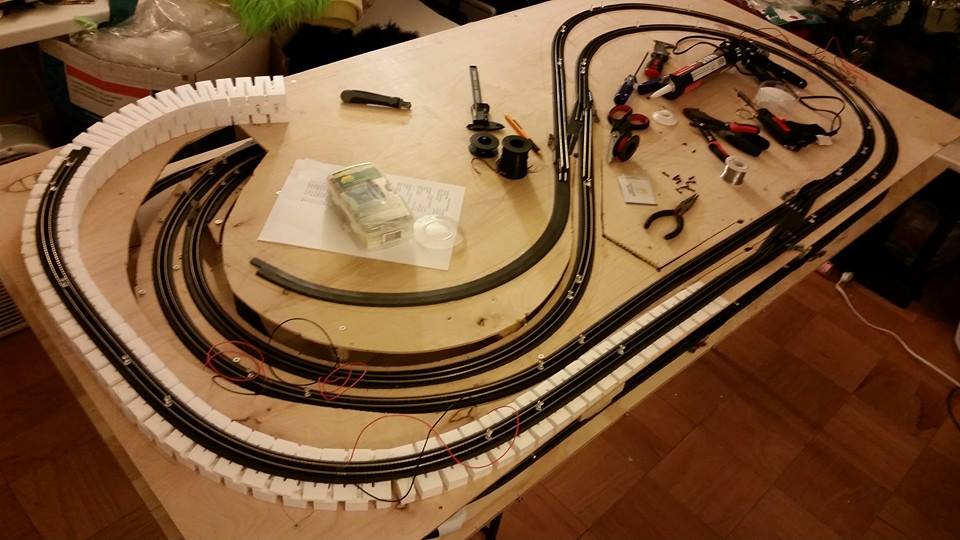
This is an overview of the progress designing and constructing my N-scale train layout in my apartment. Due to space constraints, it has a footprint of 3ft x 6ft and is raised enough to have storage below. To get the maximum distance for running trains, it's got 2 levels with significant "looping" back and forth to feel like the trains are going farther.
Design & Planning
November 22, 2014
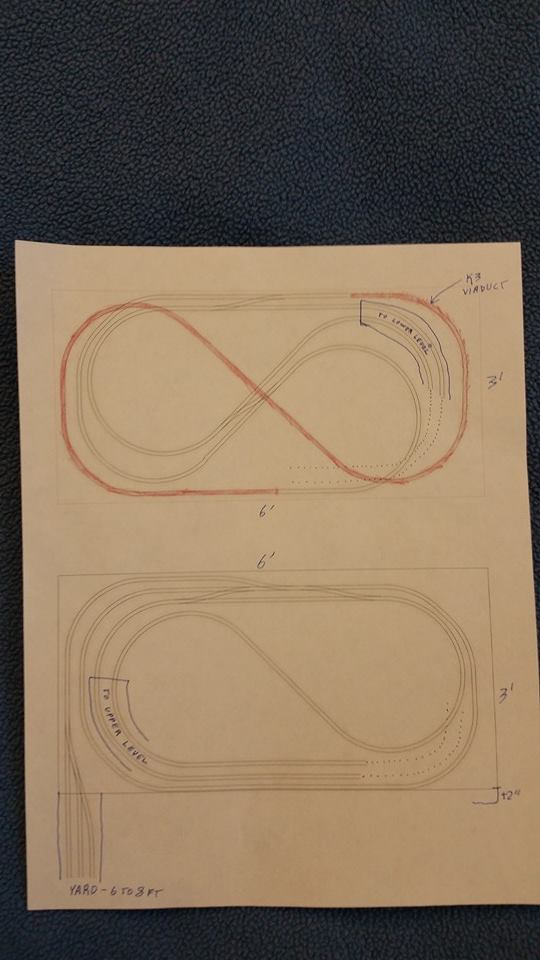
Design concept for my layout...2-level N-Scale with 4-inch separation between the layers connected by a "no-lix" ramp Update: This got turned "upside down" and the yard moved to the "other end" so keep that in mind as you browse the pictures if you get confused.
Adding Base for Scenery
November 22, 2014
Laying out top and part of the ramp all on the upper piece of plywood to trace out...
November 22, 2014
Top traced and planned!
November 22, 2014
Bottom layed out and traced, getting the ramp portion taped so I can translate it onto a scrap to trace the ramp itself.
November 22, 2014
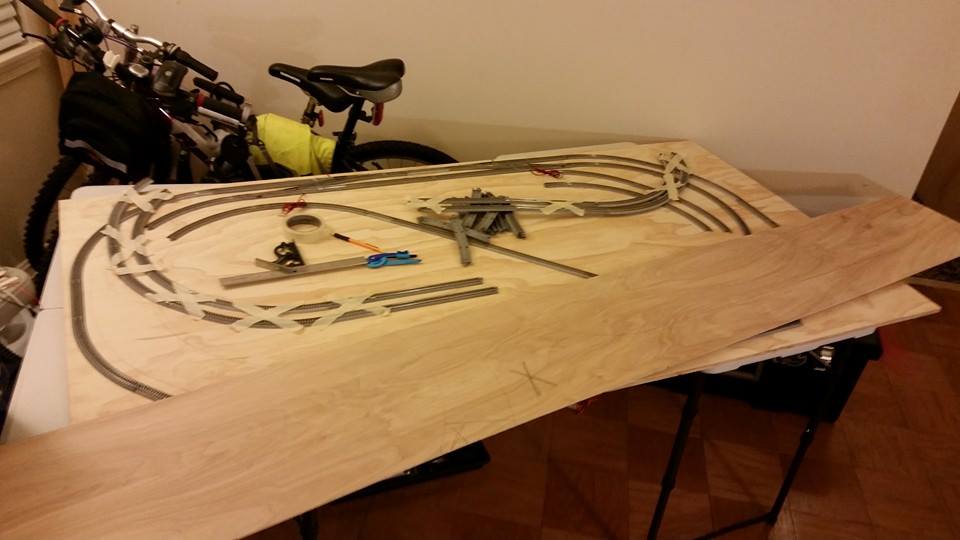
Ramp traced out on scrap!
November 22, 2014
Cut out a slice for the start of the ramp from the upper level and test-assembled it. Apparently I have JUST BARELY enough bridge supports and BARELY enough curves. Actually, I had to revise my track-plan because I was 2 curves short. Some time I will redo this with flex-track (I want my Unitrack for around the tree) but it's a start.
November 22, 2014
Another view of the incomplete ramp...it needs supports and has to be tweaked to get the proper grade. Aiming for just shy of 4% which, from what I've seen, is comparable to the Kato viaduct set. It's steep but should be good enough.
November 23, 2014
Bottom ramp done...maybe...
November 23, 2014
November 23, 2014

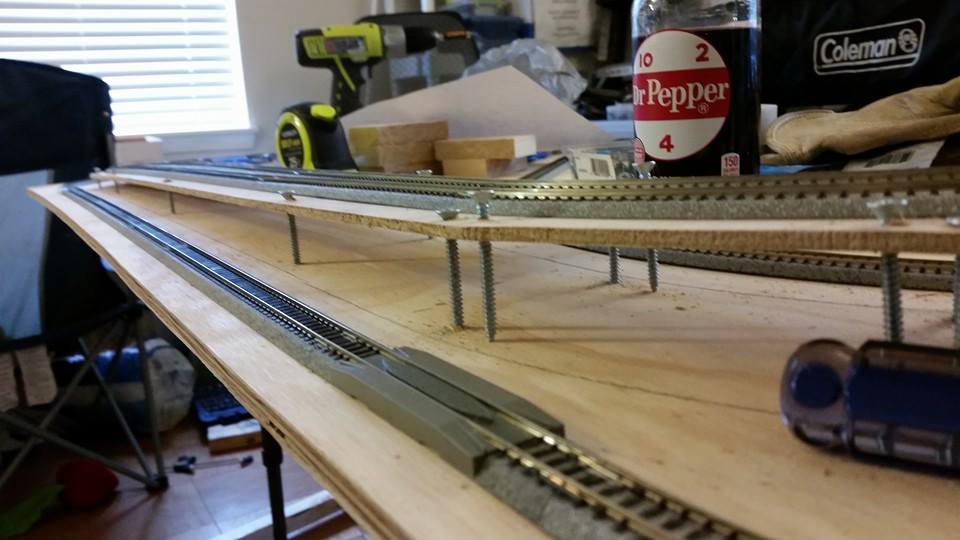
Supports for the upper level - 1 inch dowel with a 1.5 inch screw in the end, head cut off to thread into the bottom board. � with screw in dowel before cut, Installed into base, Screw "before" and Screw with head cut off.
November 23, 2014
Most of the supports done!
November 23, 2014
Upper level in place...
November 23, 2014
Up on its support frame for the night. Not bad...
November 27, 2014
In place with a temporary shelf to hold the power packs...also got the first couple angle-braces on the legs for stability.
Main Roadbed & Track Construction
December 28, 2014

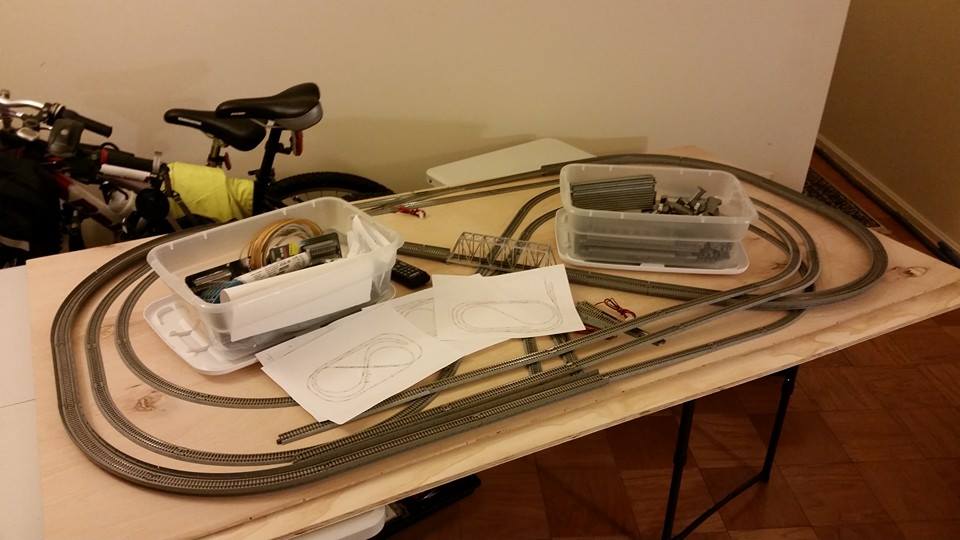
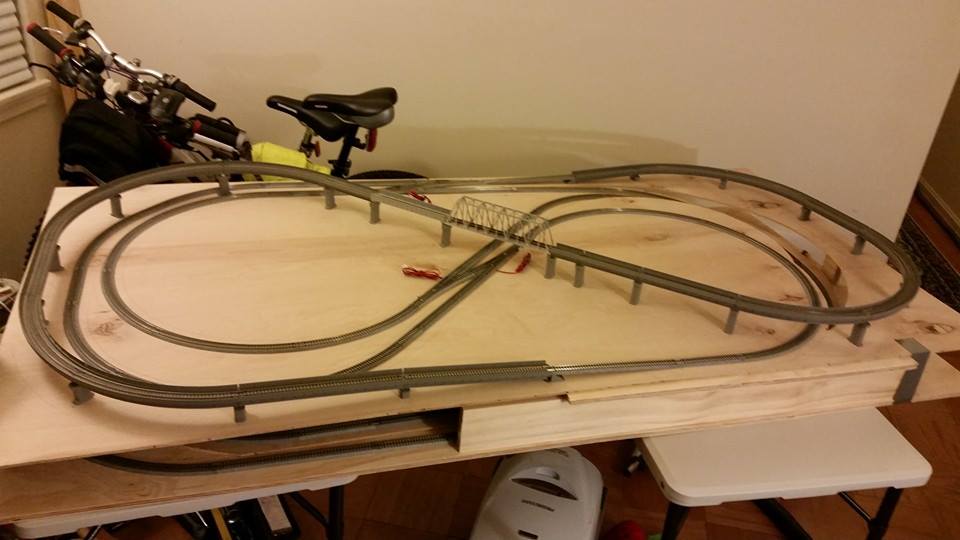
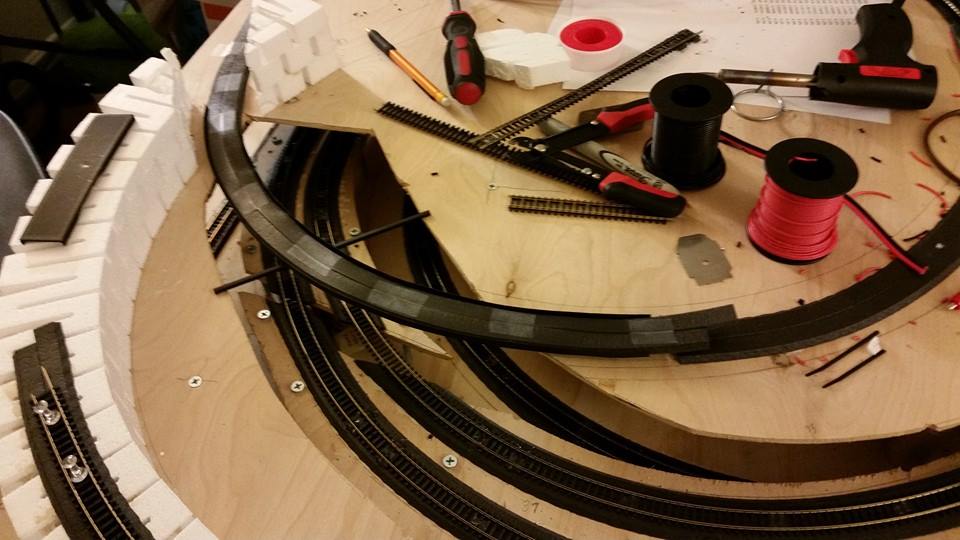
Got real train layout supplies for Christmas...flextrack, roadbed, switches, DCC control boards for the switches -- now to rebuild my layout better and permanent! Part 1 - a portion of the roadbed is down.
December 28, 2014
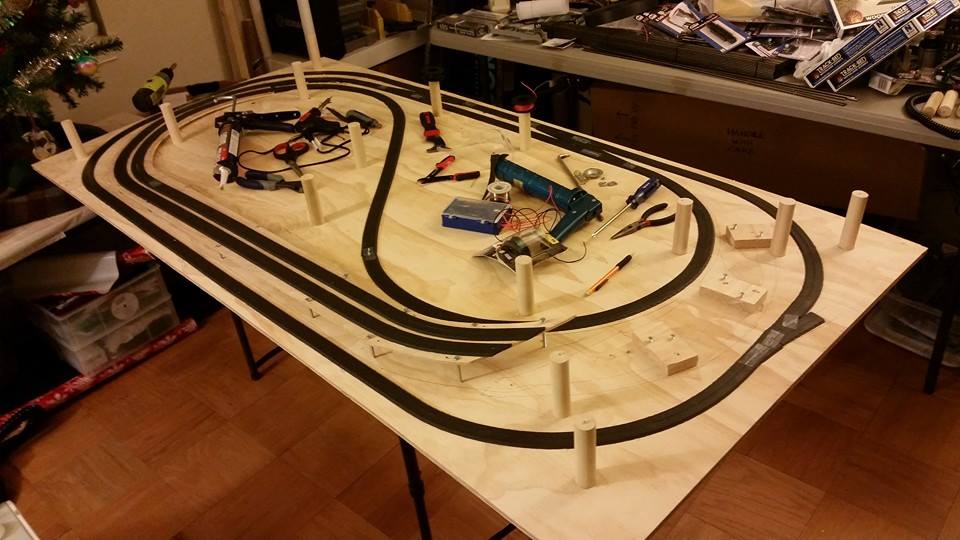
All of the roadbed down for the lower level...
December 28, 2014
The first segment of track! Actually, 2 flex-tracks soldered into one long one.
December 28, 2014
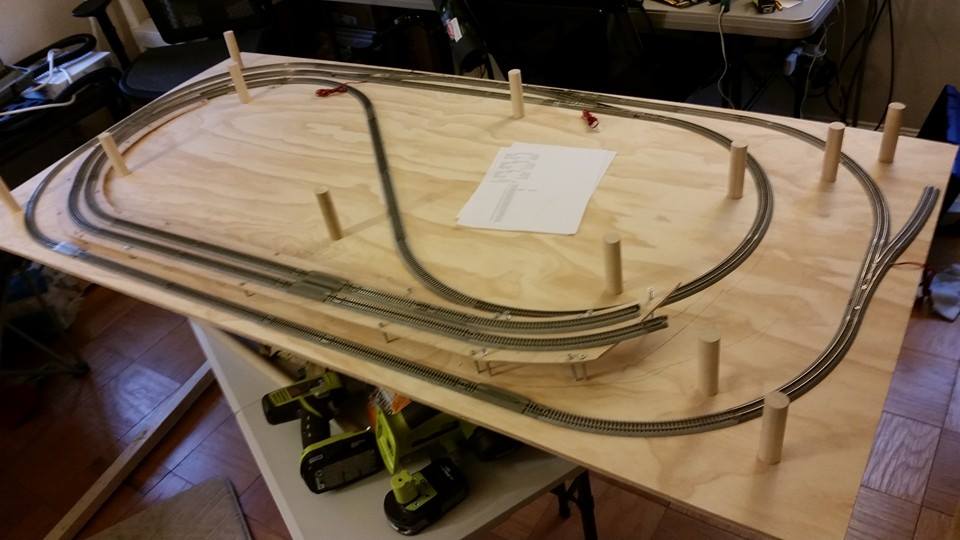
The first circle is complete!
December 28, 2014
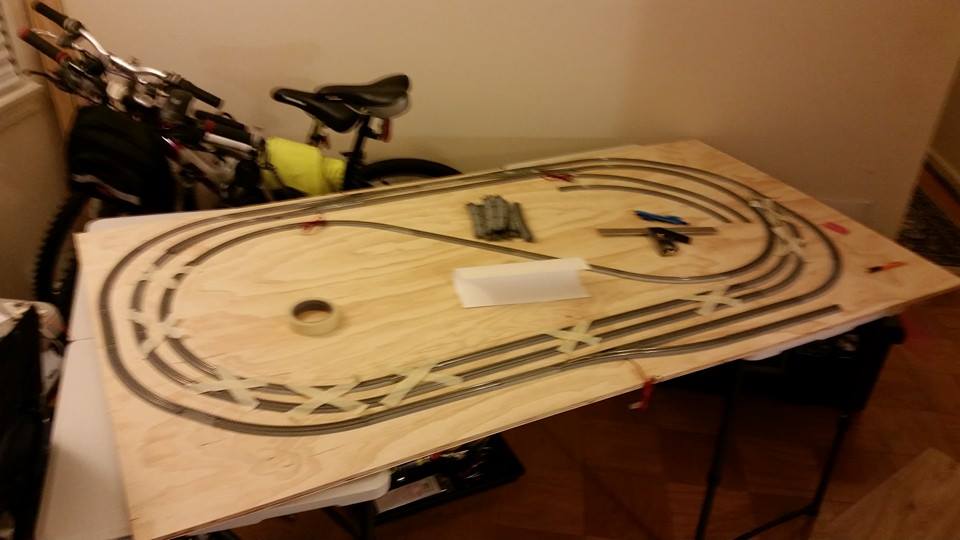
Now more track down, the loopbacks and part of the ramp.
December 28, 2014
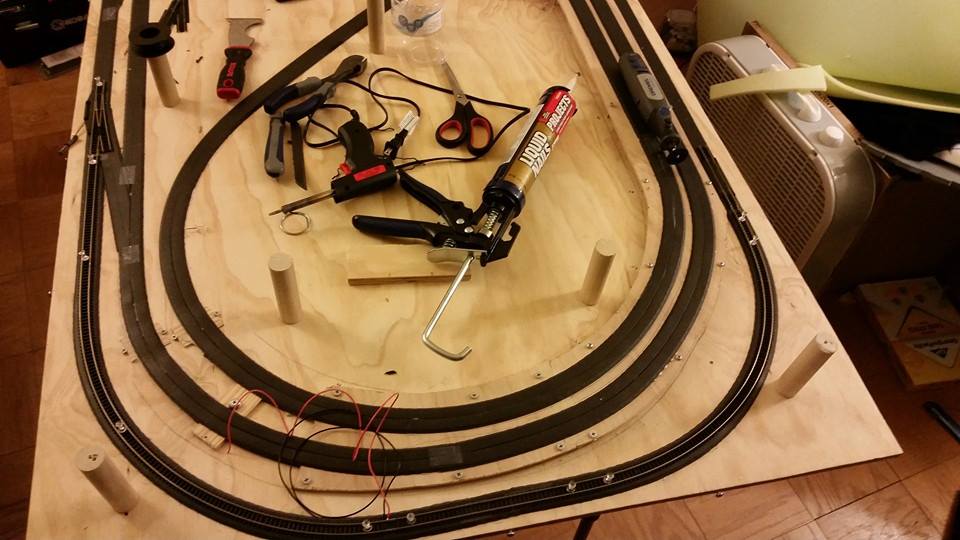
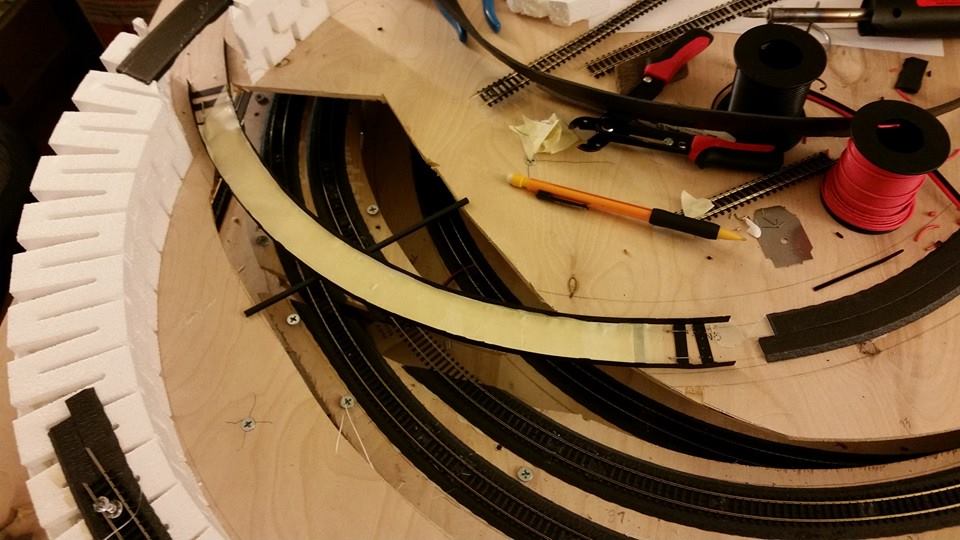
Track glued in place.
December 28, 2014
Last thing for the night, tacking down a leg for the storage yard that will come in the future.
December 29, 2014
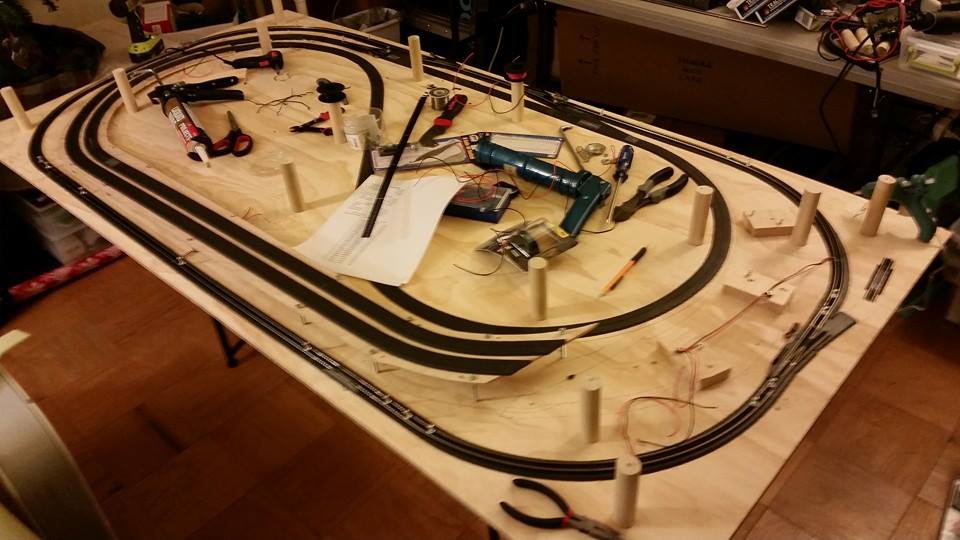
Lower track all wired up!
December 29, 2014

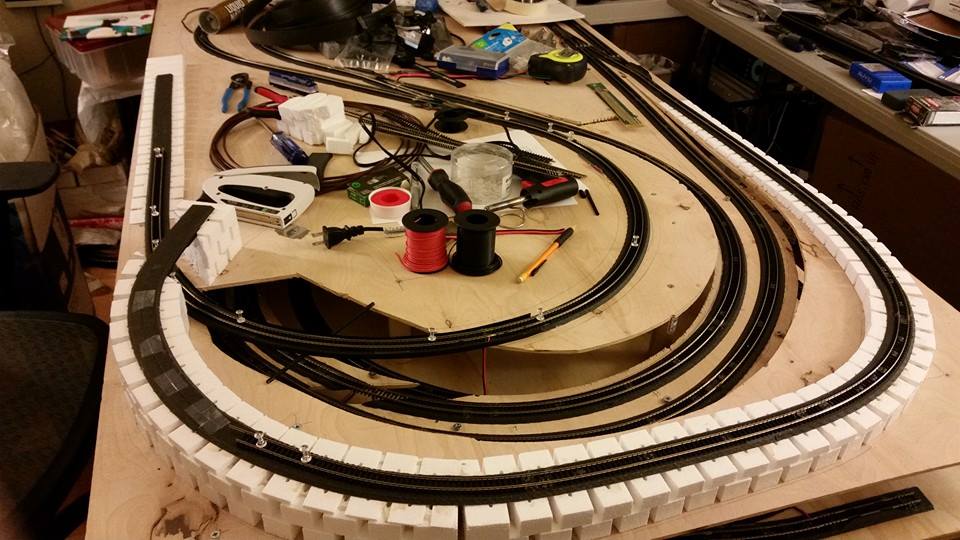
Foam base down on the top level
December 29, 2014
Long track segments soldered together, and pinned in place for the upper level. That's all for today...unfortunately I don't think this will be back up and running in time for New Year's... :(
December 31, 2014
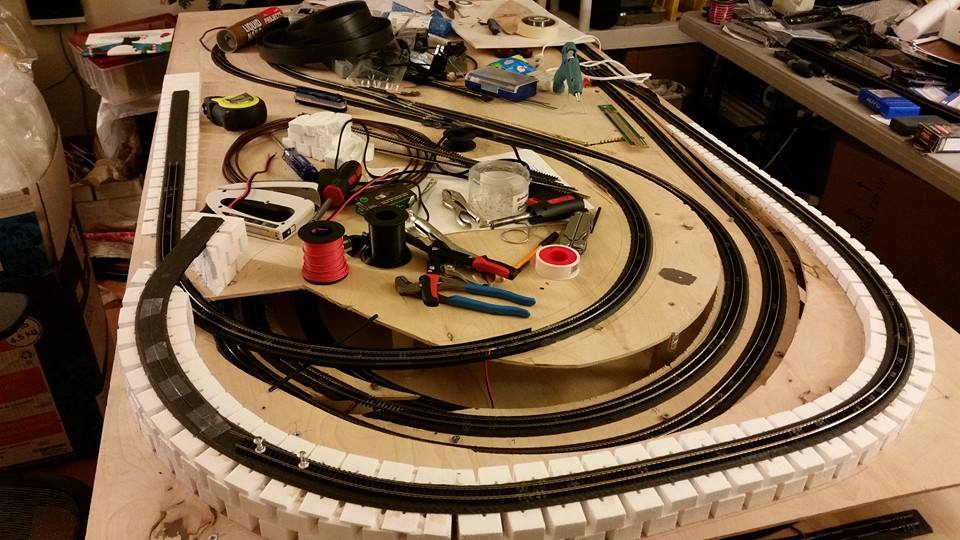
Joint between levels done
December 31, 2014
Tracks pinned ready to glue
December 31, 2014

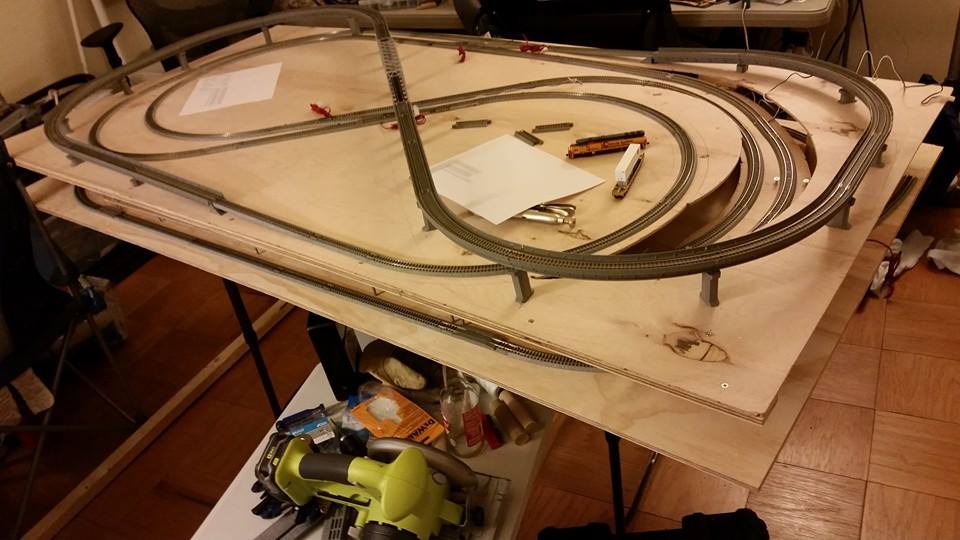
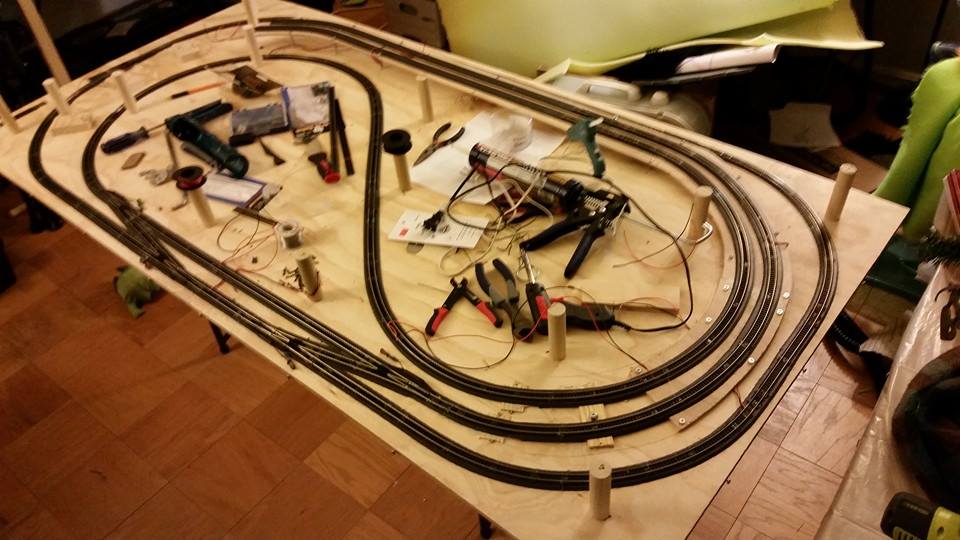
Track glued down...unfortuniately I have to take it apart and fix 3 spots that are causing derailments that worked yesterday. :(
January 2, 2015
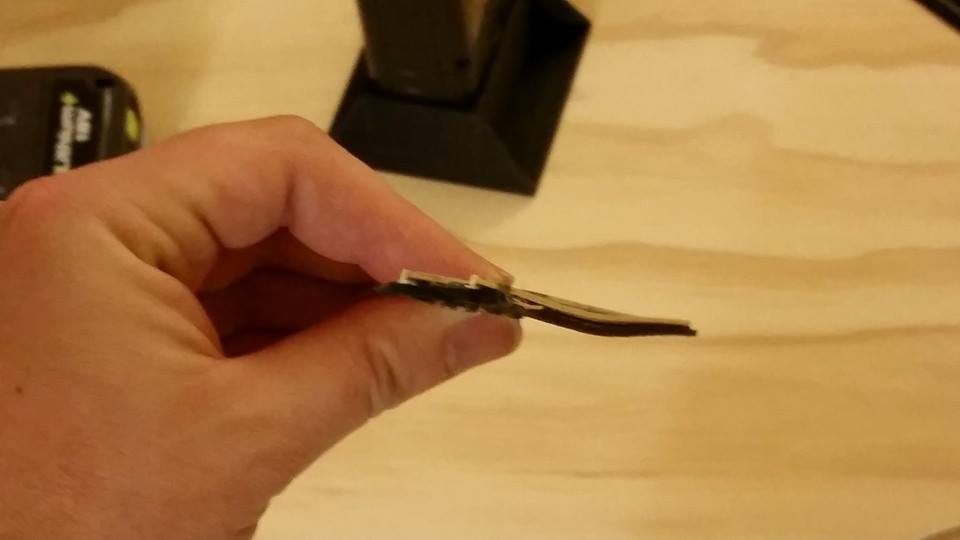
I think this explains my derailments but what the heck happened to this track?!
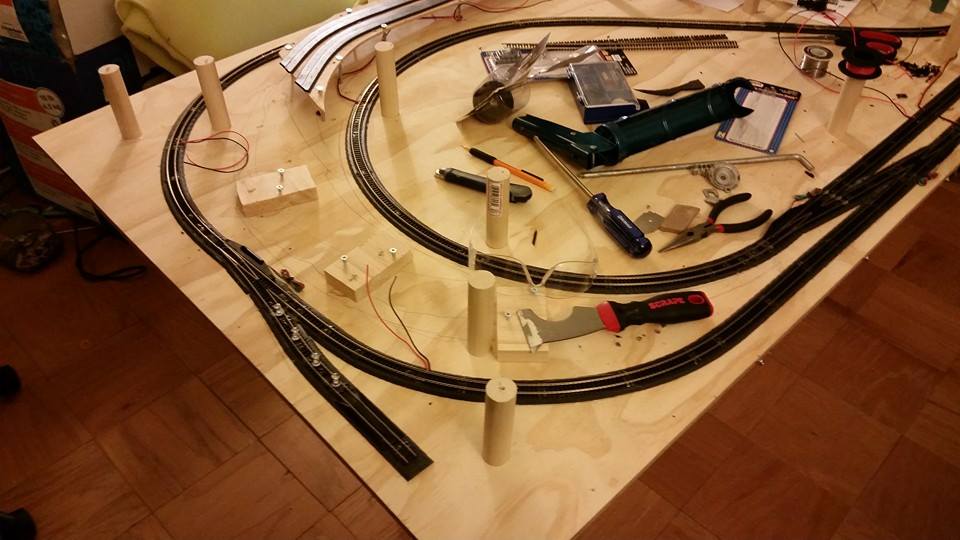
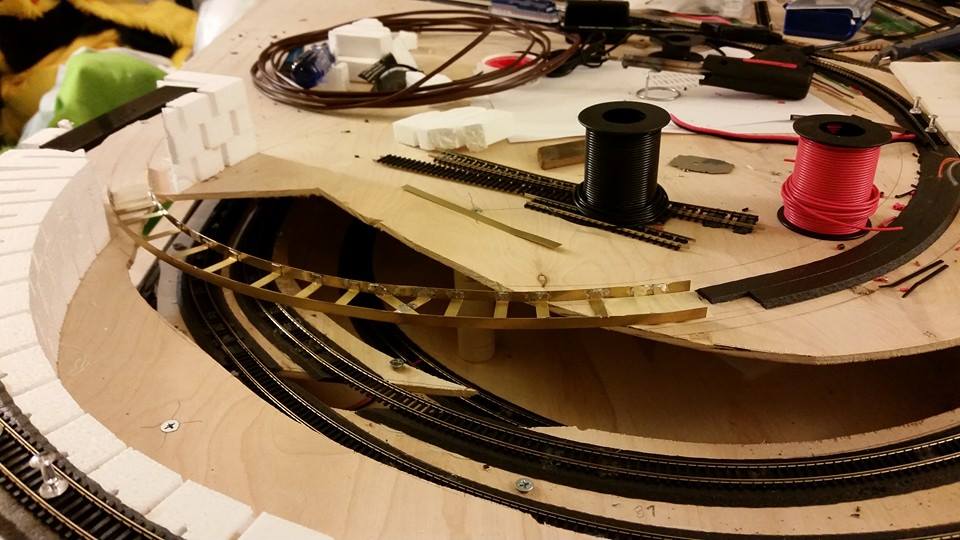
January 3, 2015
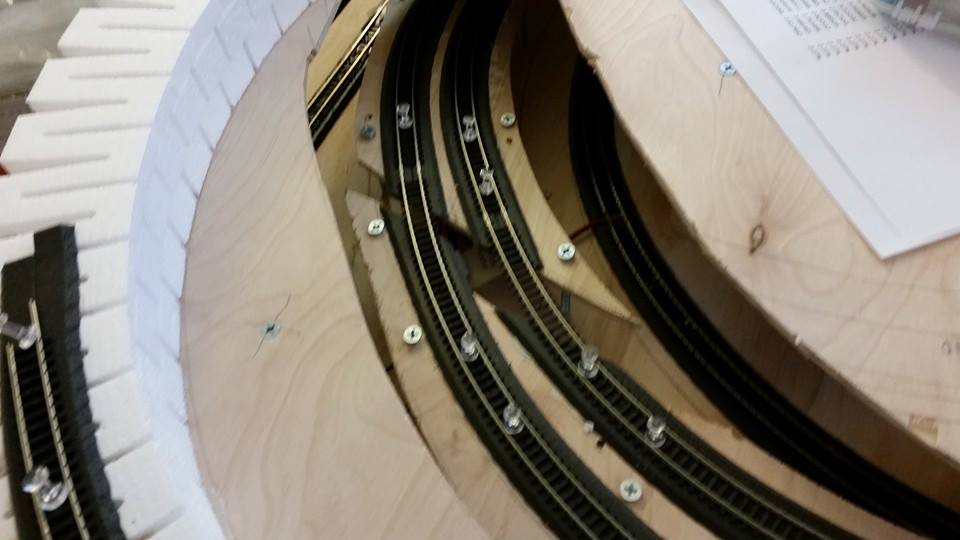
3D printed curved piece for where this tunnel will be
January 3, 2015
Test-fit track to get an idea of how it should curve
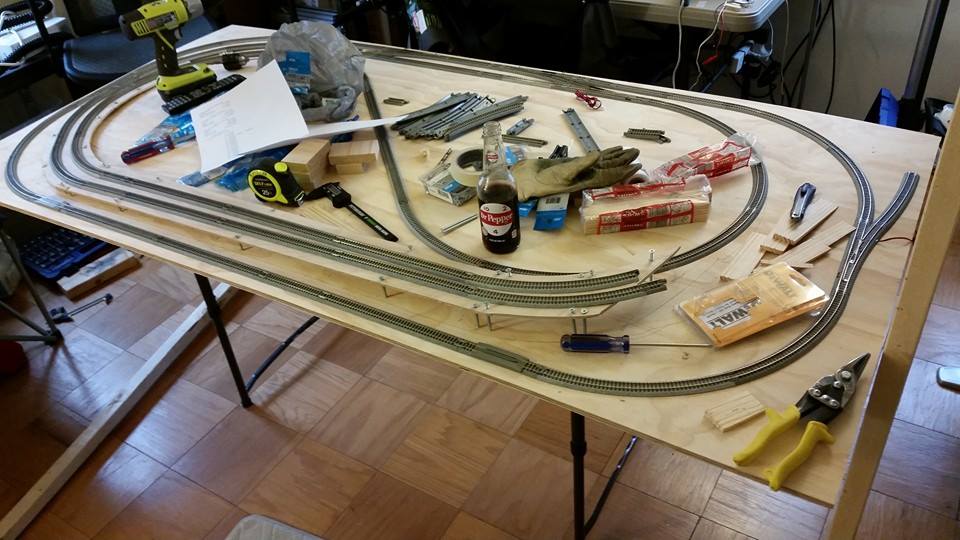
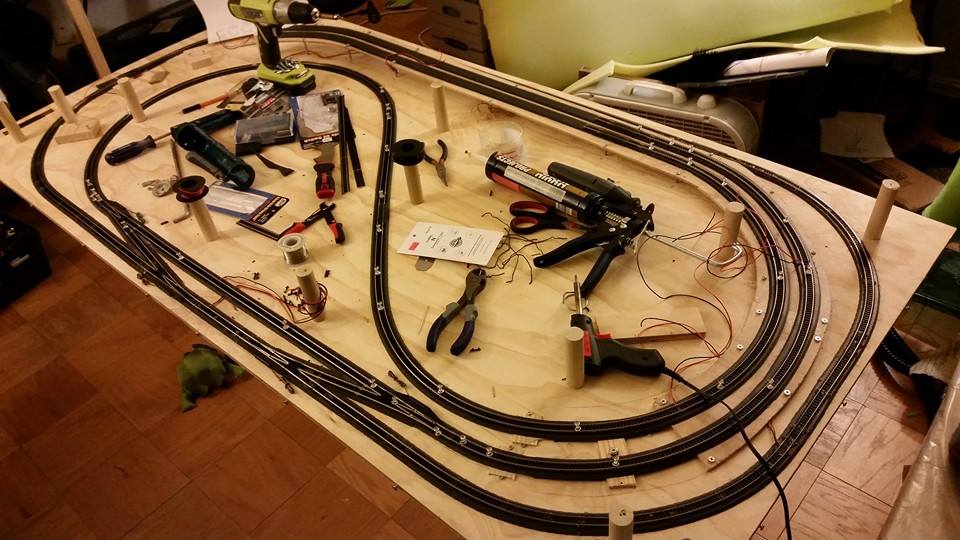
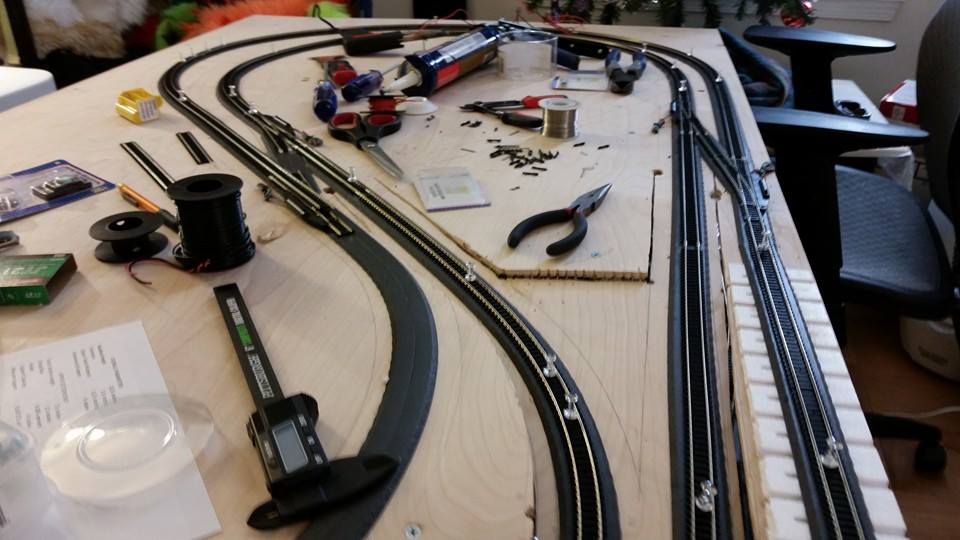
January 5, 2015
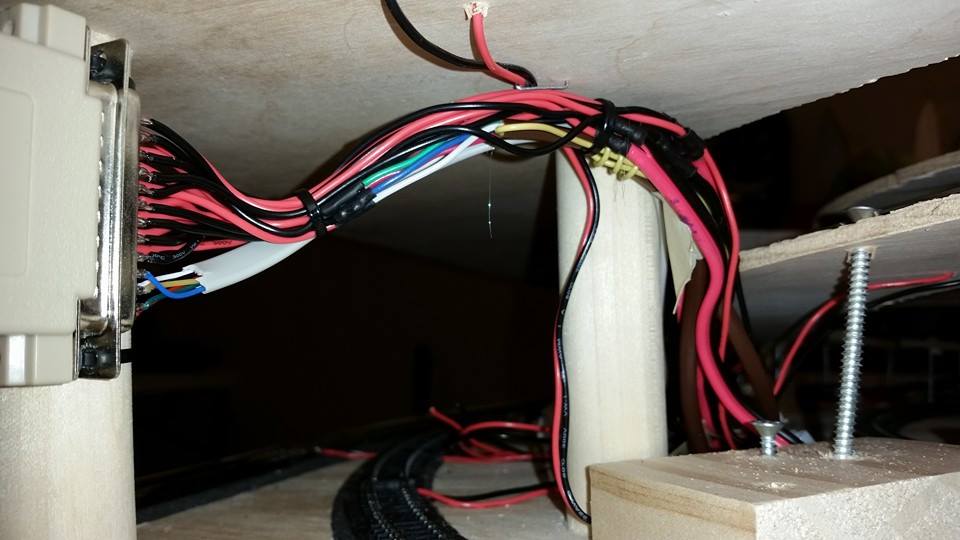
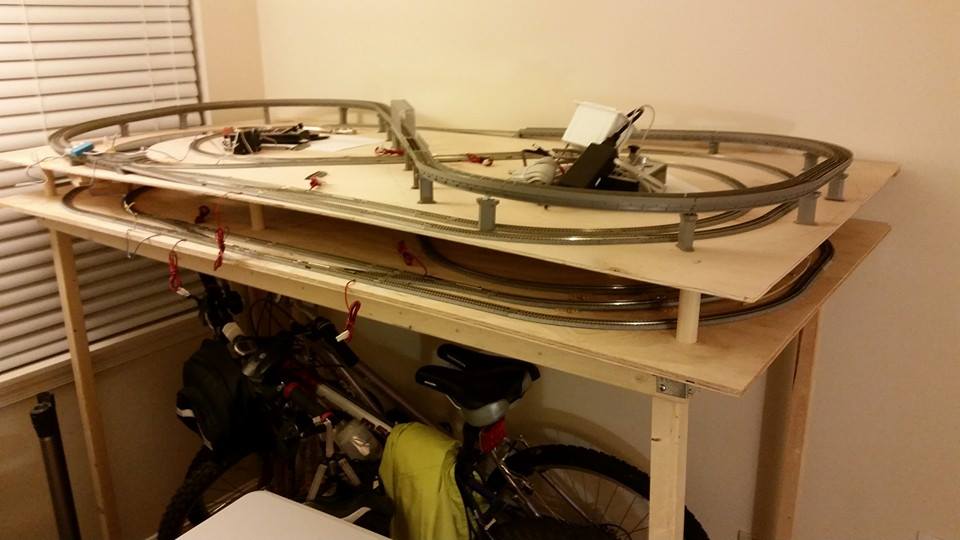
Wiring is mostly-completed. Looks like a mess but it's actually quite orderly. Lots of separate connections for future block-detection, programming, switch control...plus the 6-pin DCC connection in case I decide to put a panel somewhere inside the layout. For now in the other 25 pin connector all but 2 wires are tied together but this way I can upgrade to block detection by simply making a new 25-pin connection rather than rewiring the whole layout.
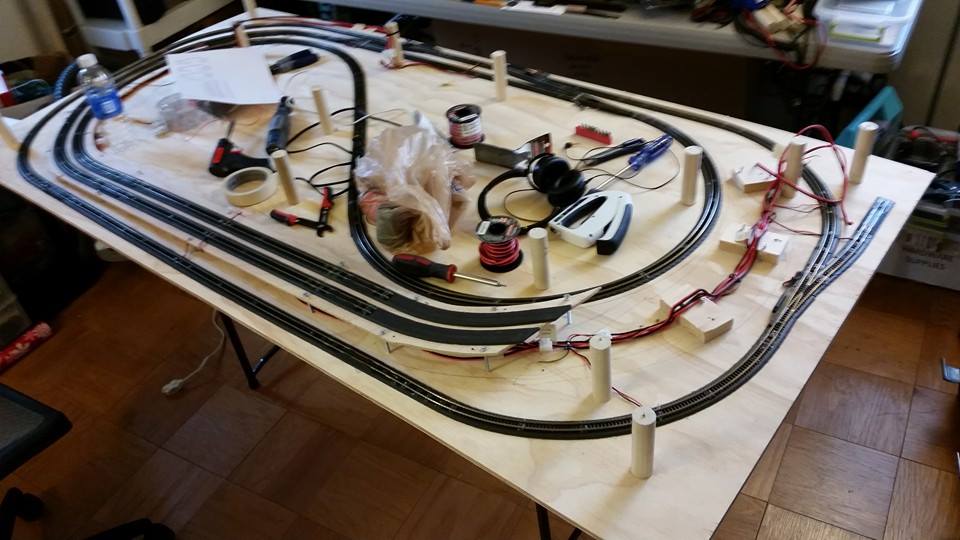
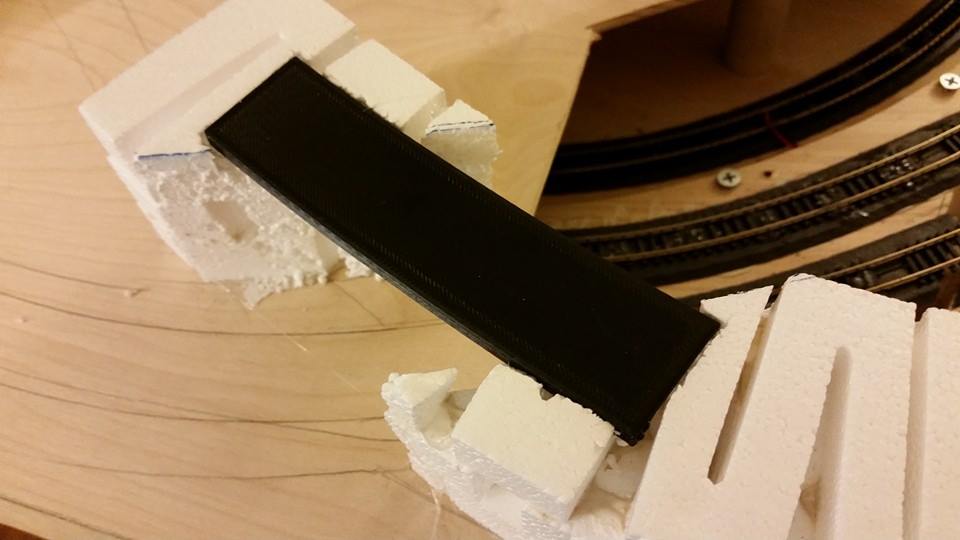
January 8, 2015
Just finished building a curved bridge support...from Lowe's. May add another support in the middle out the long side but not sure yet.
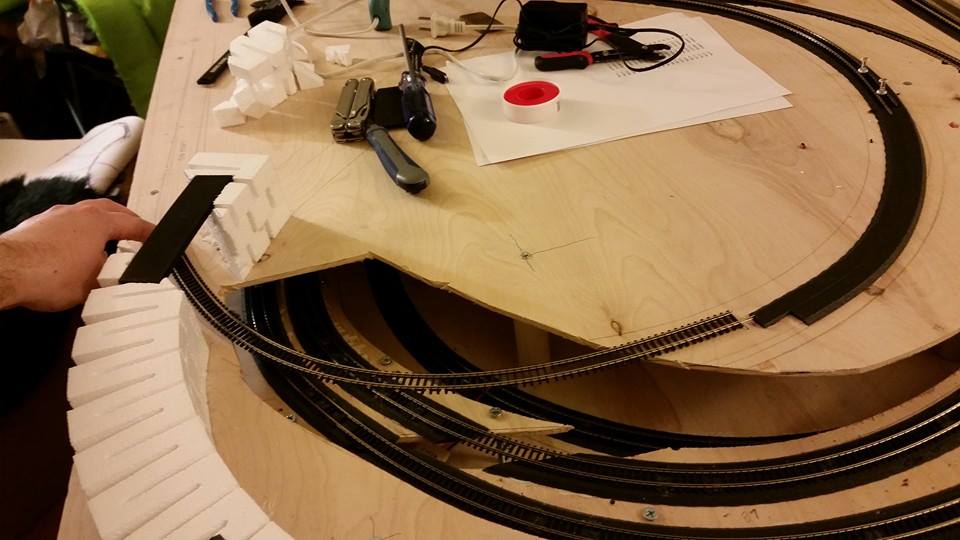
January 12, 2015
Got a support added to the bridge! It's much more stable now.
January 12, 2015
Foam roadbed test-fitted in place...
January 12, 2015
Painting the bridge...it looks black but it's actually silver undercoating with flat black over the silver. Provides some interesting effects if the black doesn't fully cover anywhere.
January 13, 2015
Painted bridge in place
January 13, 2015
Roadbed test-fitted again
January 13, 2015
Paper and masking-tape to cover the gaps between the slats on the bridge...this will prevent glue from getting where it shouldn't when I glue the roadbed in place.
January 13, 2015
Roadbed glued down and track pinned in place!
January 13, 2015
Track glued down...that's it for this day, wiring that part in will come later.
January 14, 2015

Until I can get materials to construct a bridge, I put the Kato Unitrack bridge back in place...I'll redo that part when I figure out how.
Prototype & Initial Construction
November 25, 2015
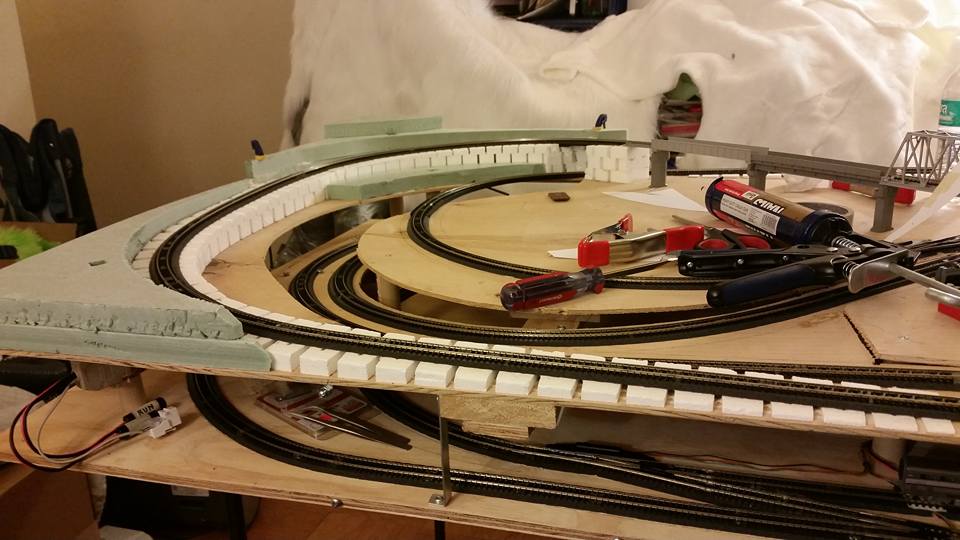
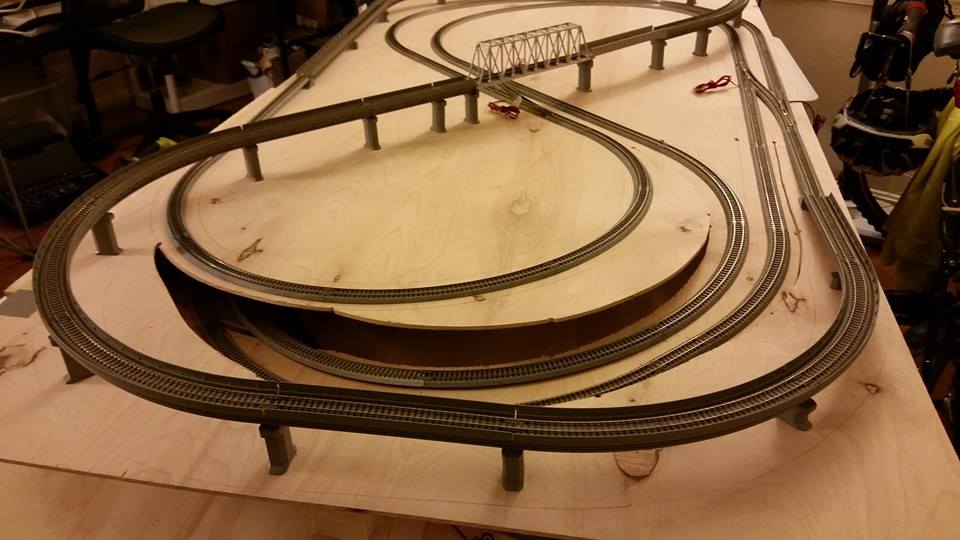
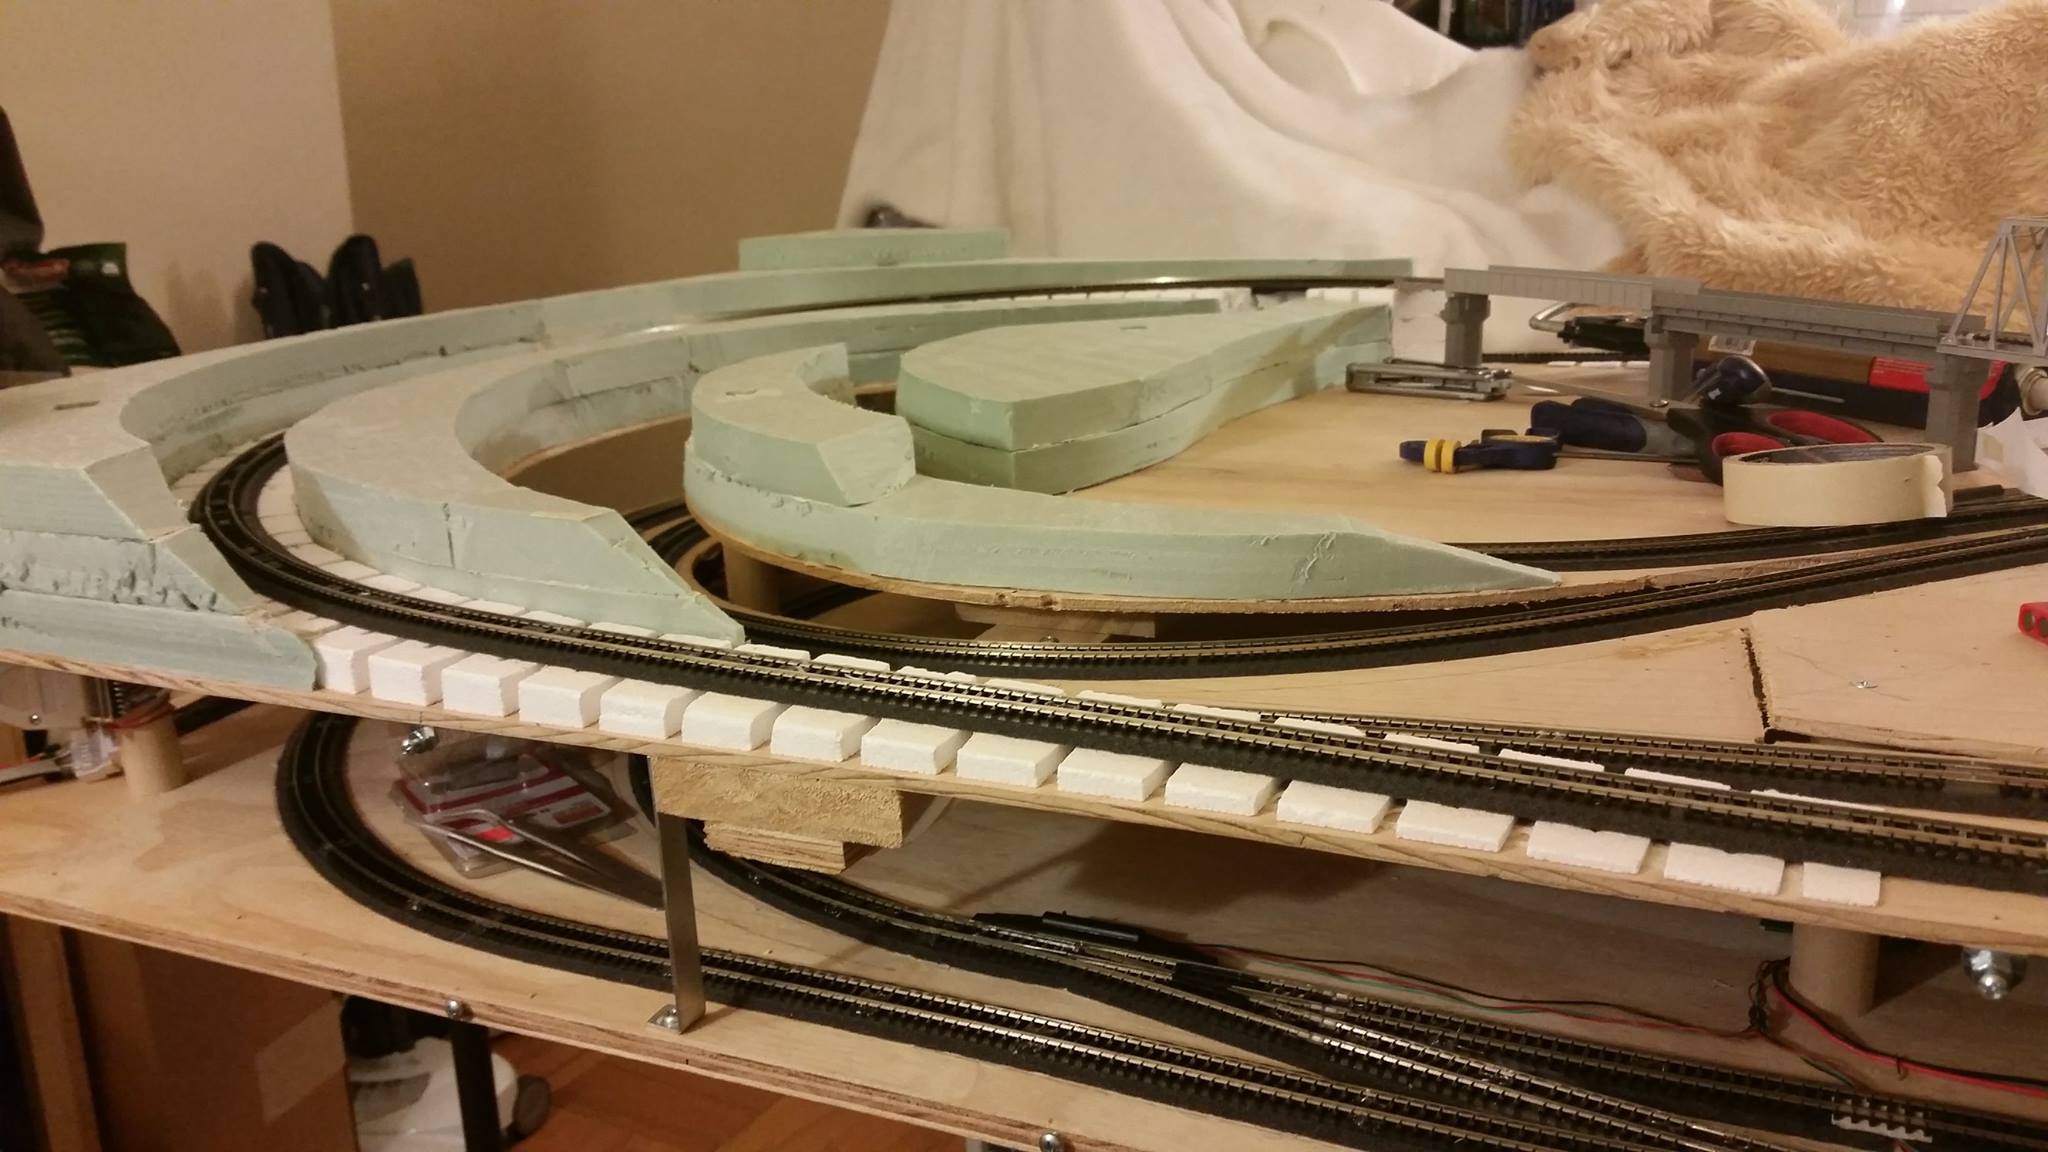
Finally got to play trains a bit again! Mountains are starting to take shape...this end is going to end up very mountainous to provide the illusion the track isn't going "way down" to the next level.
November 25, 2015

Initial mountain stuff from another angle. The square hole is to access the screw for future use, in case I ever need to take the top off for maintenance. I don't look forward to wiring the to-be-designed perminant viaduct but that's a ways off yet.
November 25, 2015
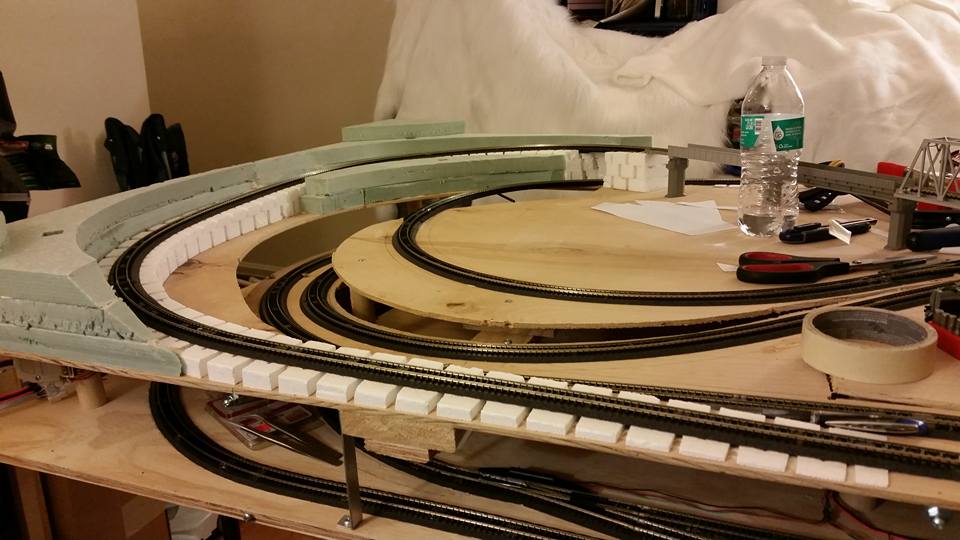
Mountains built up higher...starting to run out of construction adhesive and realized Lowe's is closed until Black Friday. Oh well.
November 25, 2015
Tossing some scraps here and there...not the full effect but I'm starting to see it take shape. I think I'm going to like it when it's finally done, but it's got a lot more cutting to go.
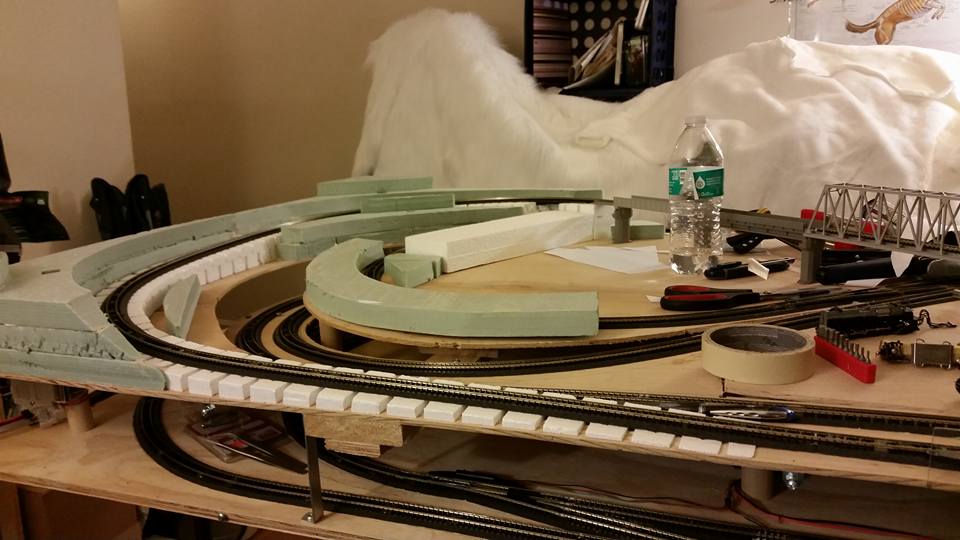
November 28, 2015
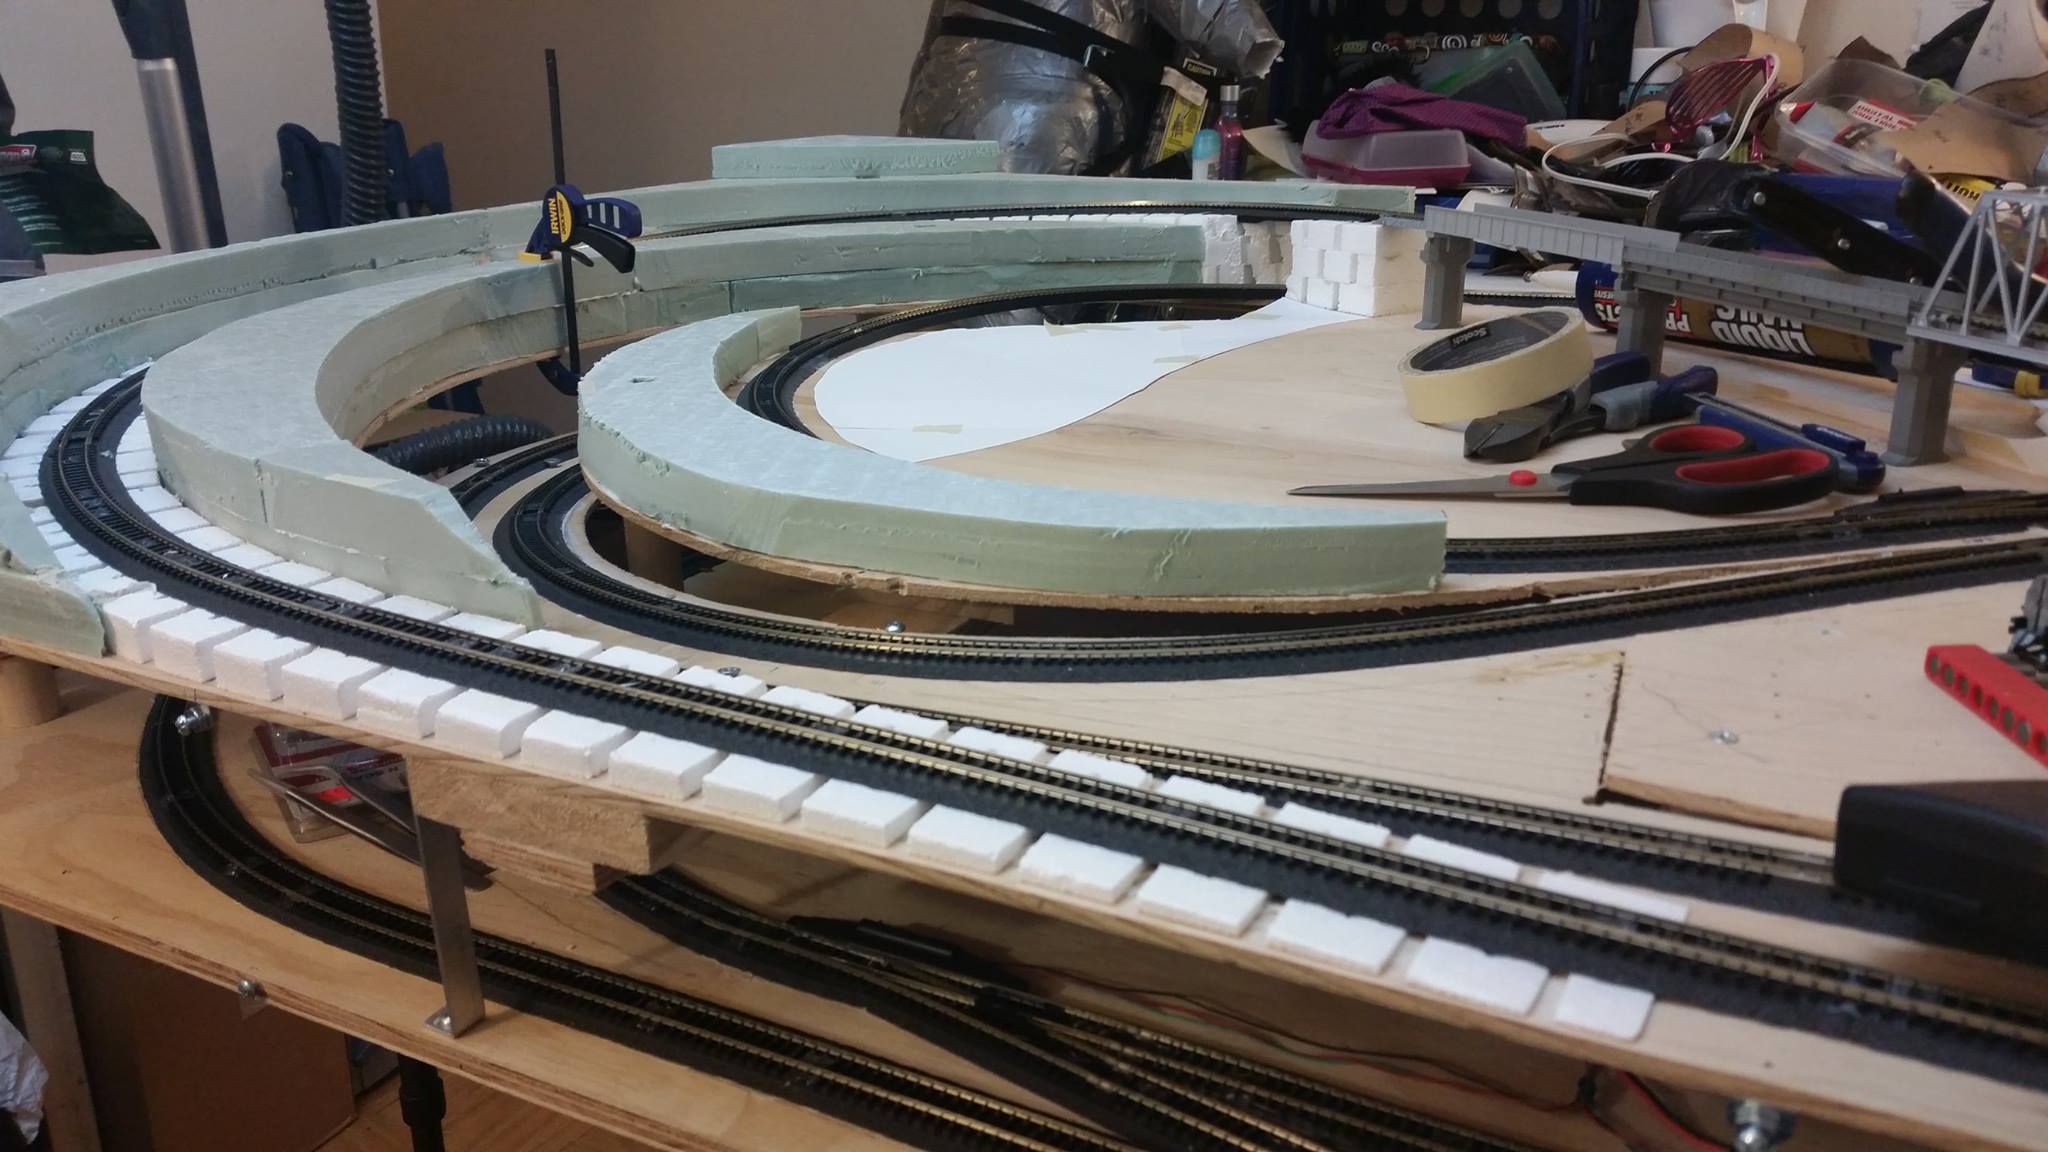
Preparing a template to build the inner part of the hill
November 28, 2015
Foam cut and glued for hill
November 28, 2015
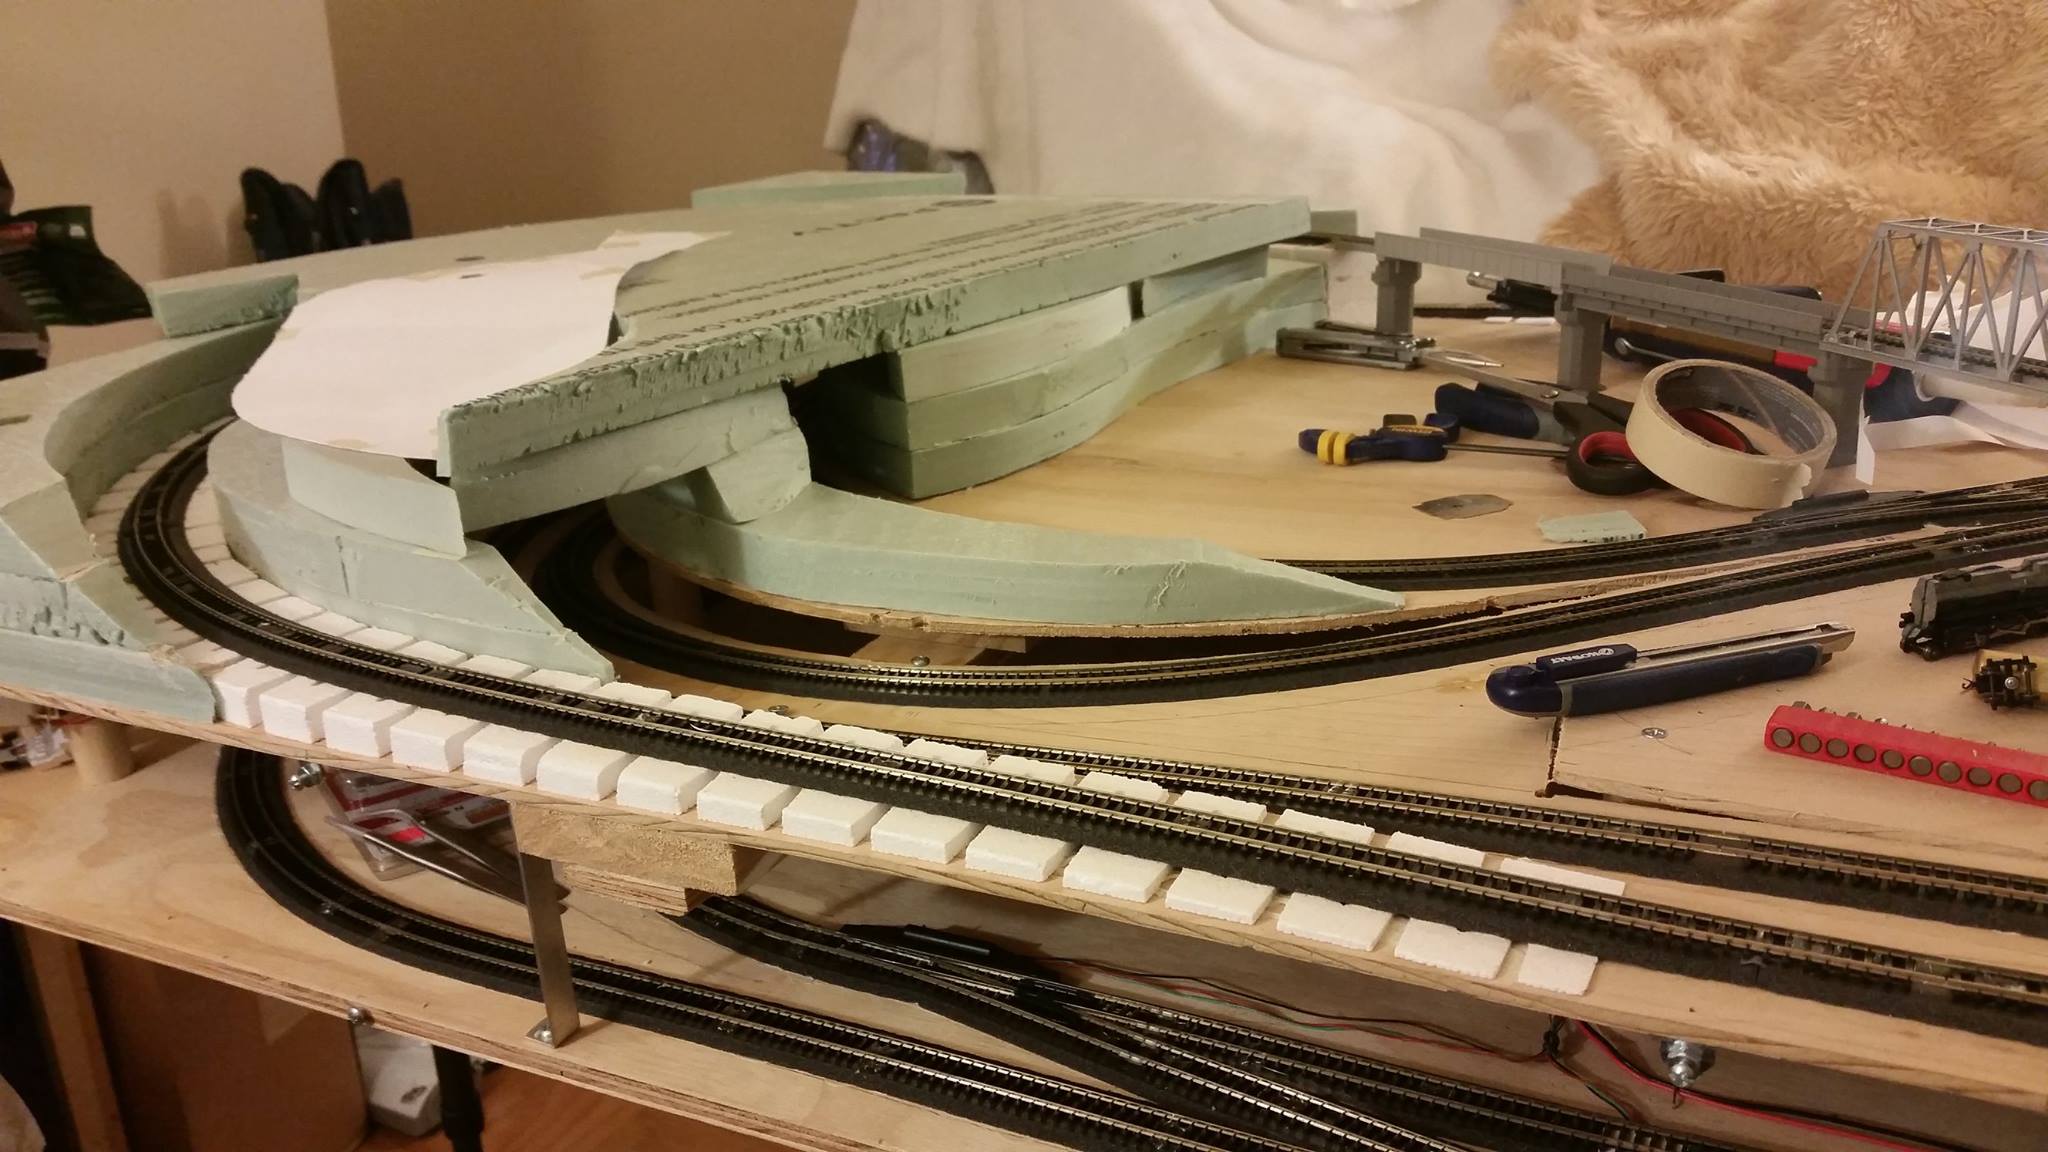
Laying some scrap pieces and paper out to get an idea what it will look like
November 29, 2015
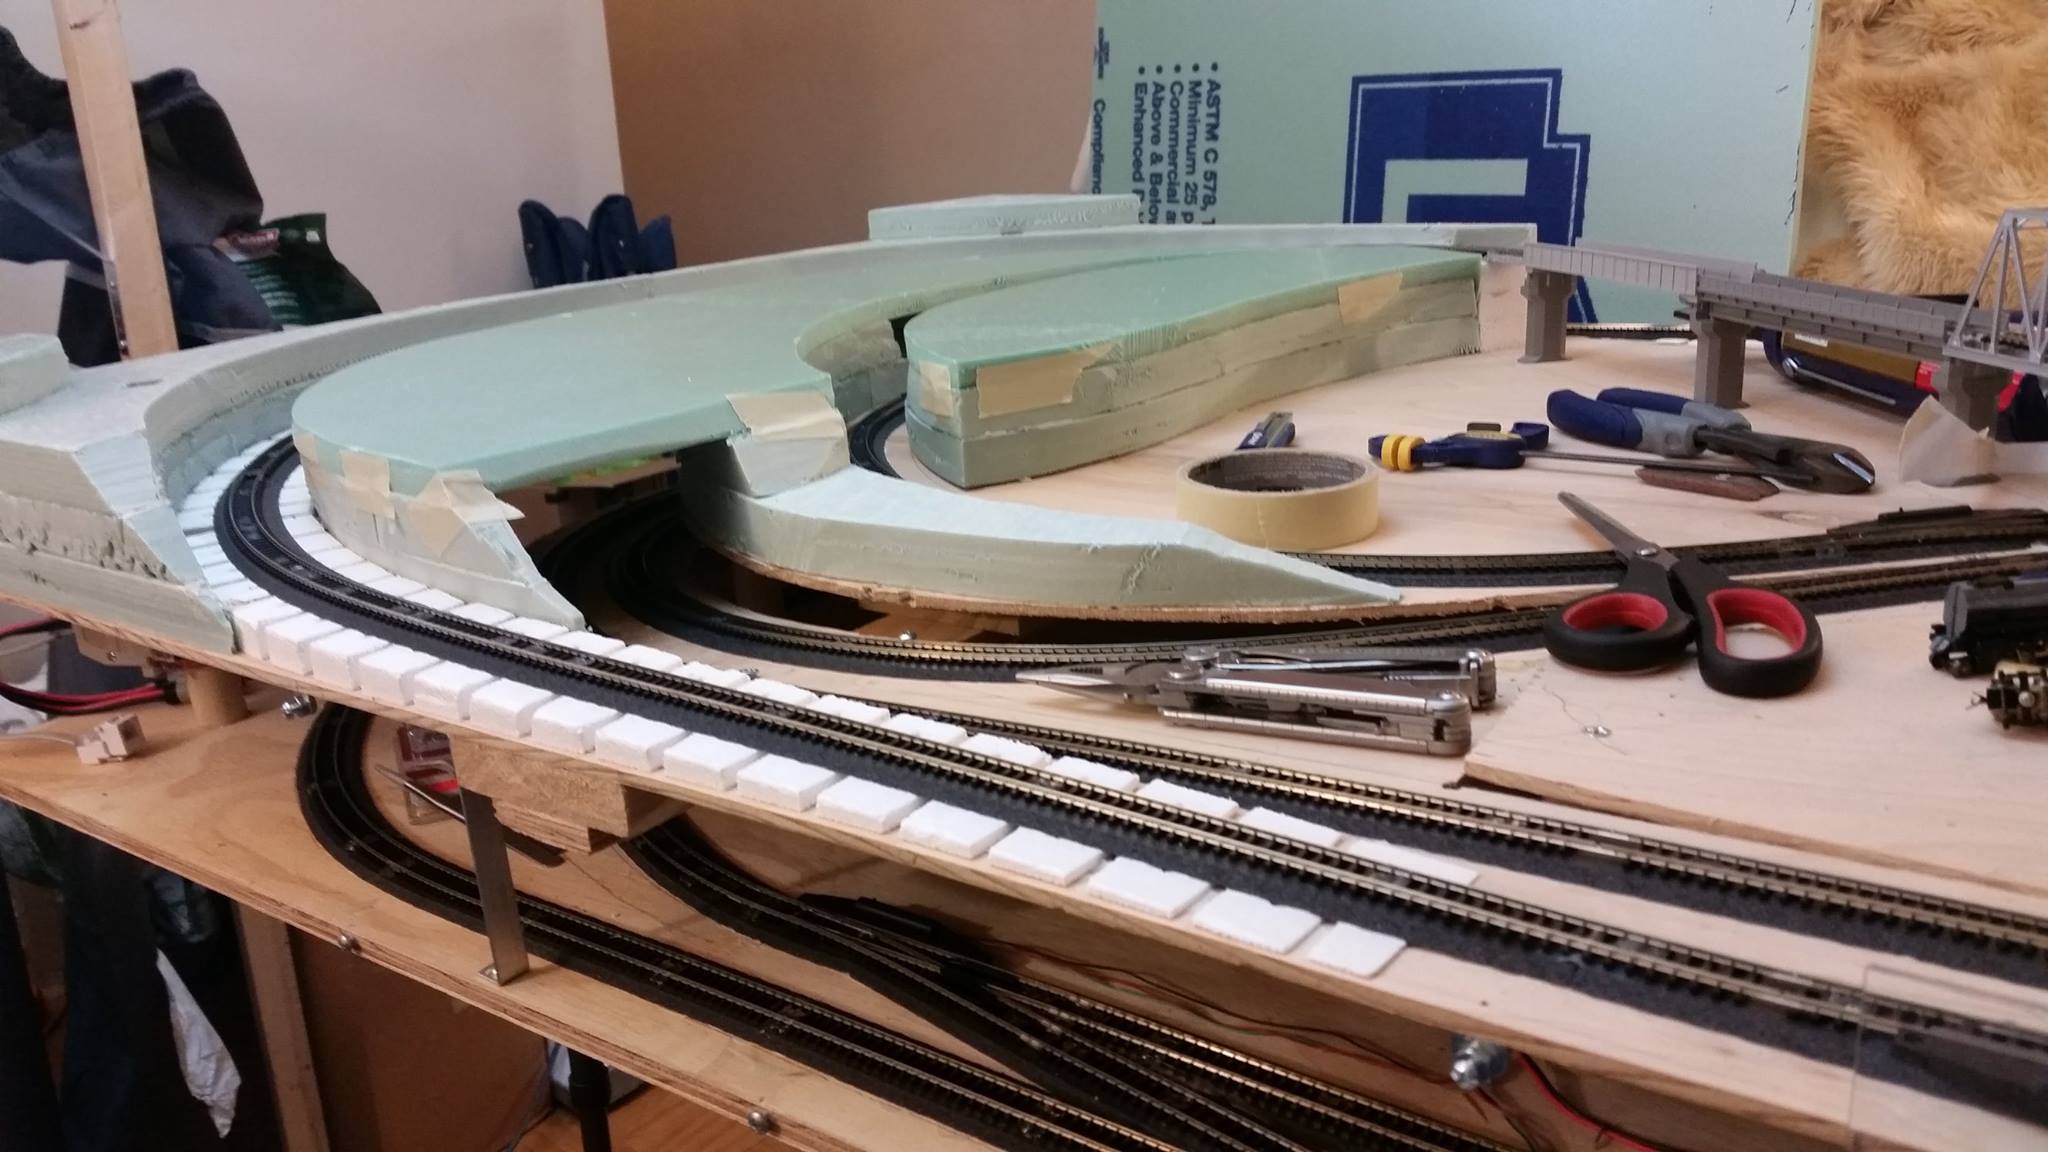
Trying thinner foam, gives a better effect and tunnel height.
November 29, 2015
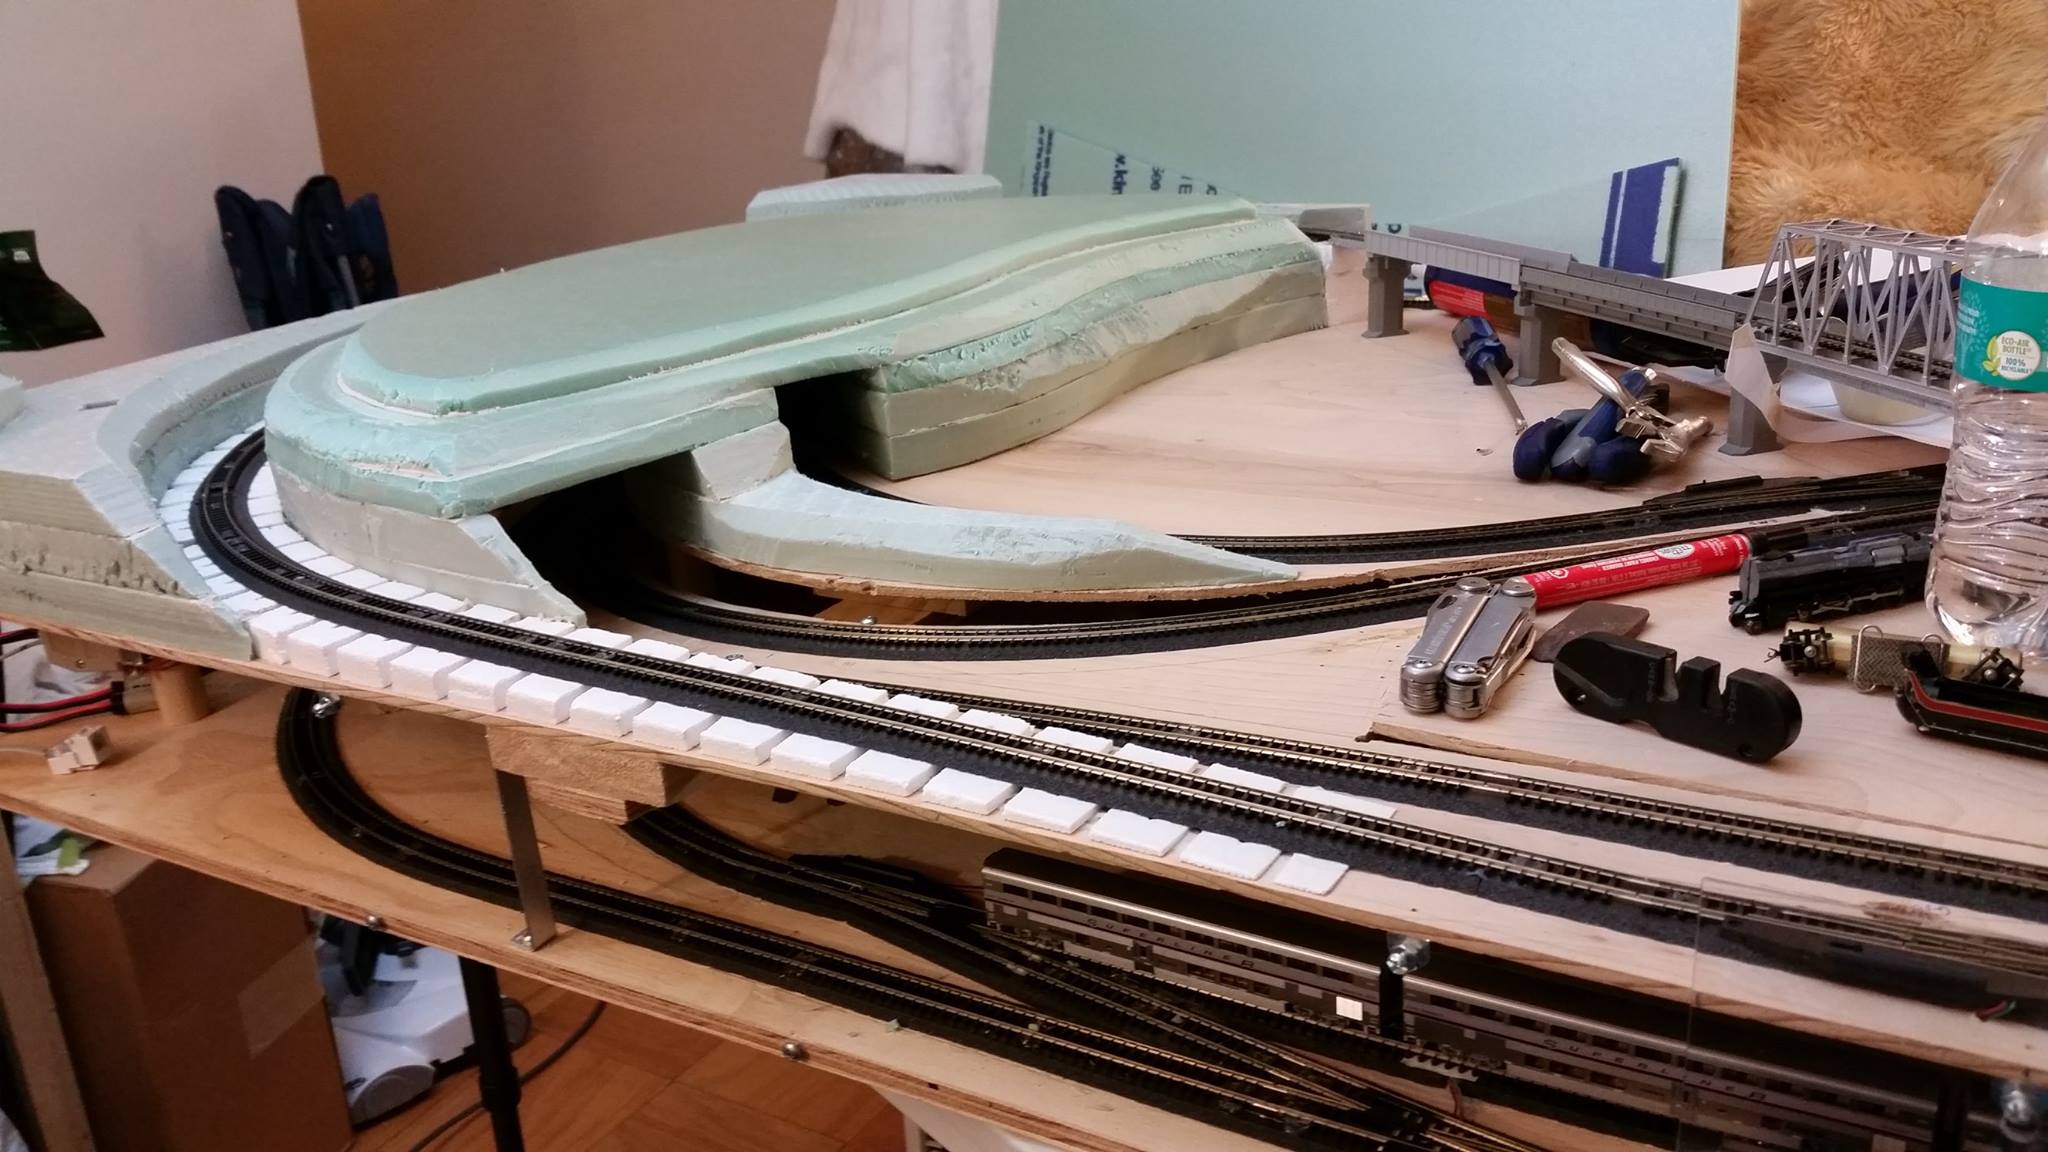
Hill partly built up and foam shaved down to a better contour
Constructing Bridge Base and Weathering
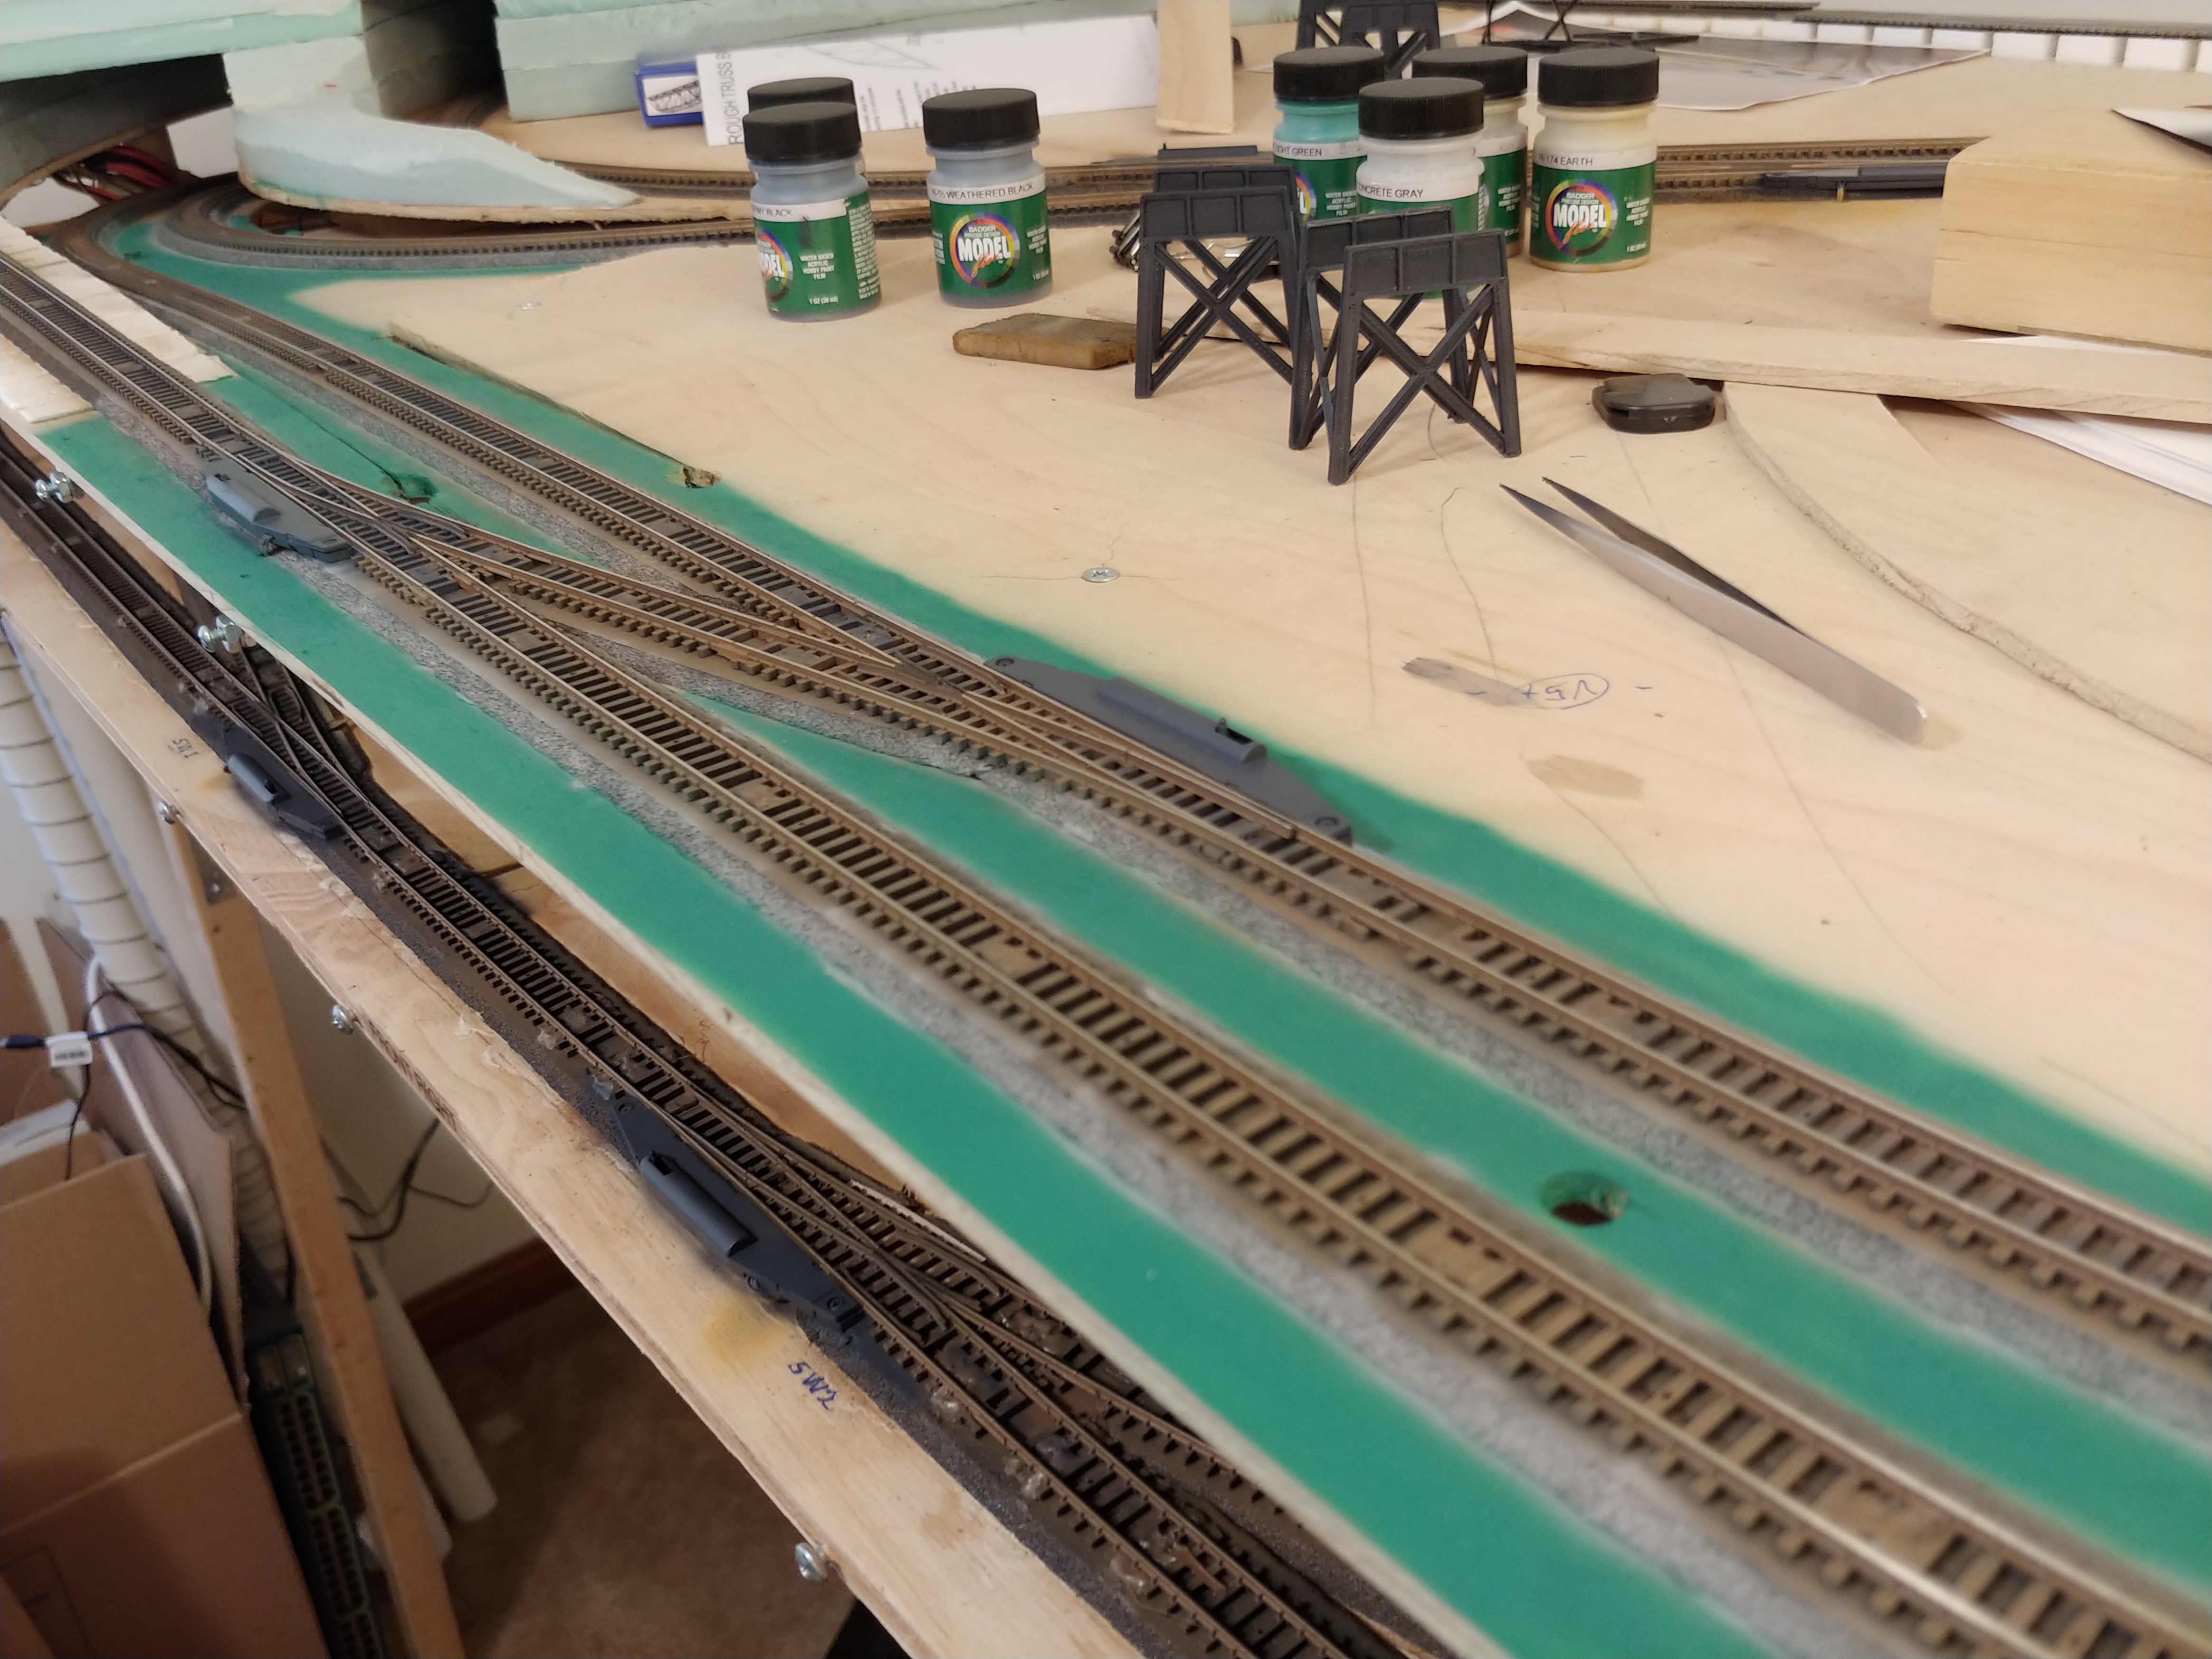
November 20, 2018
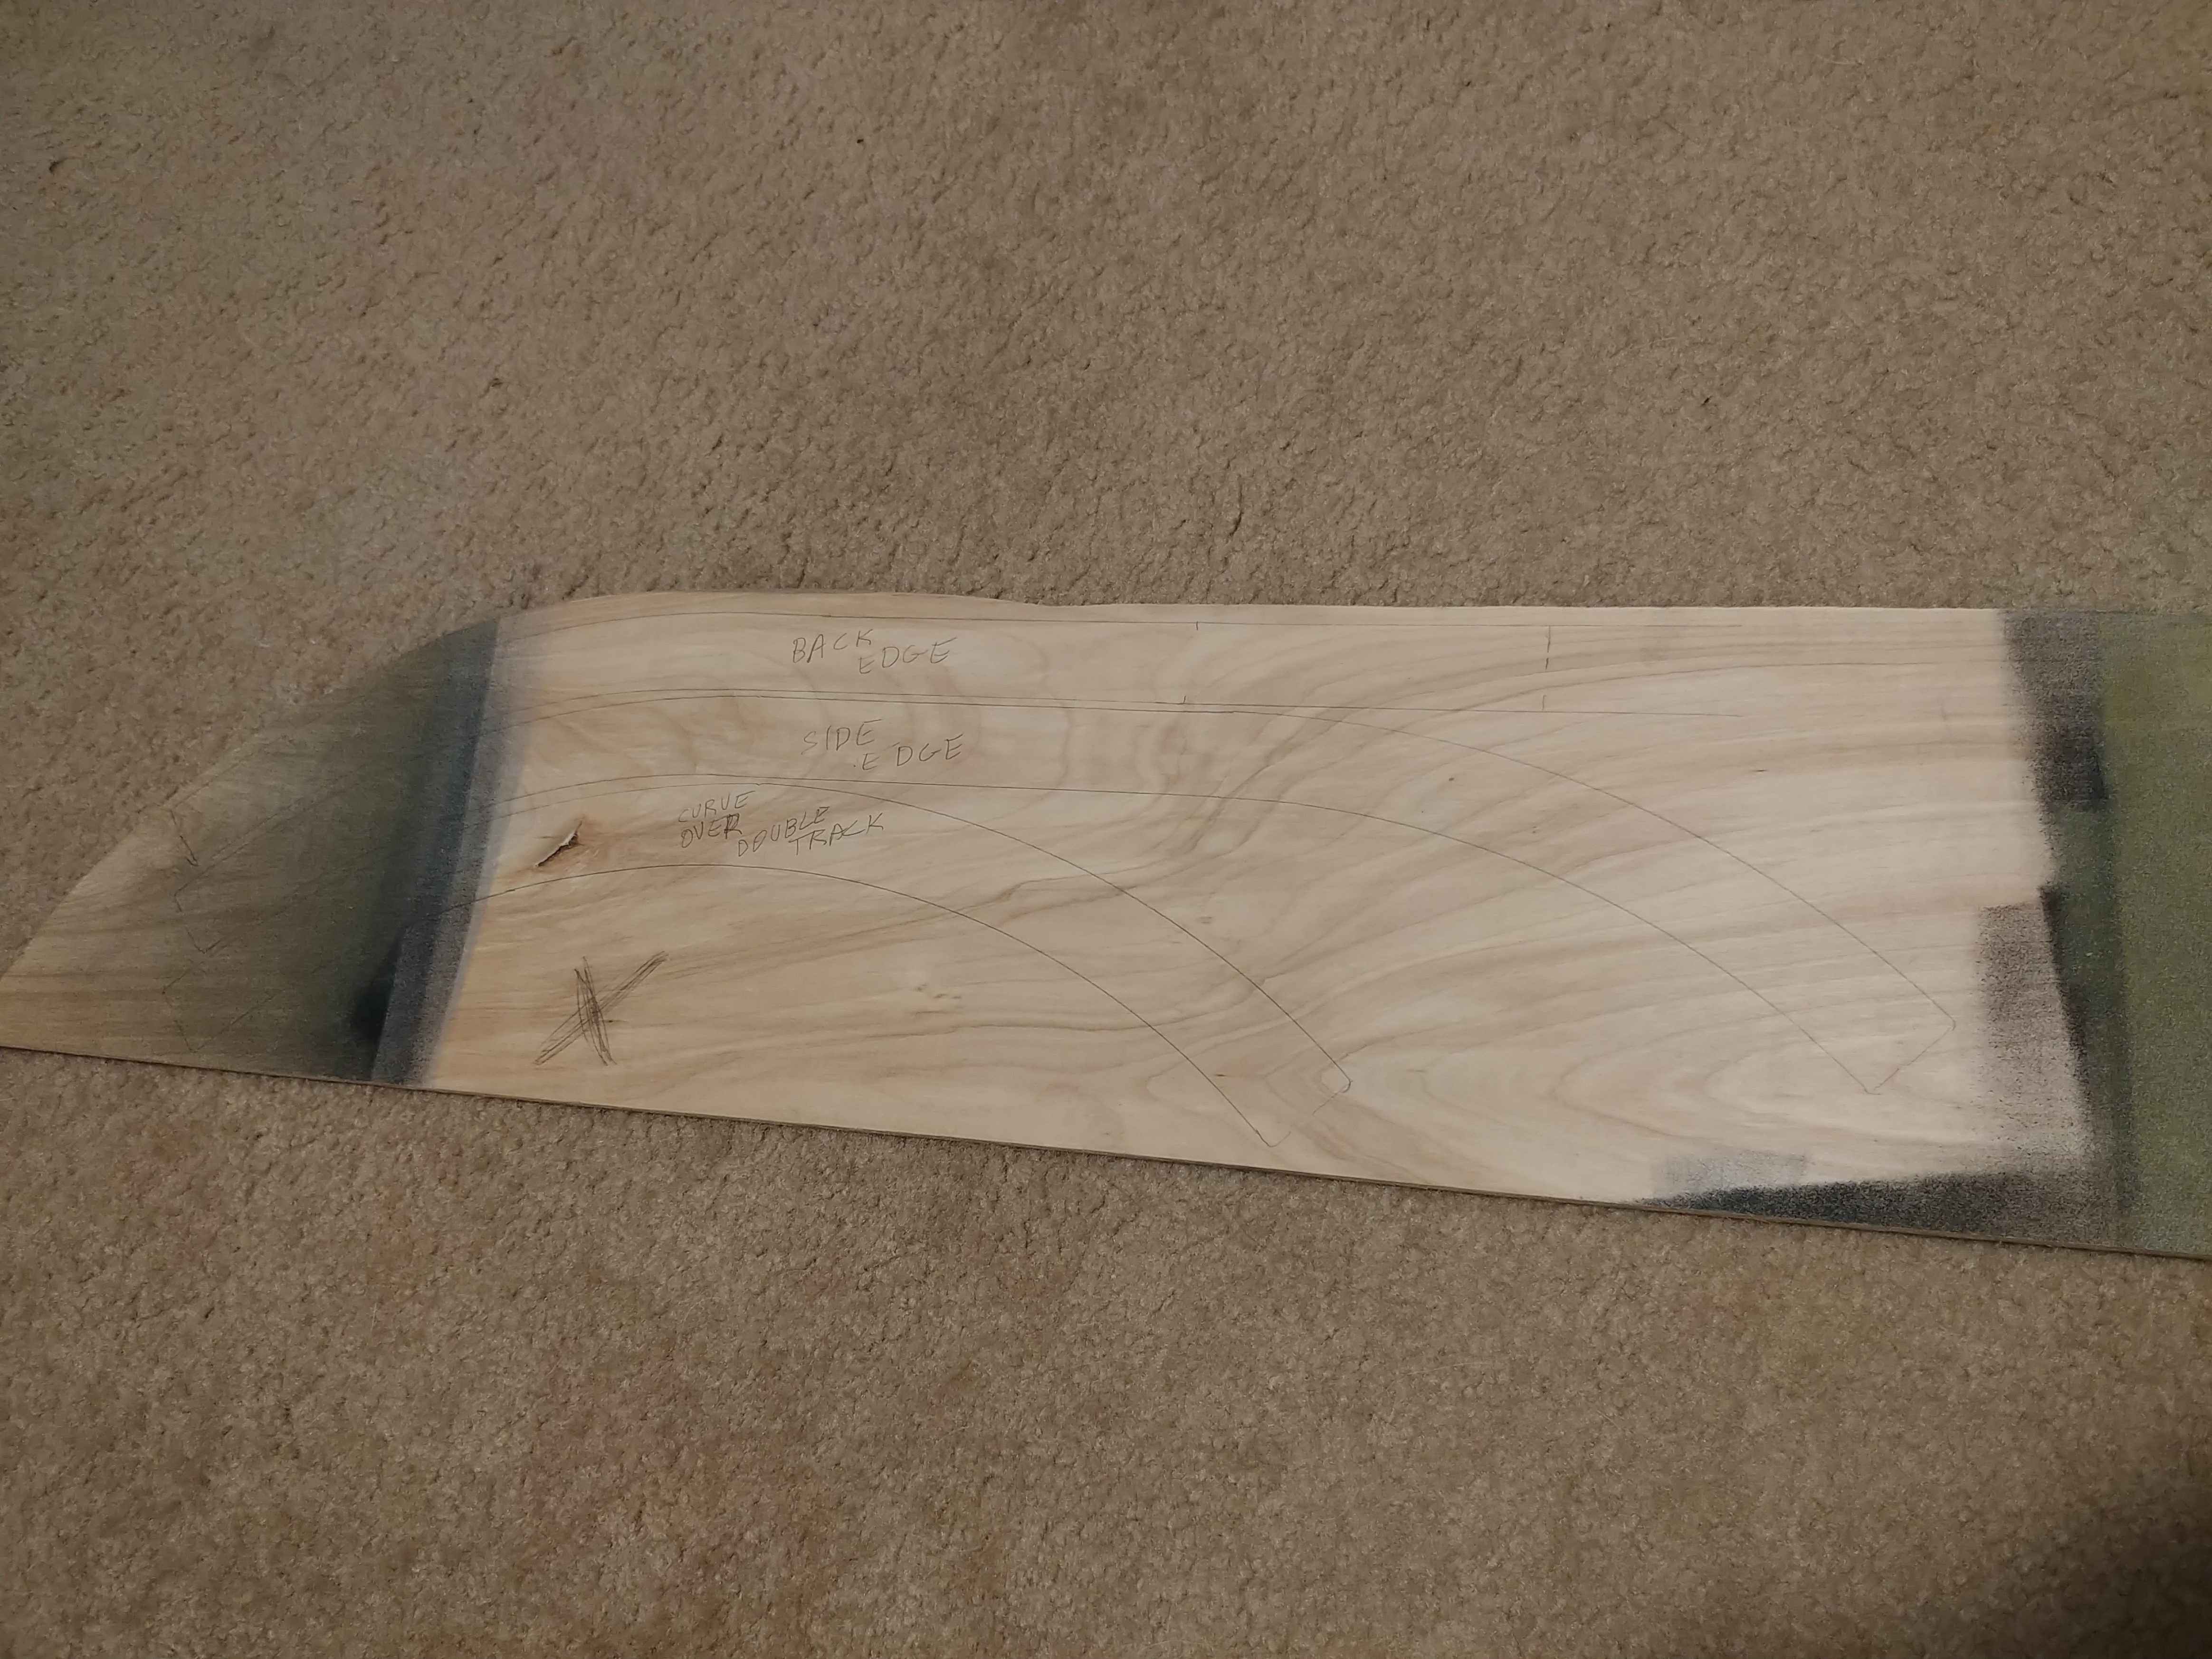
Laying out bridge base to cut out
November 21, 2018
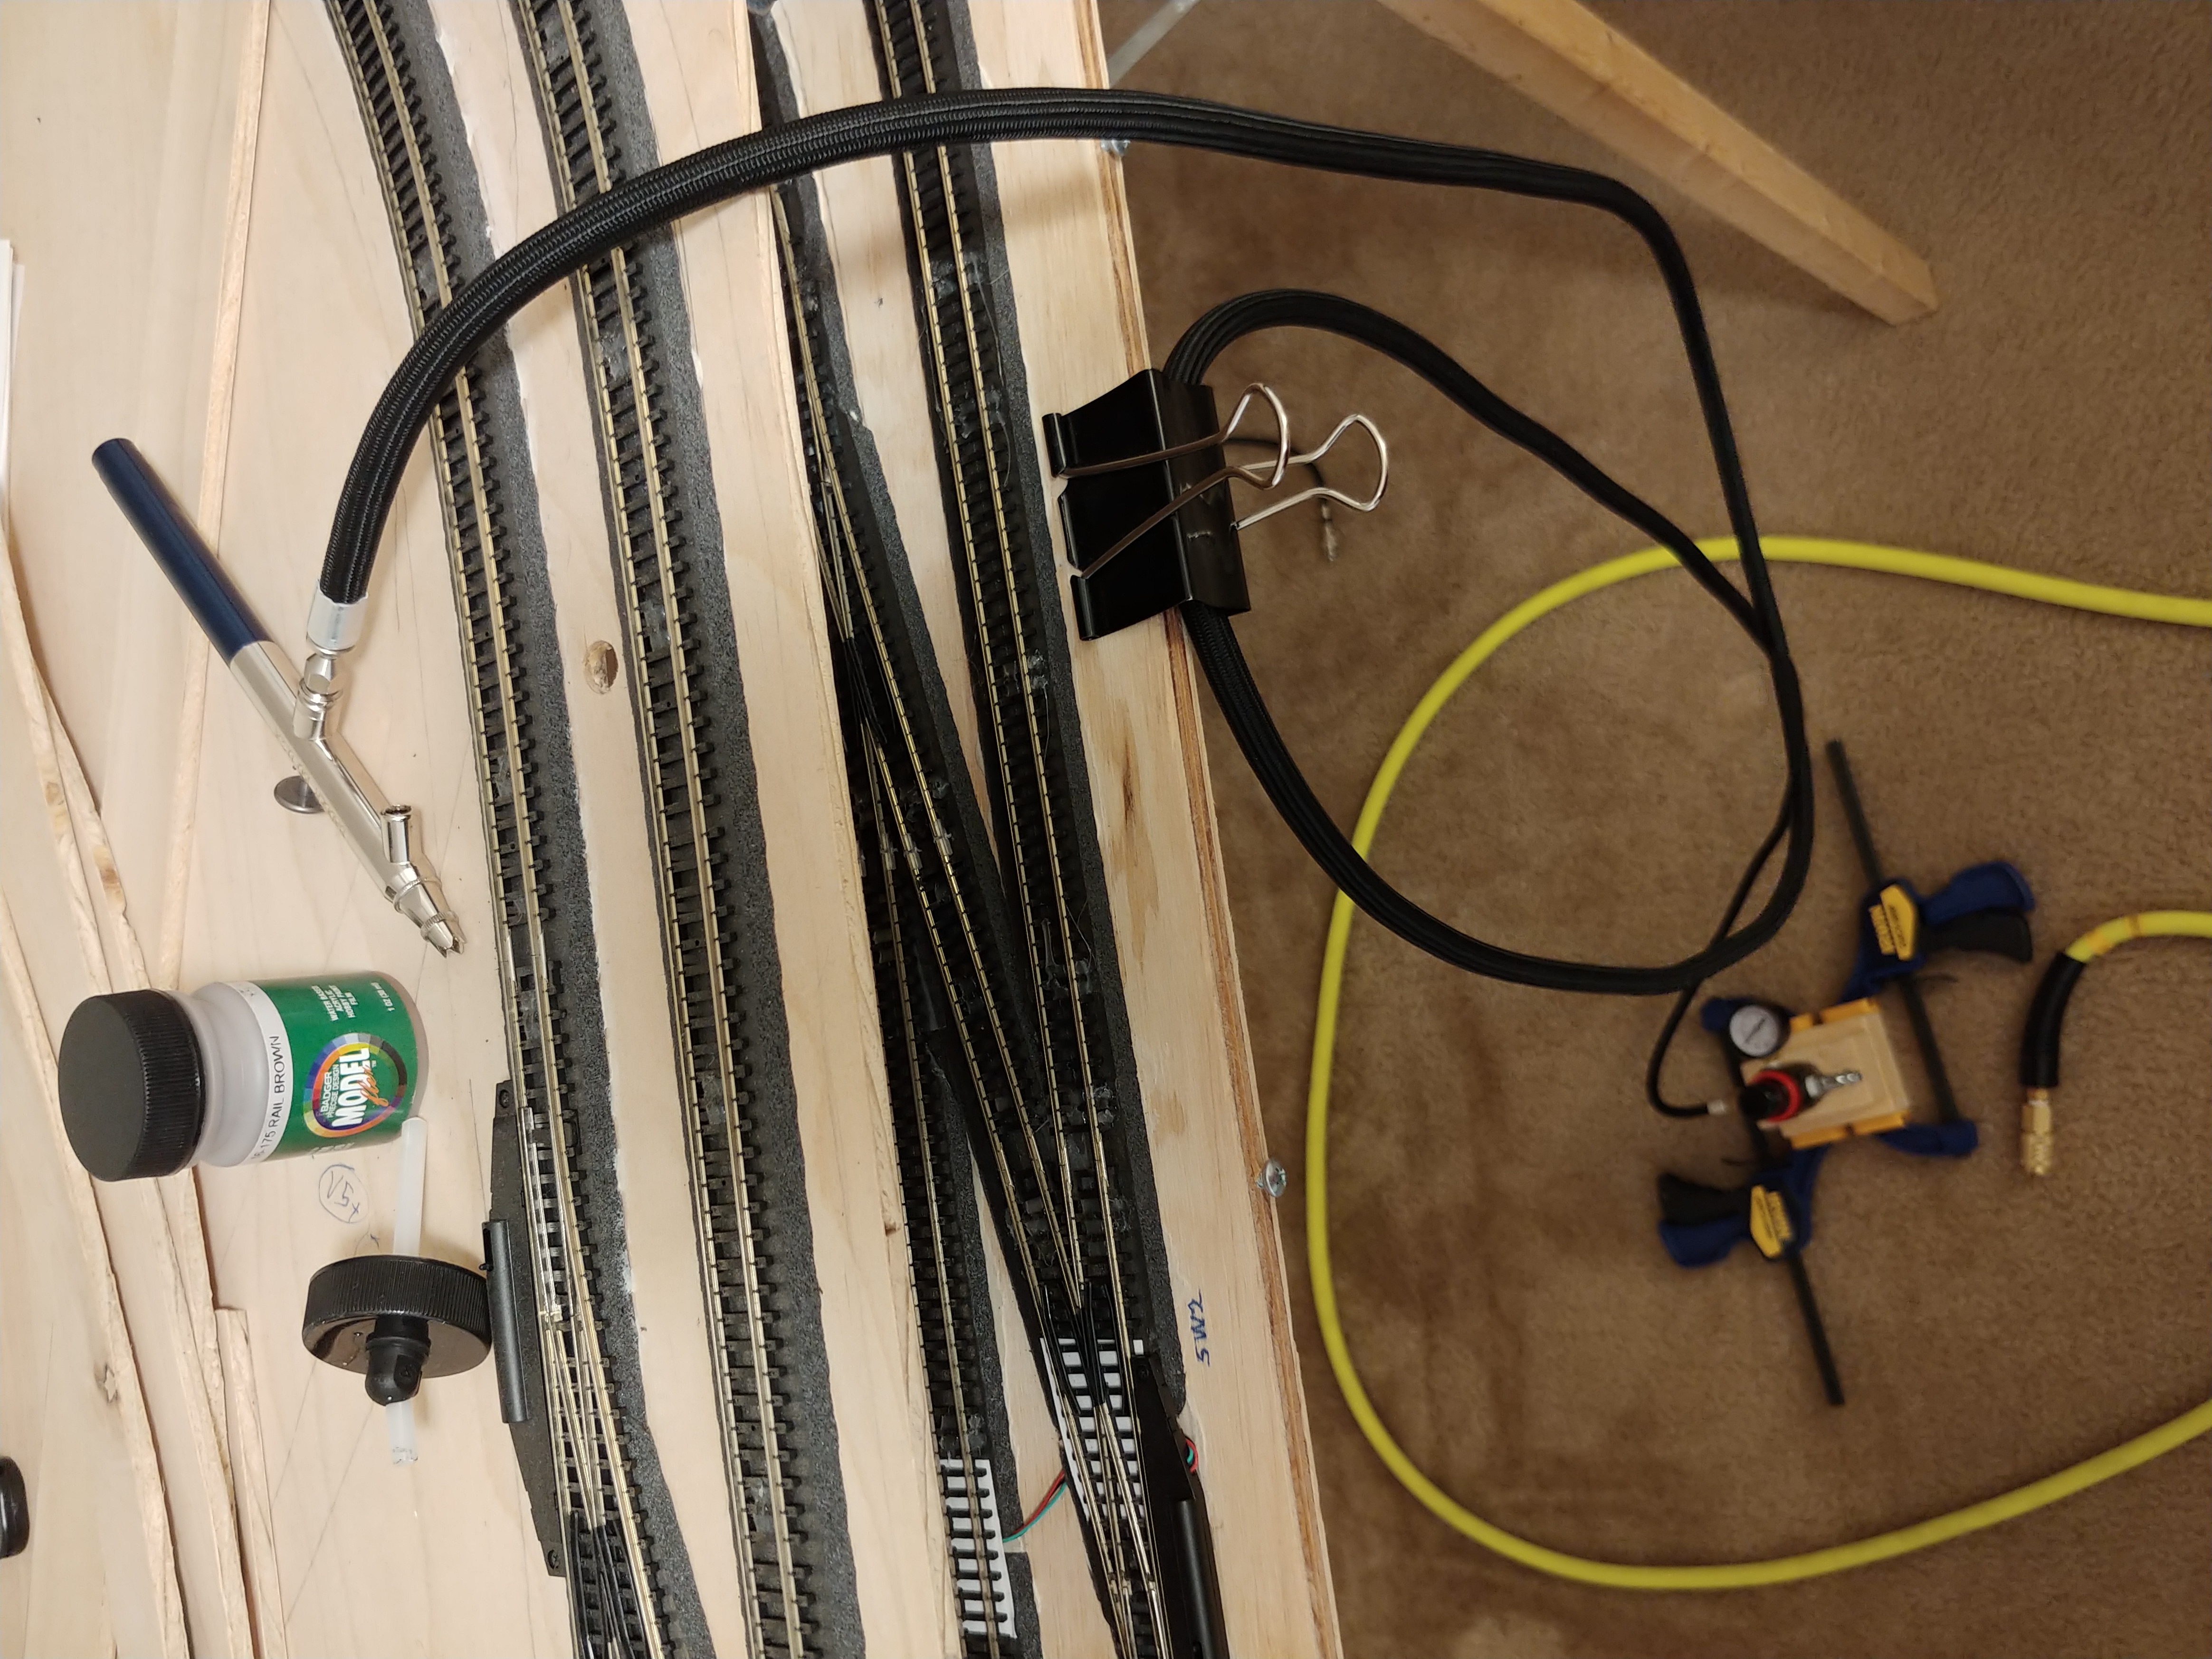
Experimenting with airbrushing weathering
November 21, 2018
Experimenting with airbrushing weathering
November 21, 2018
Experimenting with airbrushing weathering
November 21, 2018

Experimenting with airbrushing weathering
November 24, 2018
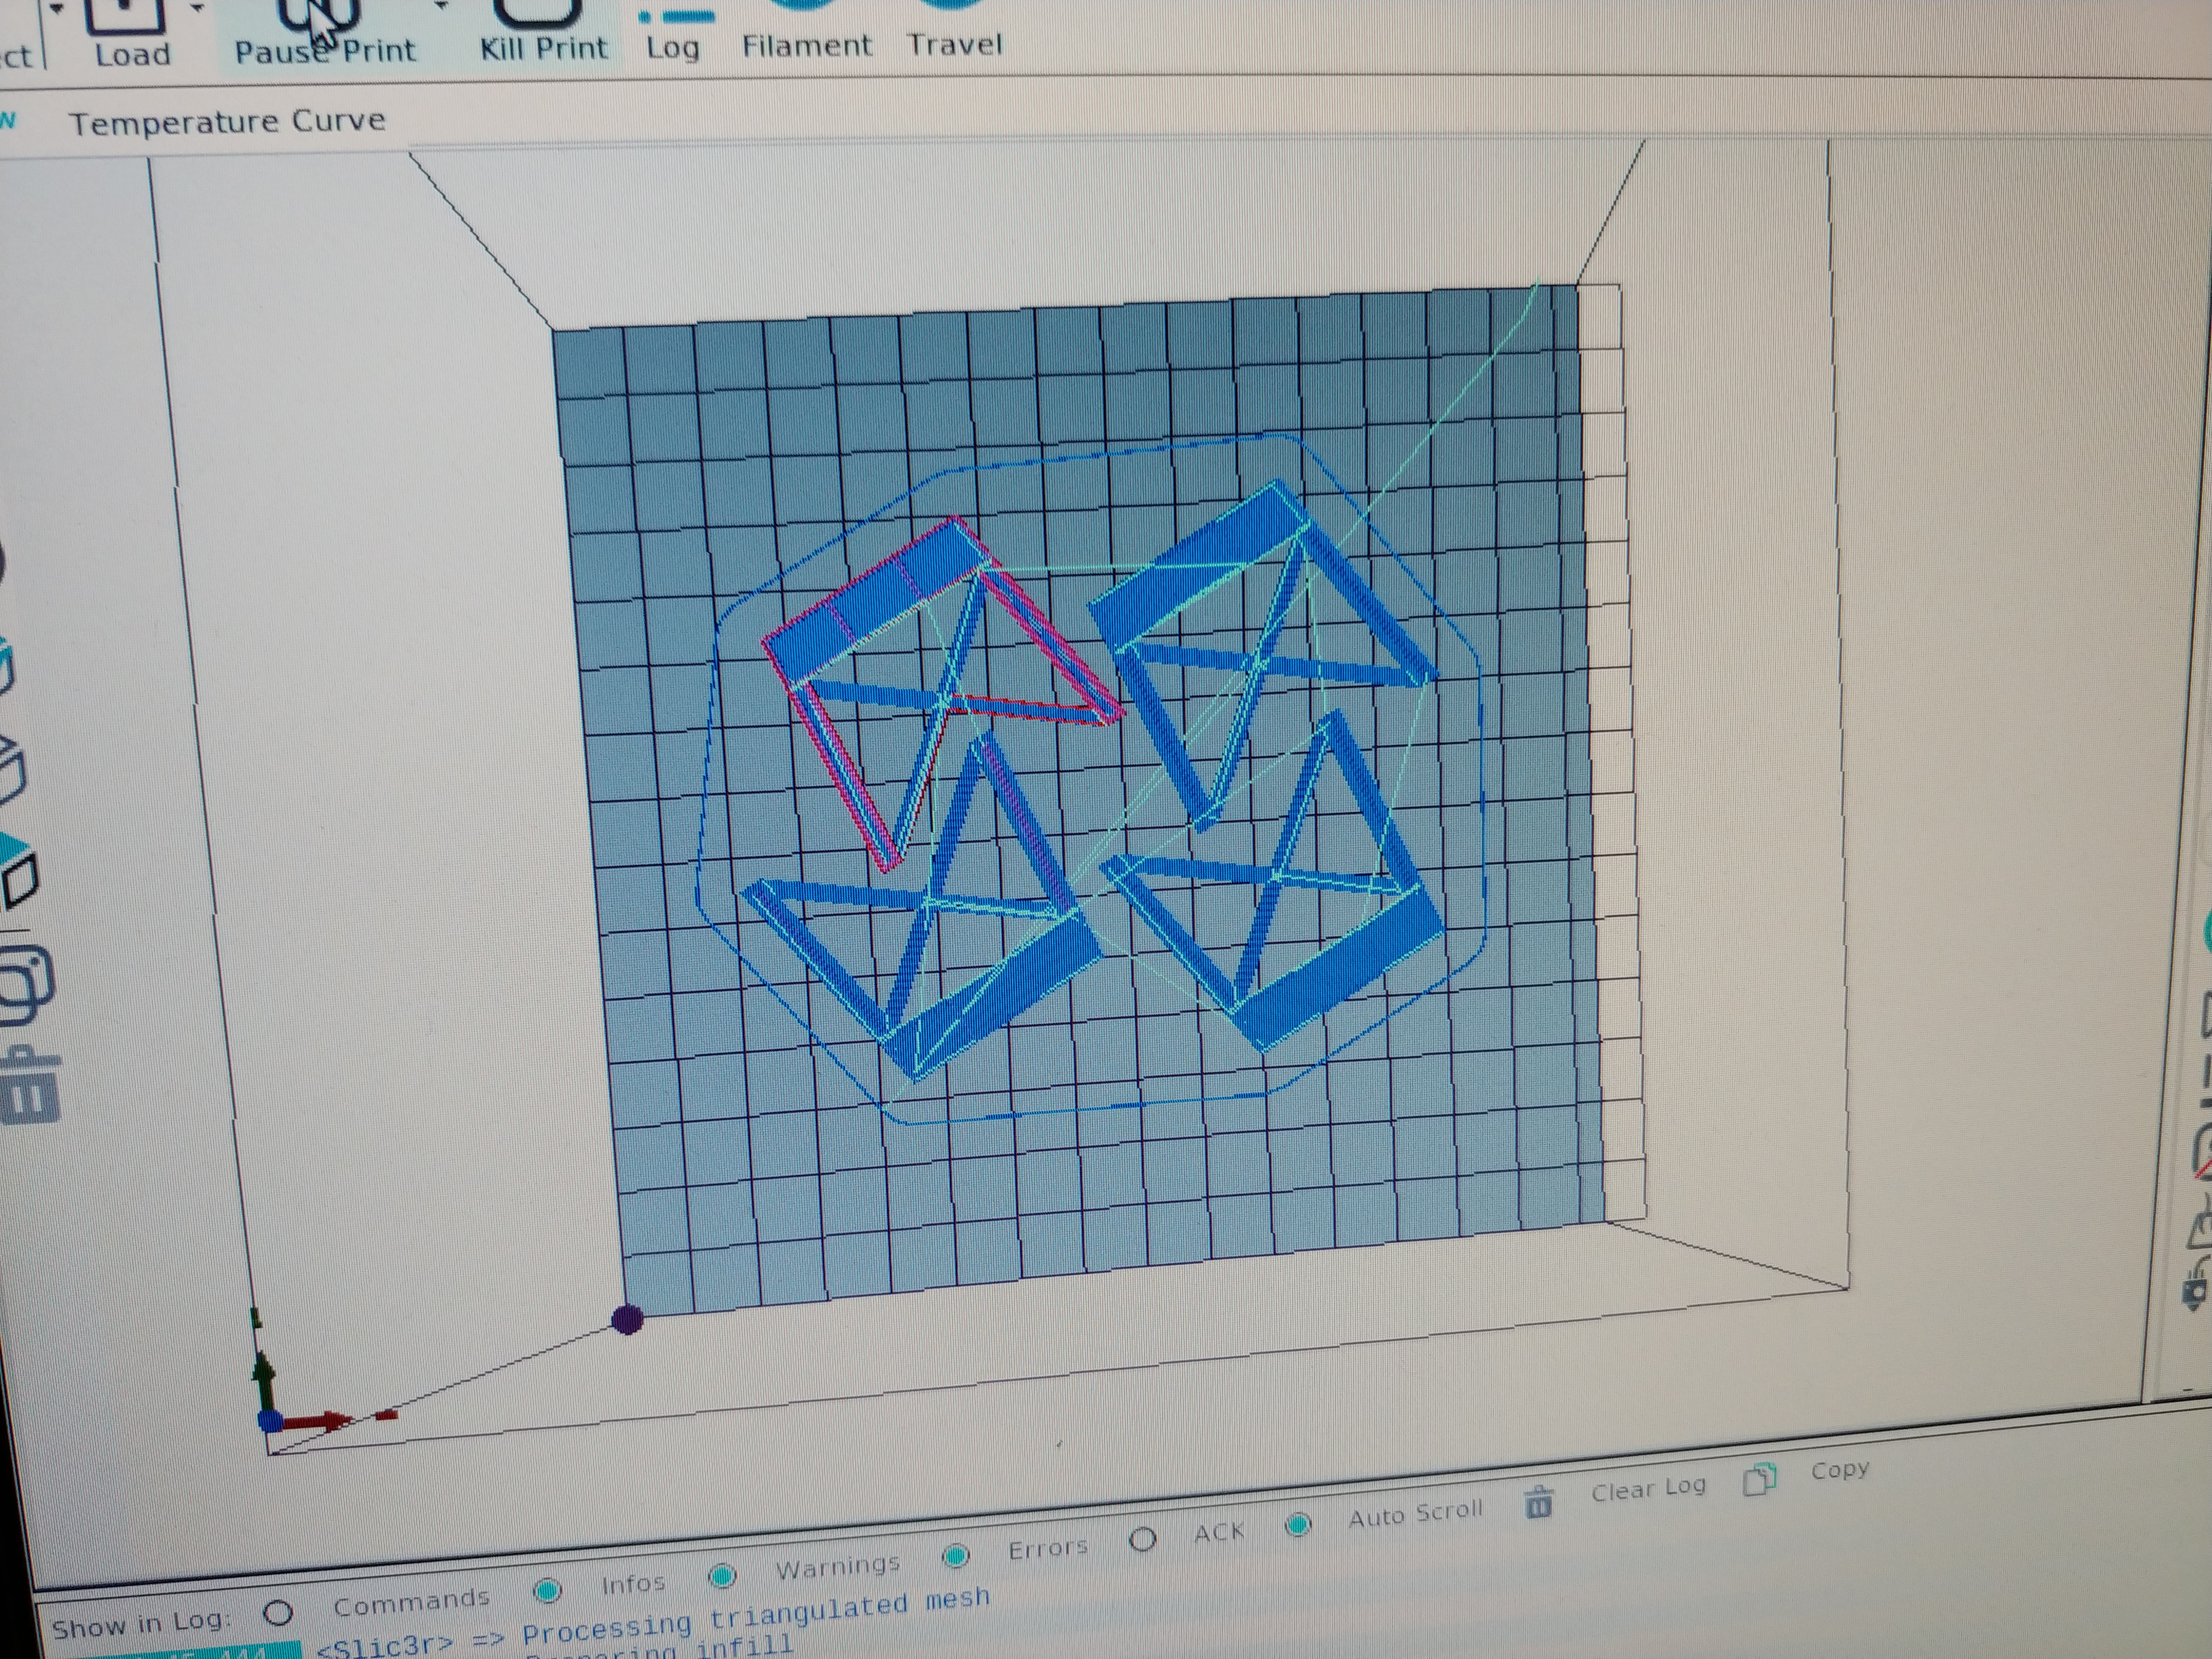
3D printing custom bridge supports
November 24, 2018
3D printing custom bridge supports
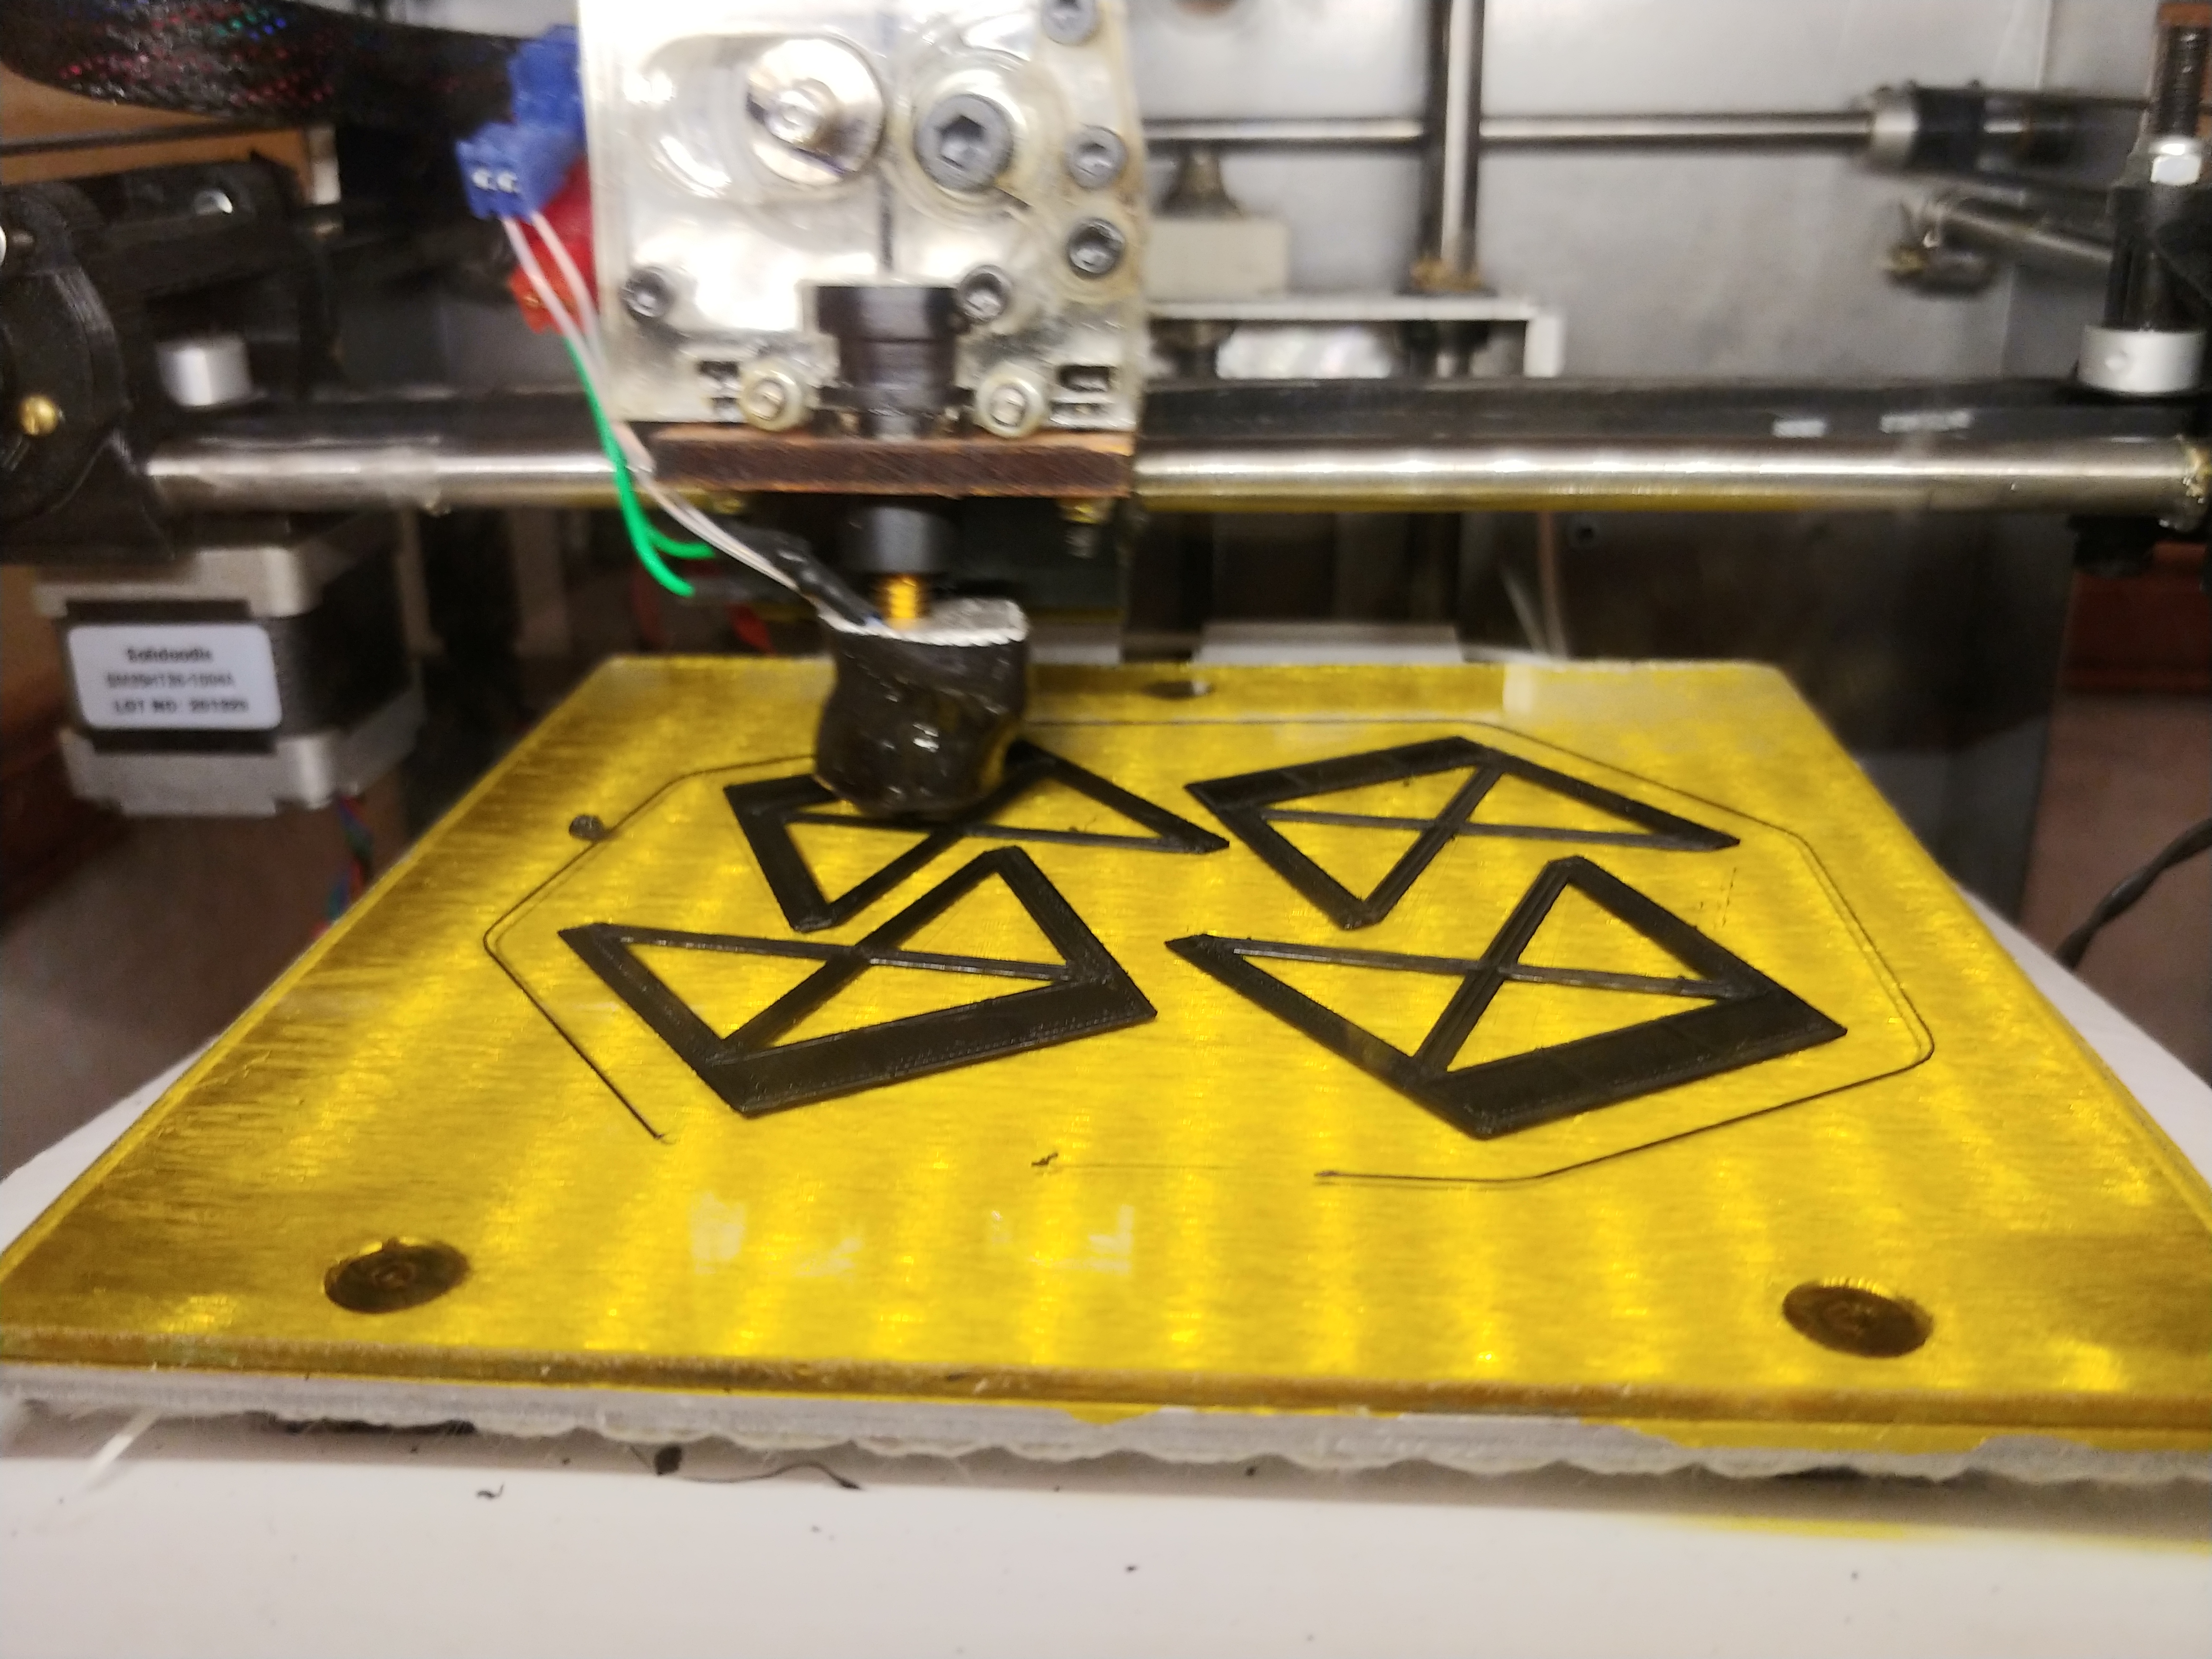
November 24, 2018
3D printed bridge support pieces before assembly. Each support consists of 6 pieces, 4x "faces" of the support and 2x "cross-beams". The faces are glued back-to-back to form the front and back main supports with the 3D printed detail to look like I-beams once the flat backs are glued together. The cross-beams are then glued between the assembled front and back supports to form a box.
November 25, 2018
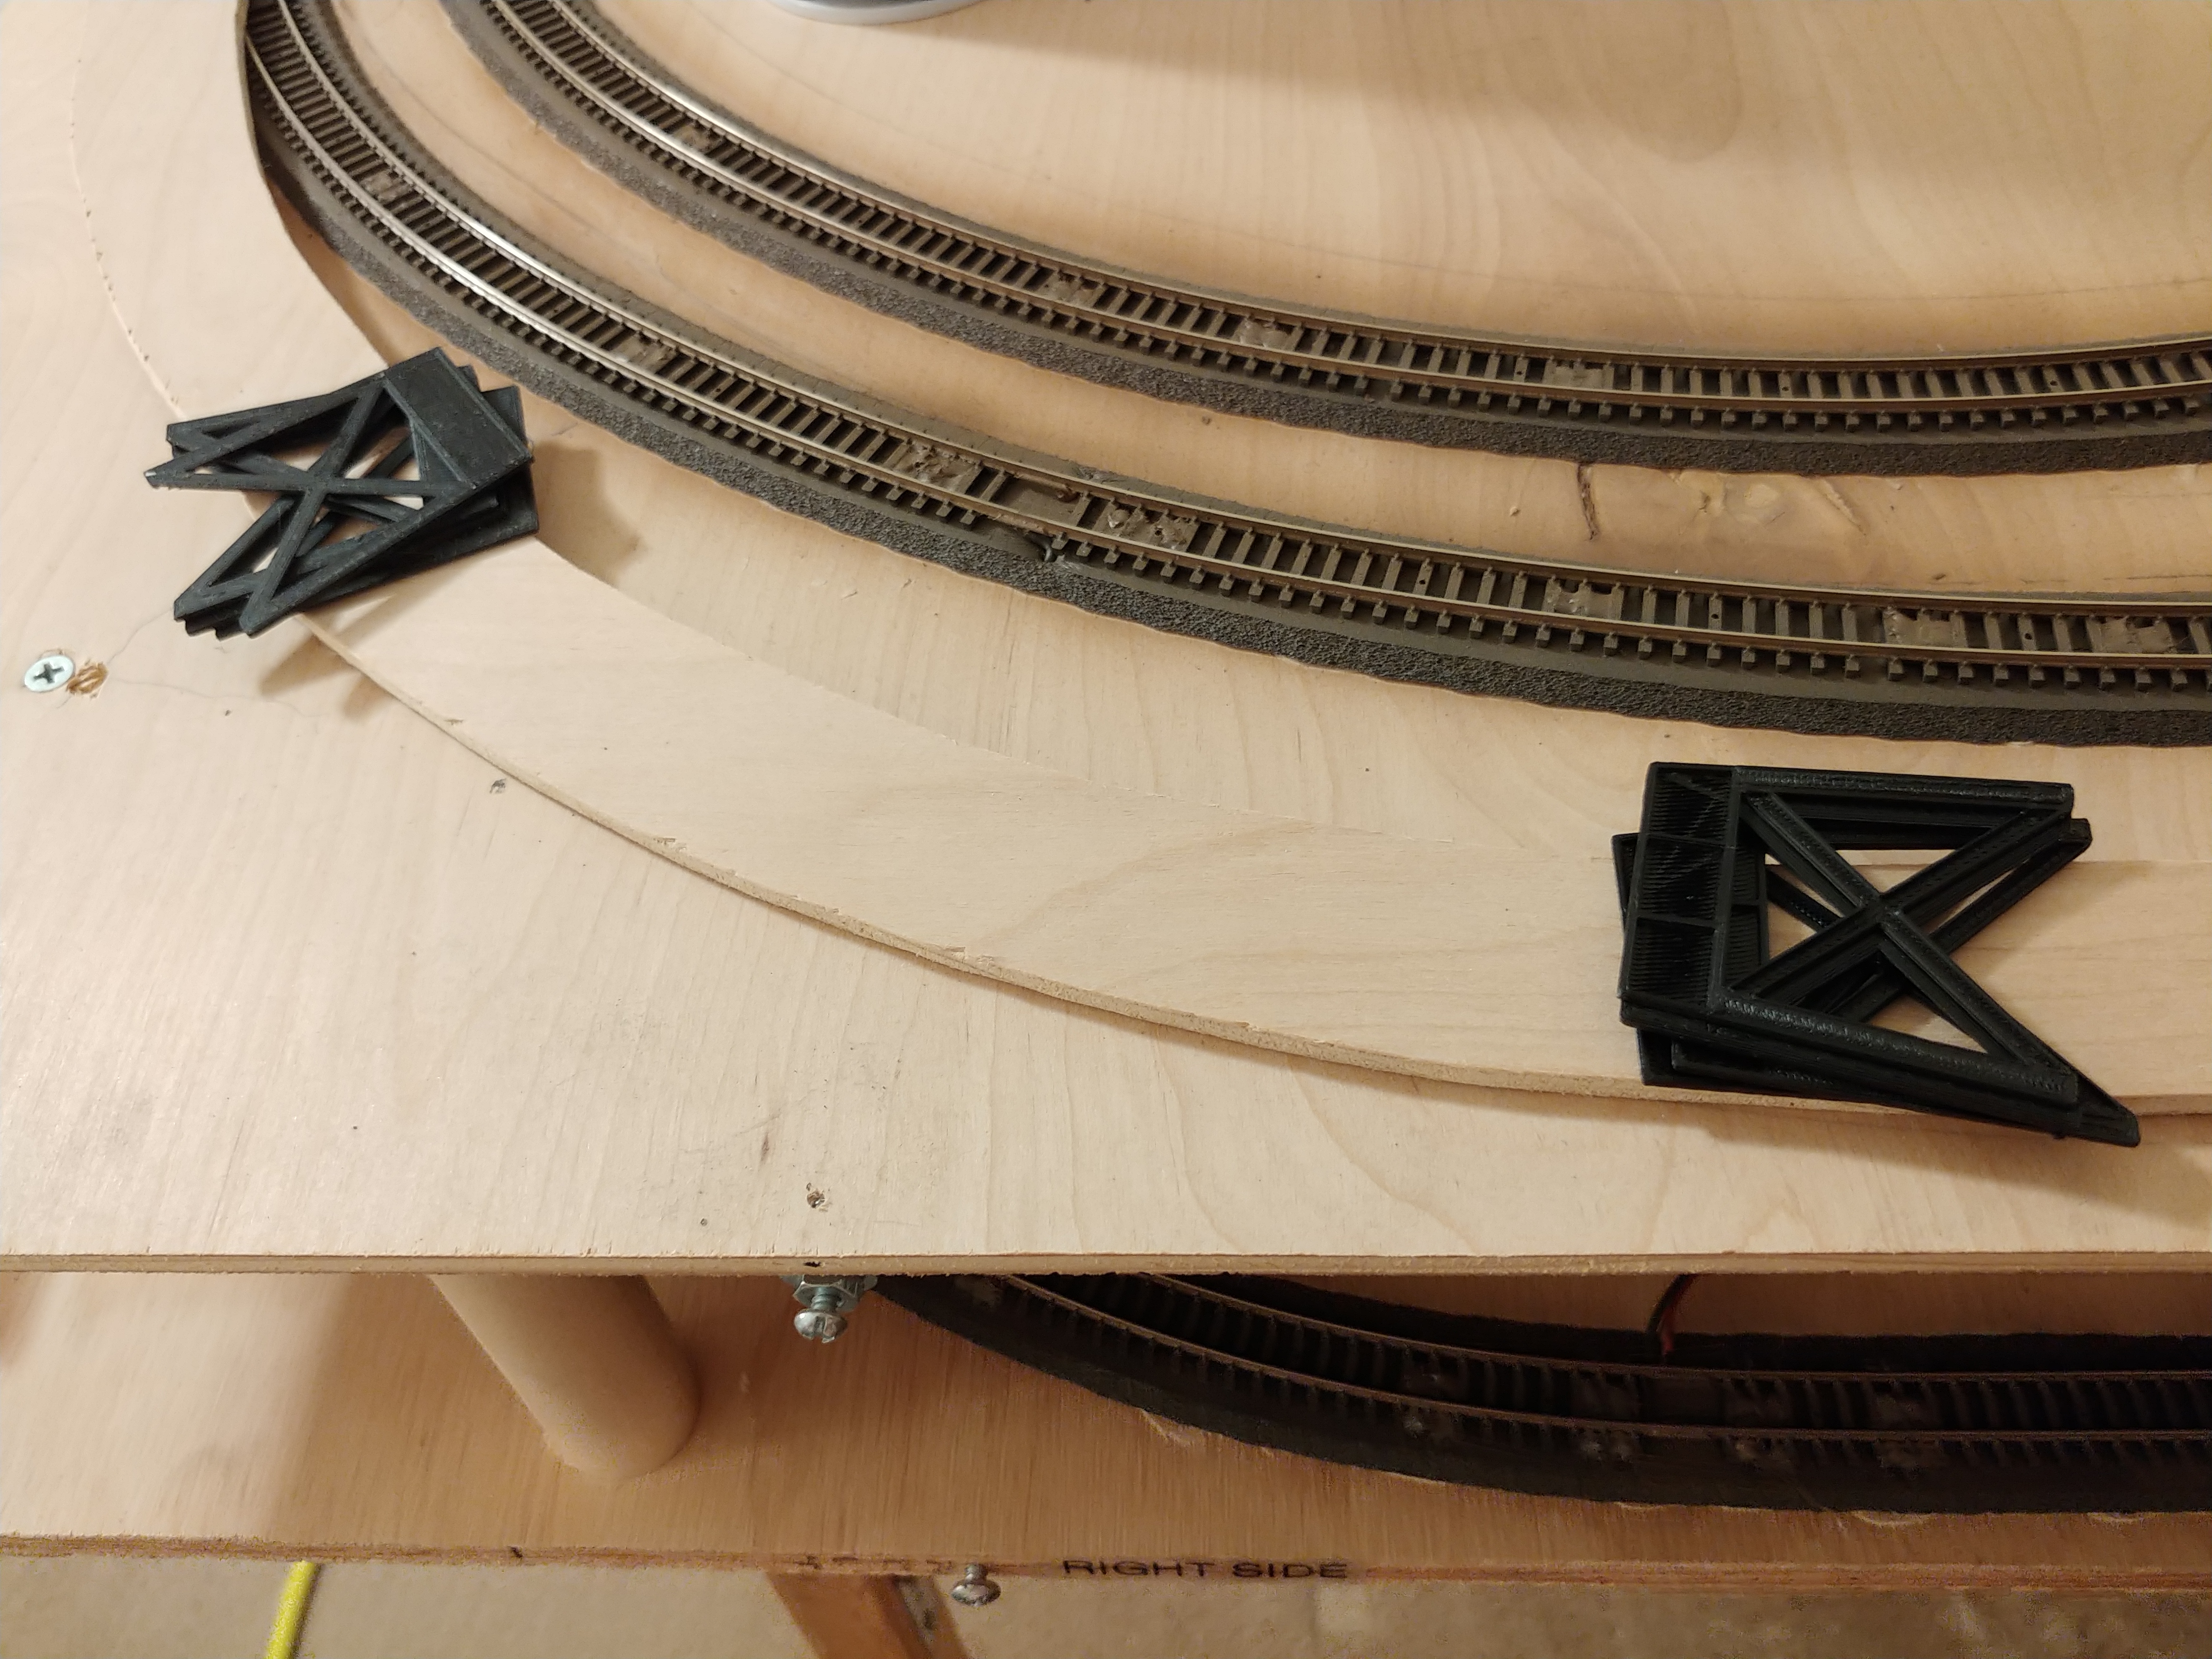
3D printed bridge supports assembled
November 27, 2018
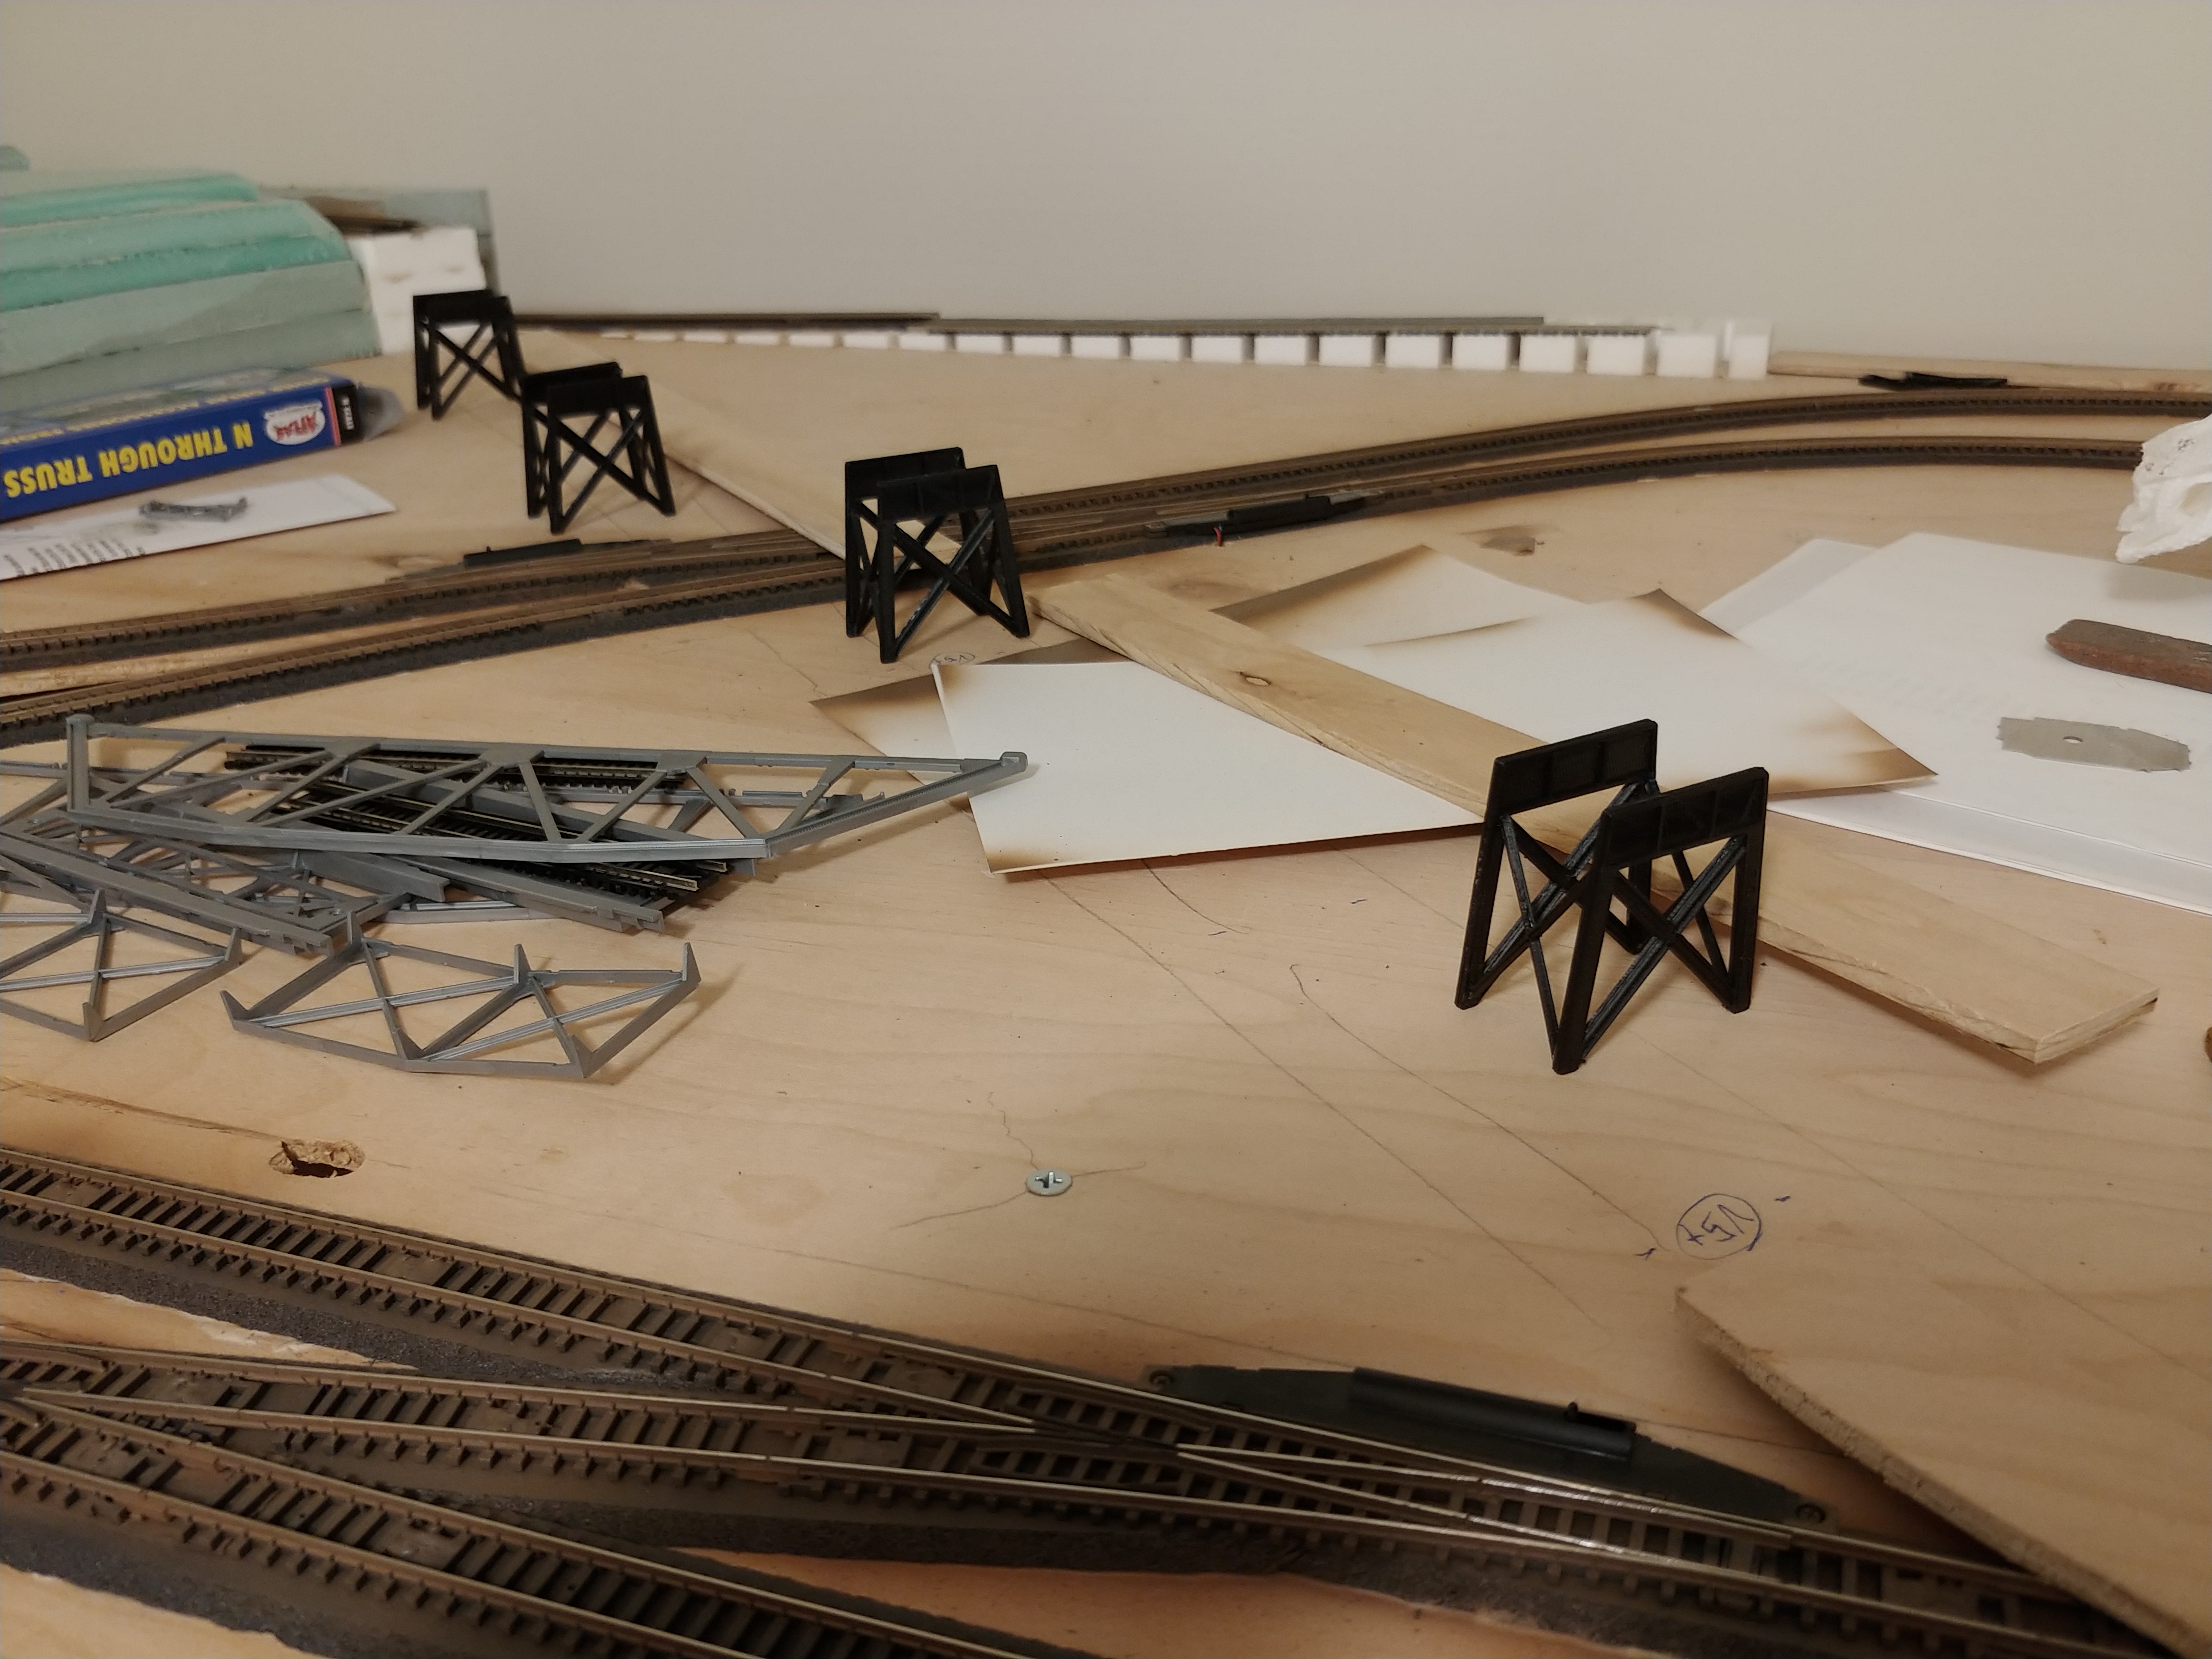
Wood bridge base resting on supports test-fit
December 24, 2018
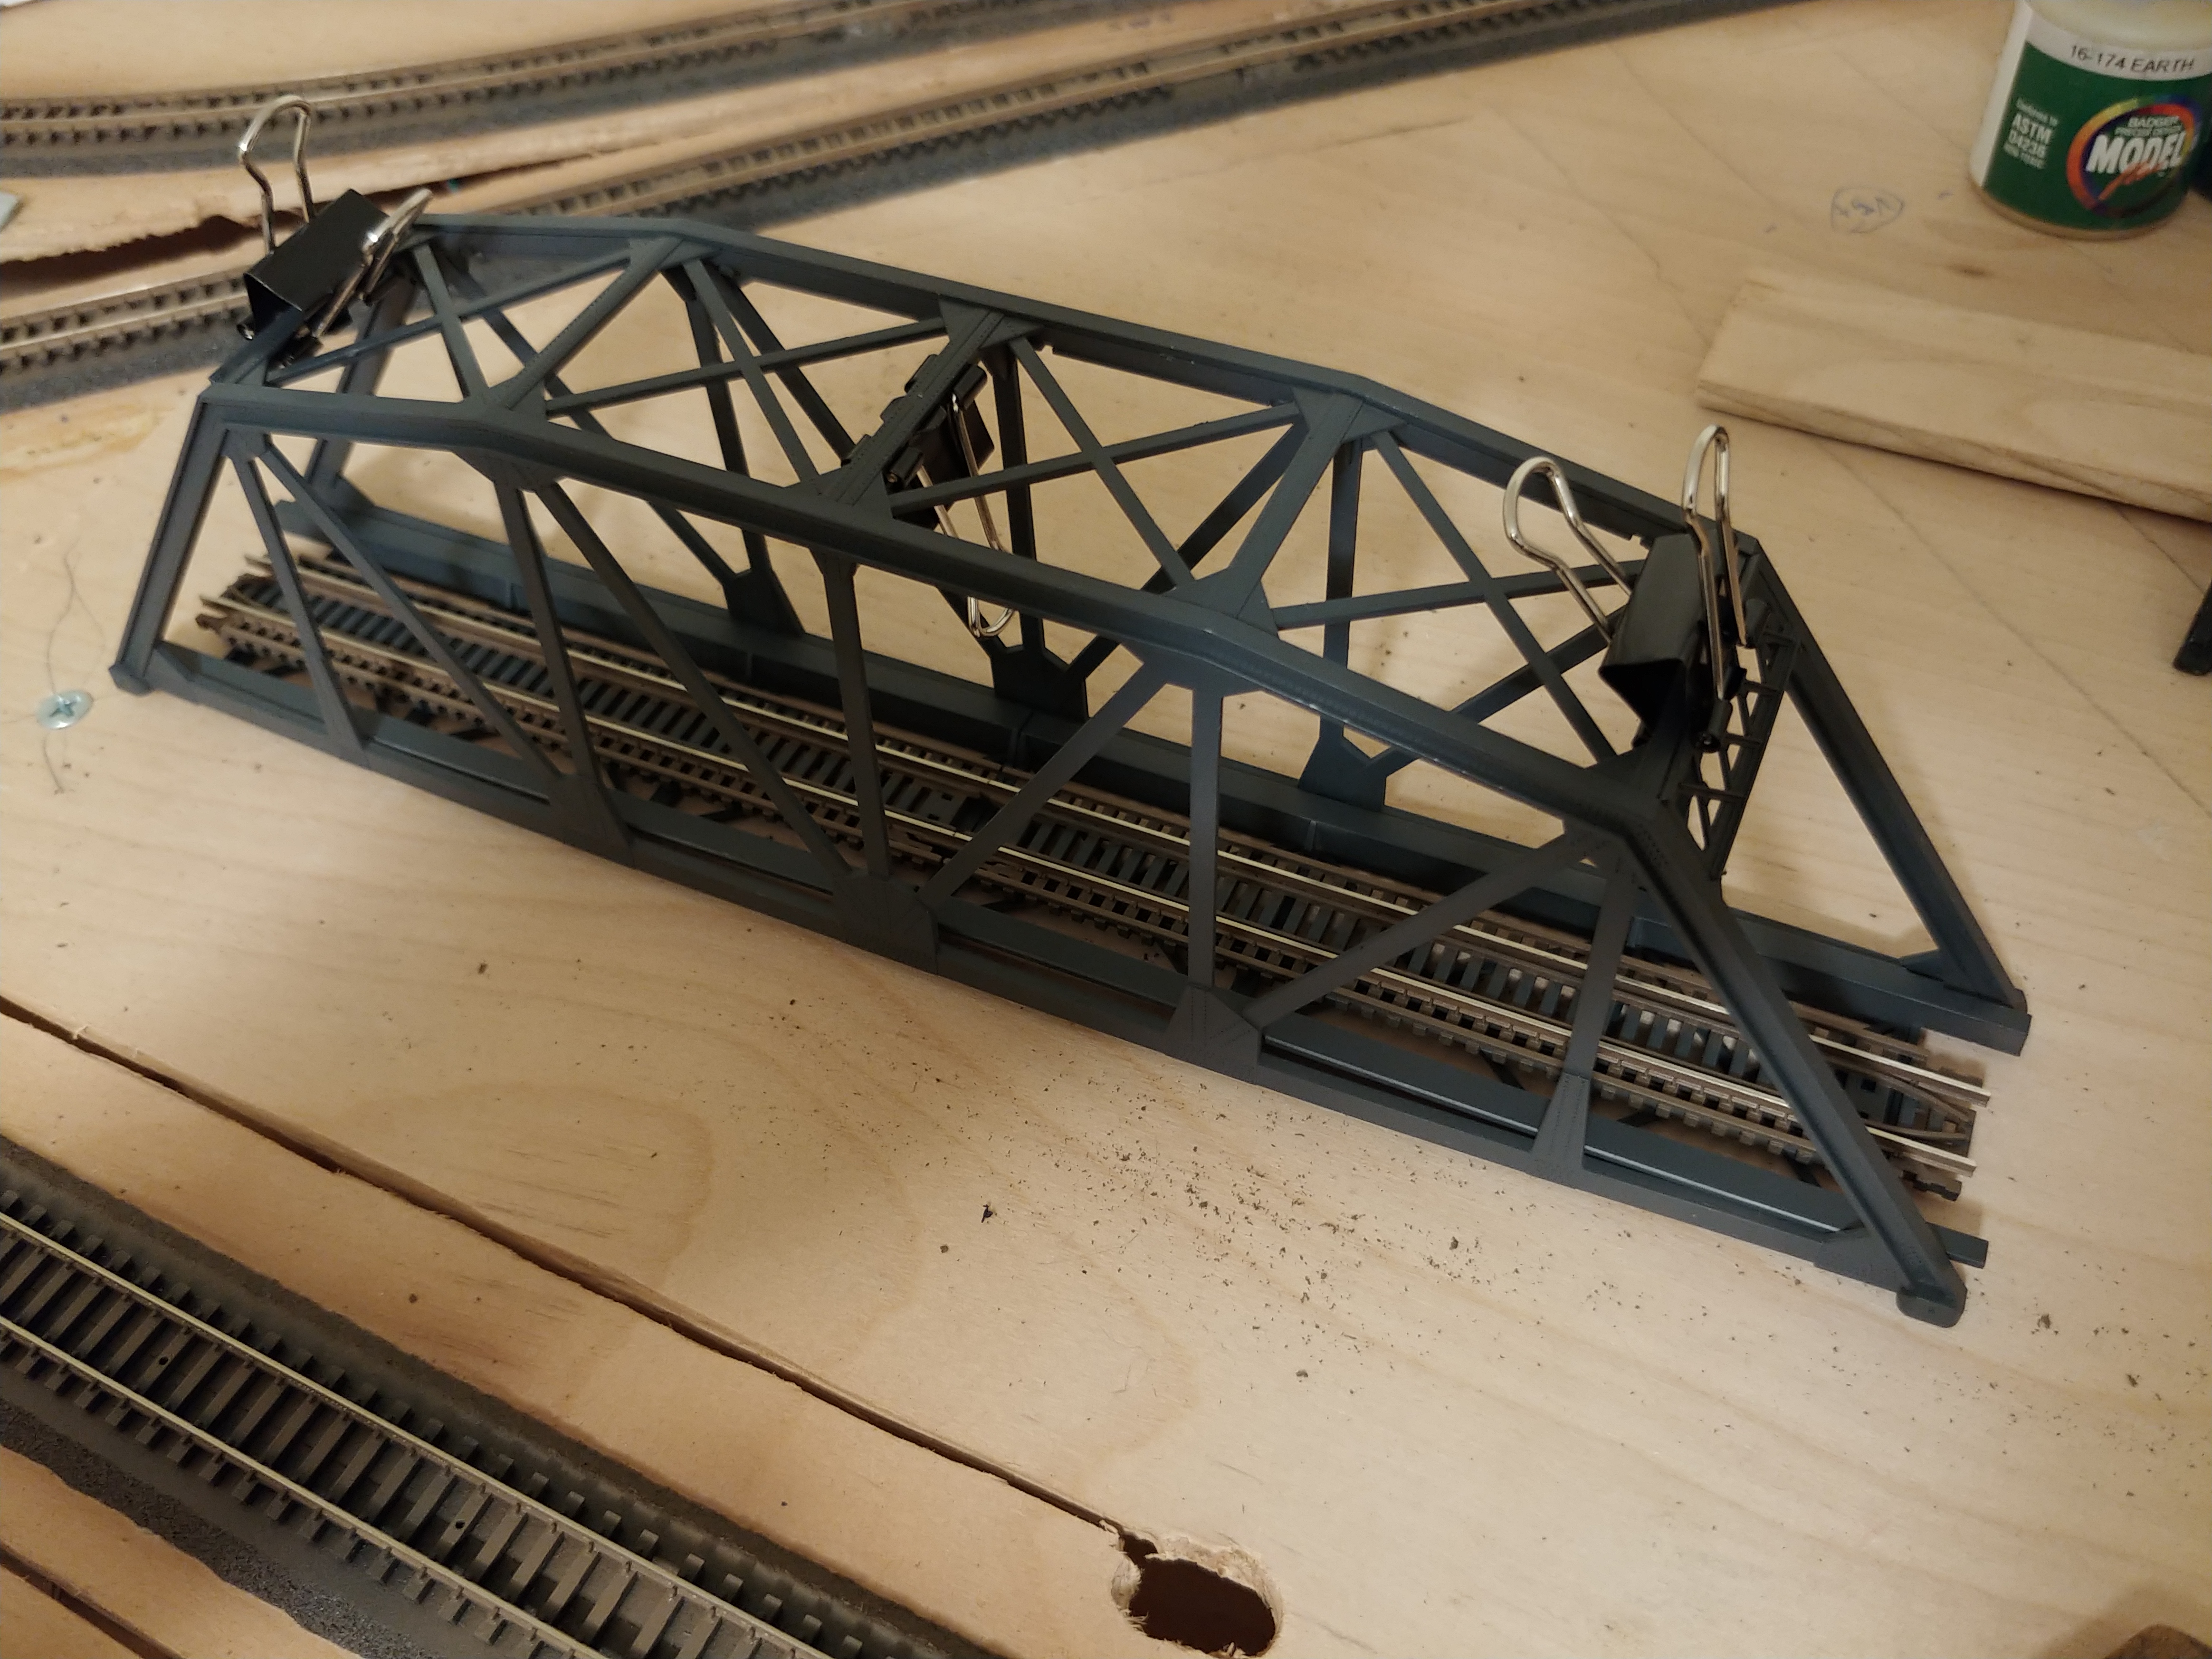
Painted and assembling tressle kit
December 25, 2018
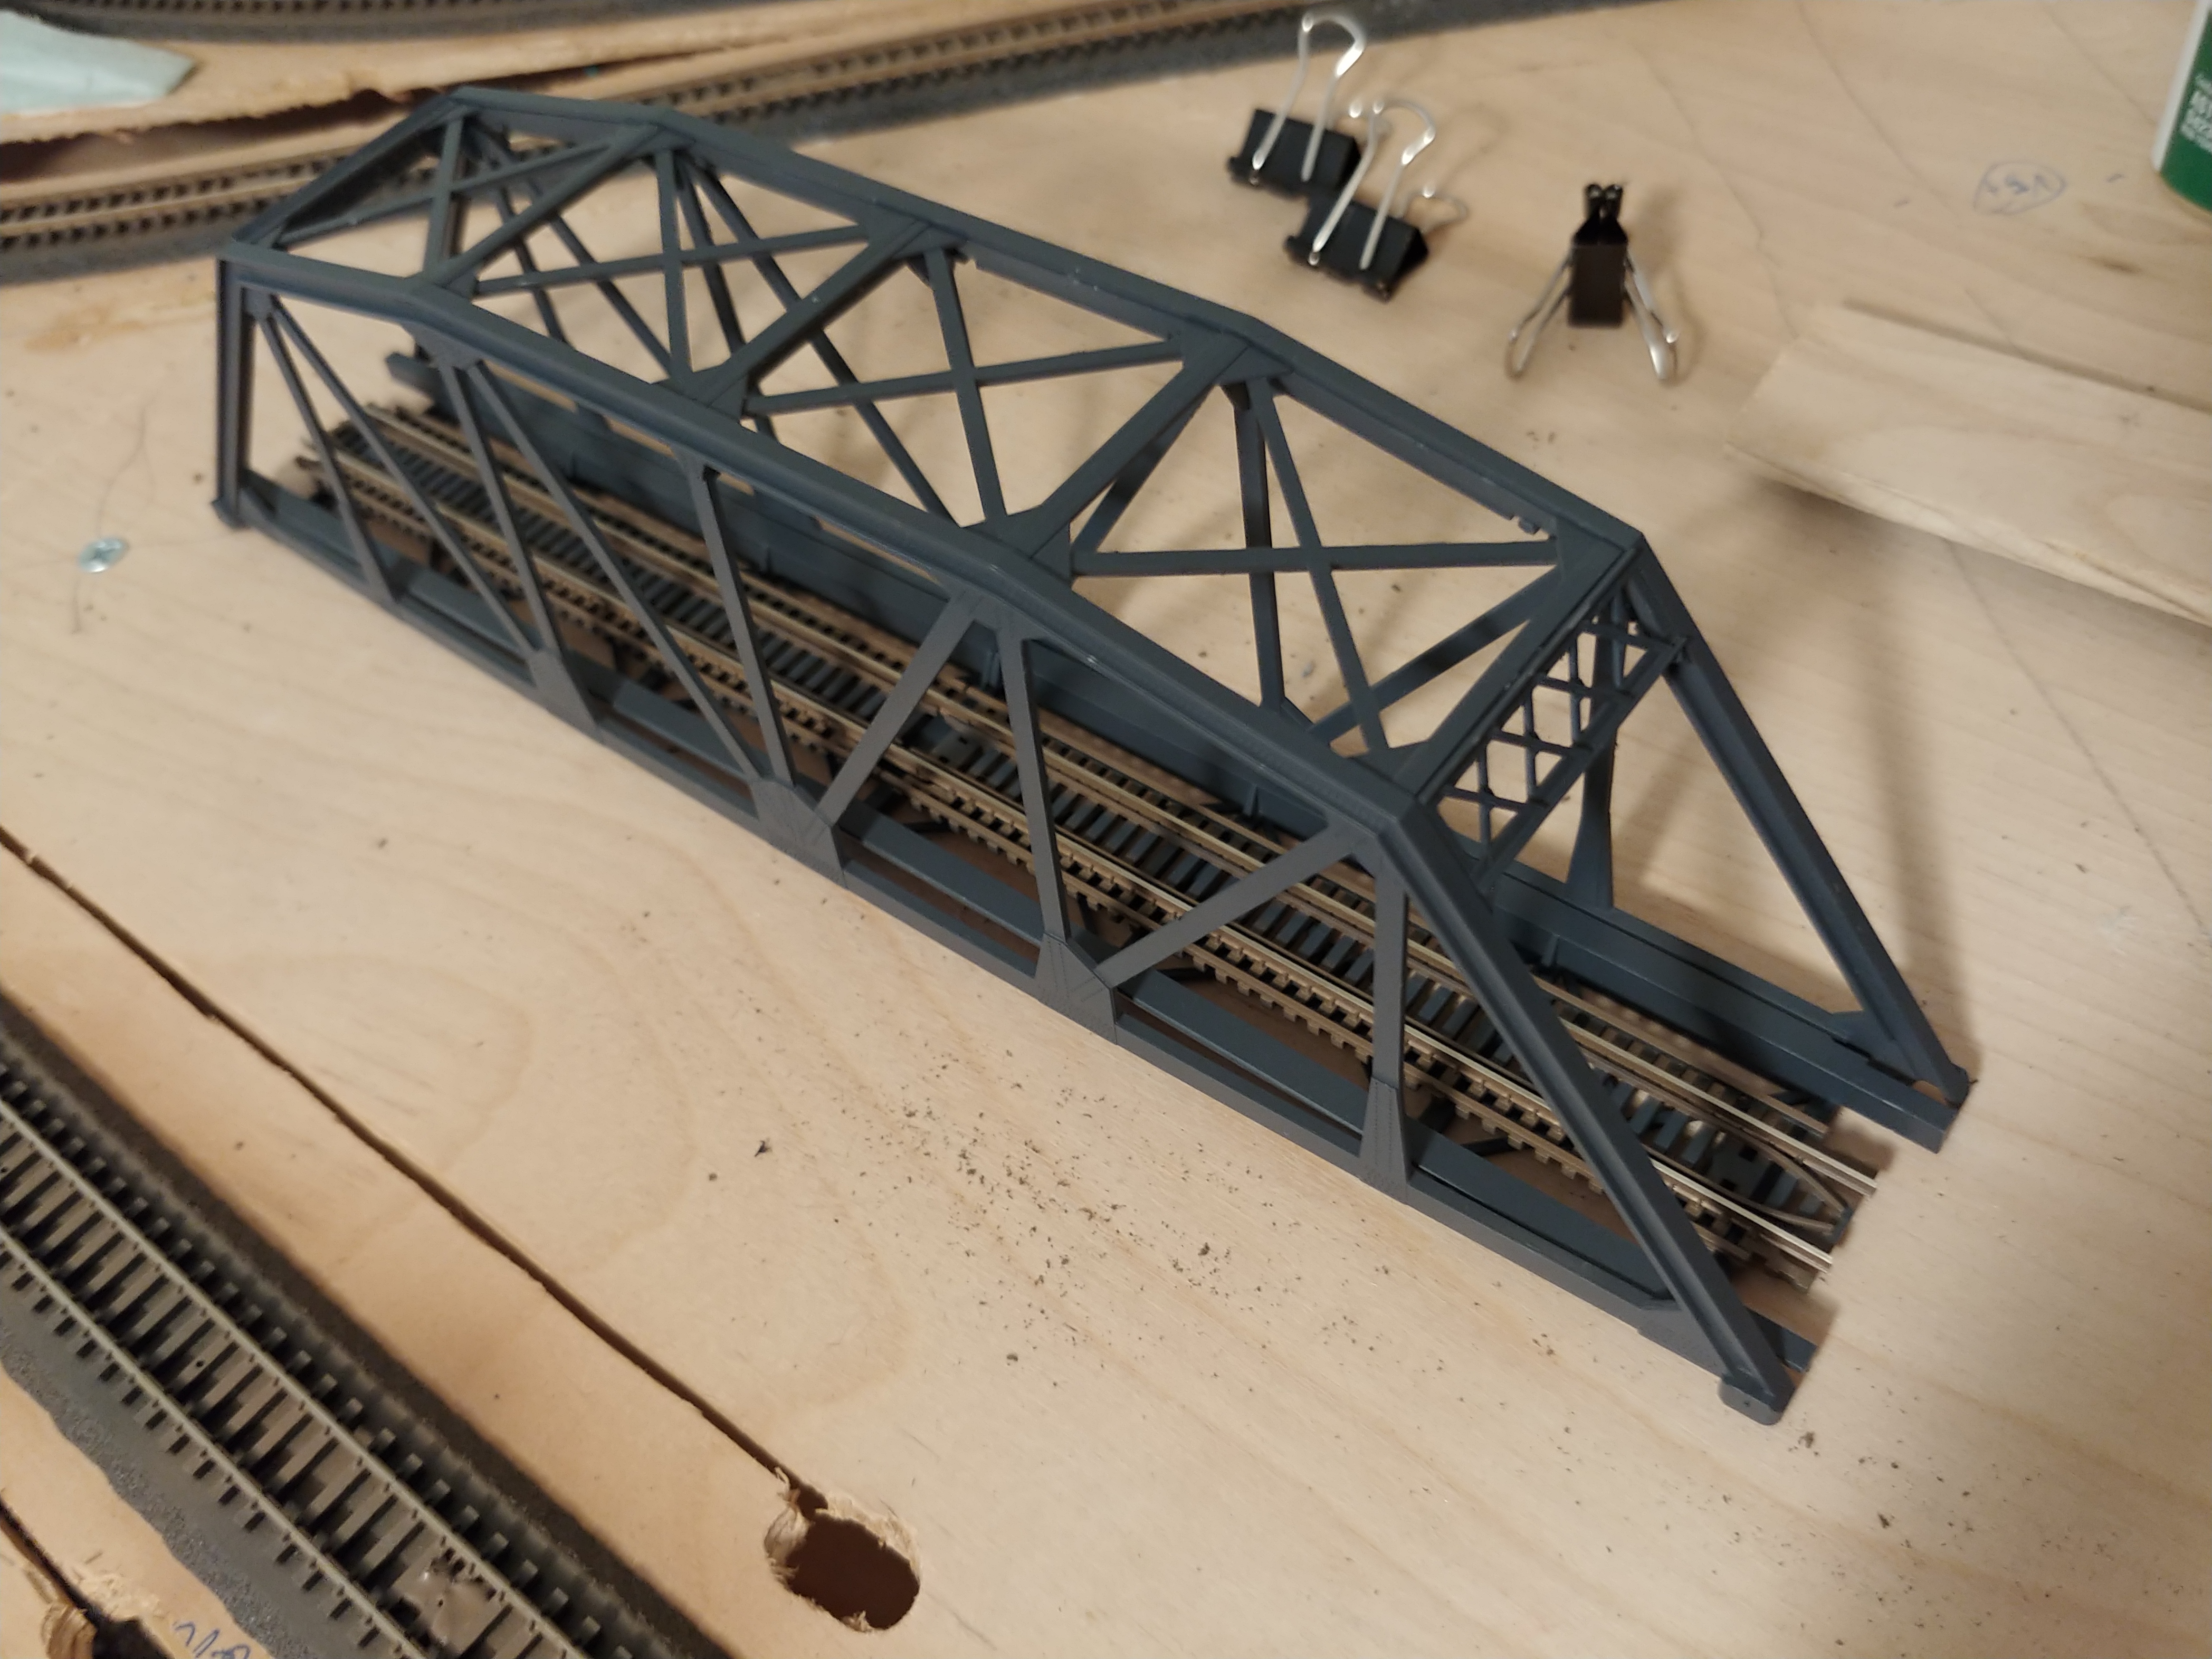
Painted and assembling tressle kit
December 25, 2018
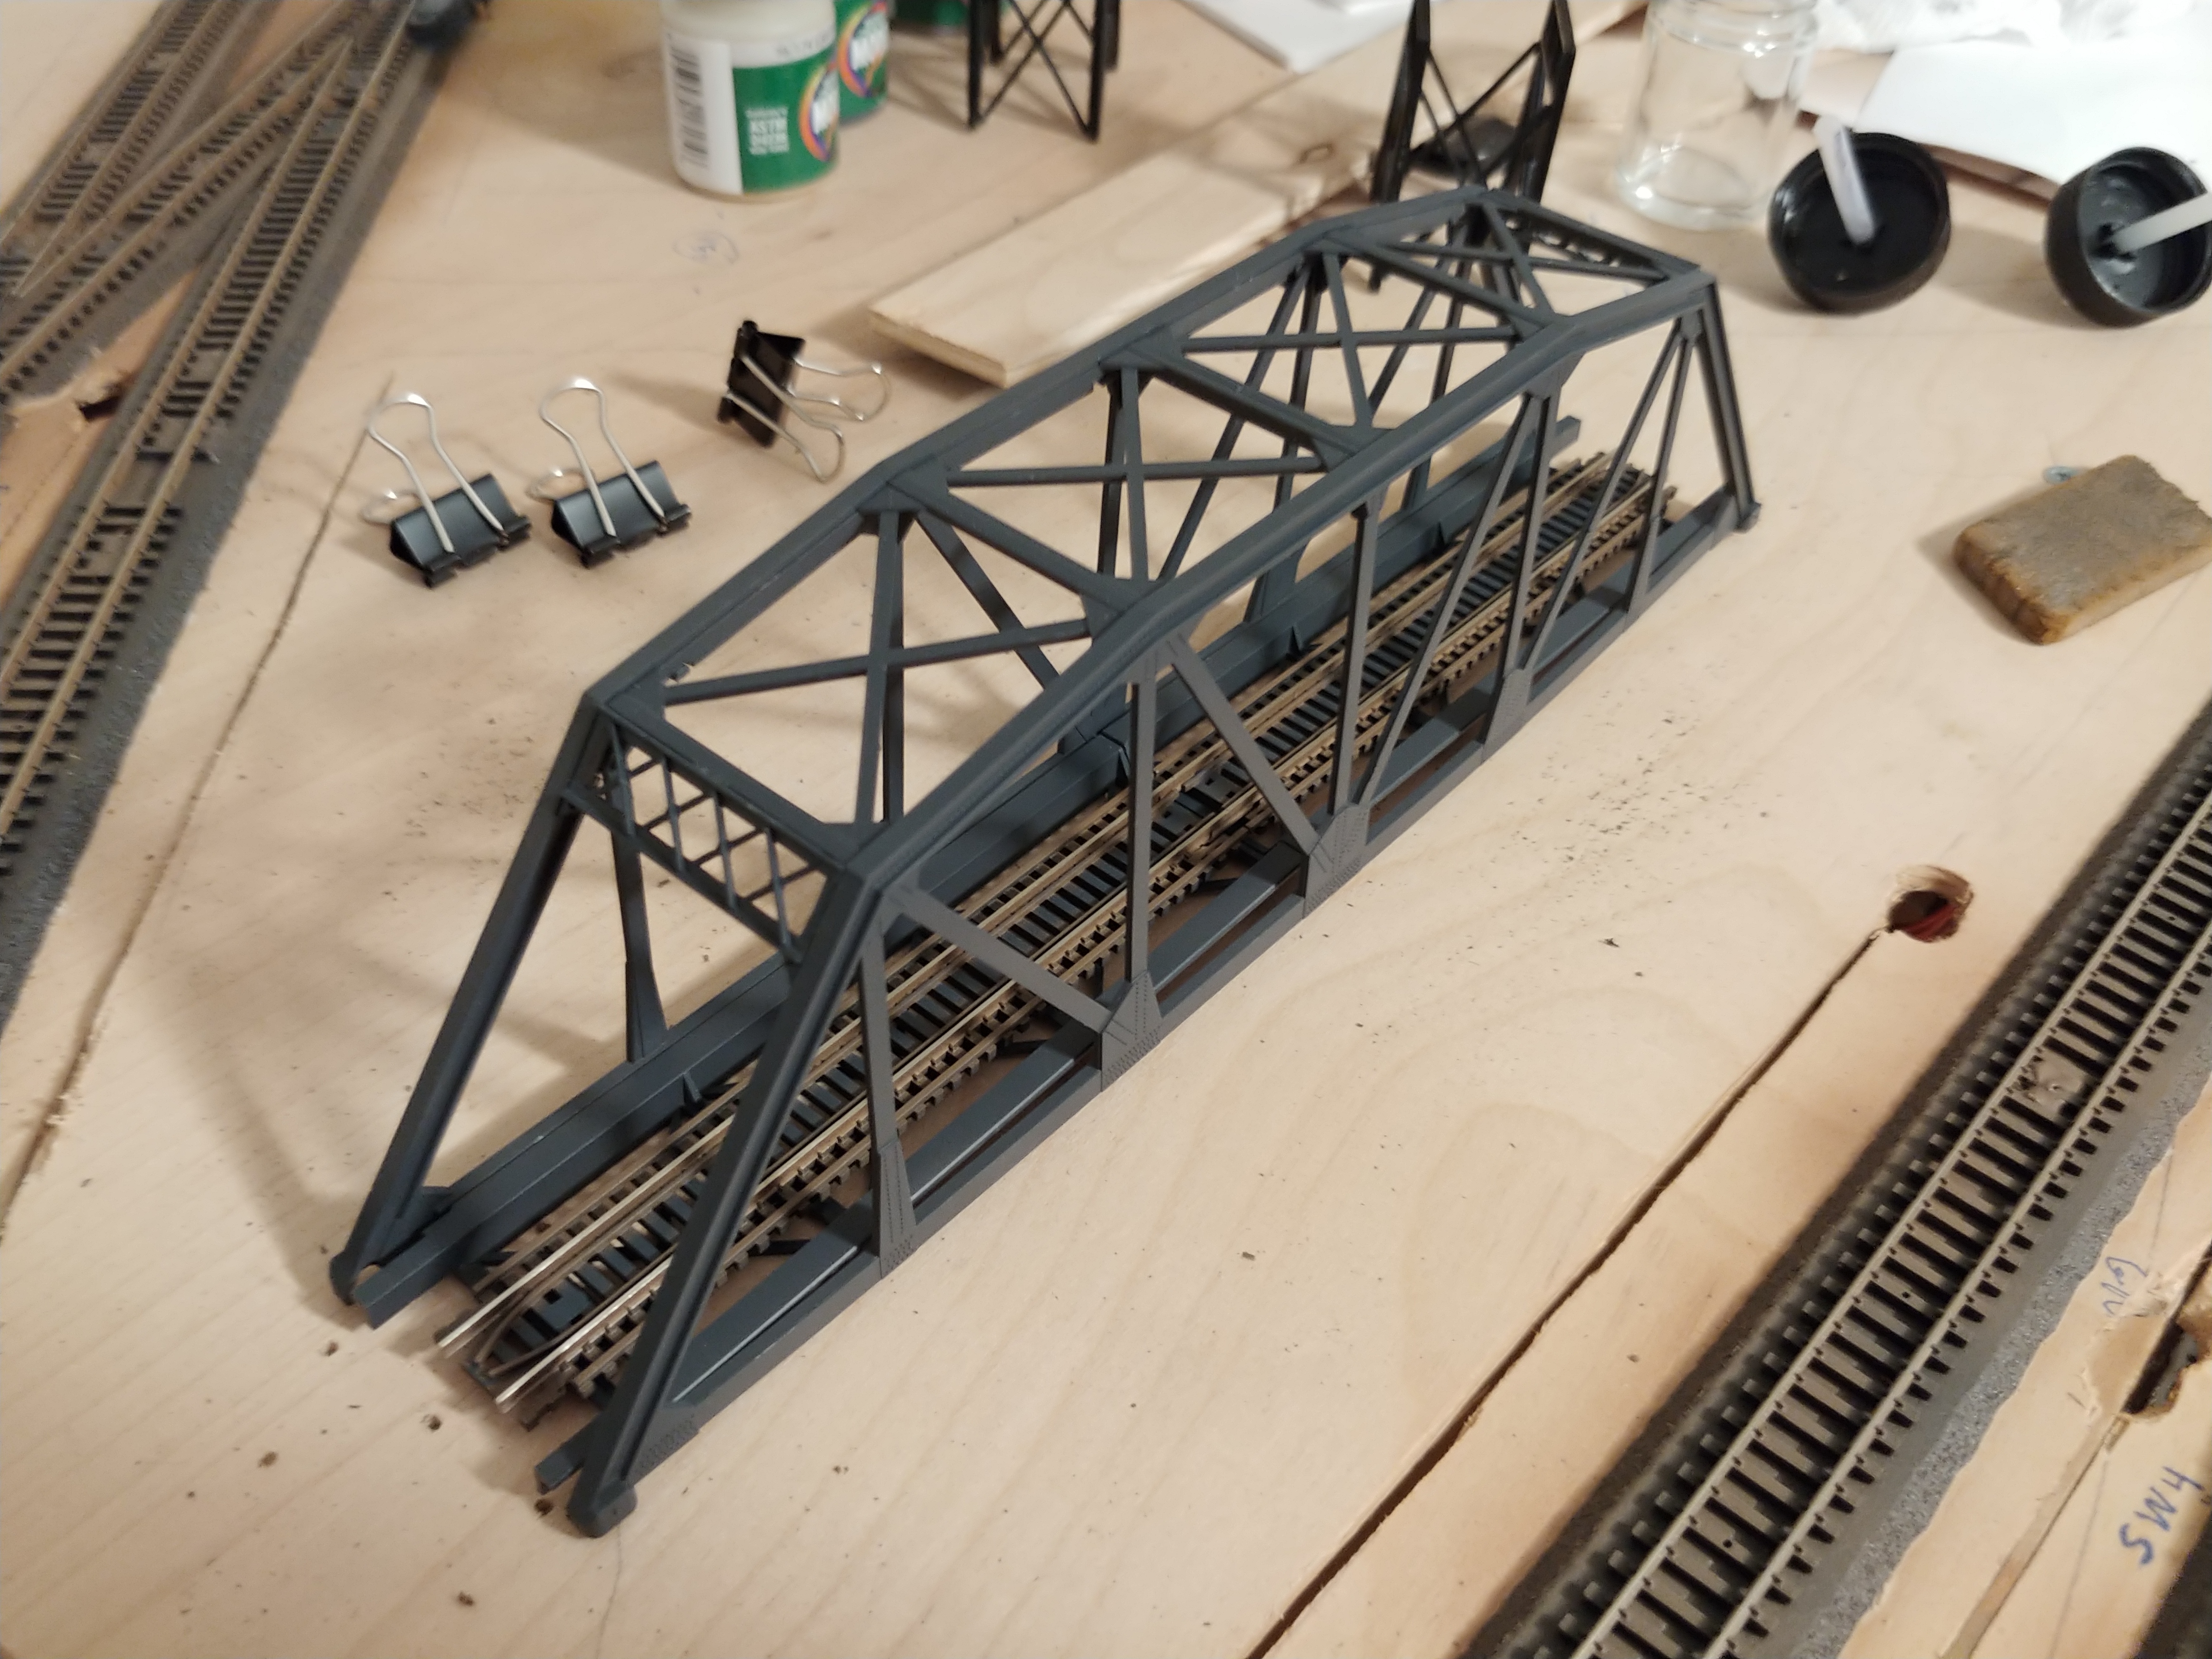
(25-Dec-2018) Painted and assembling tressle kit
December 26, 2018
Experimenting with more airbrushing
December 26, 2019
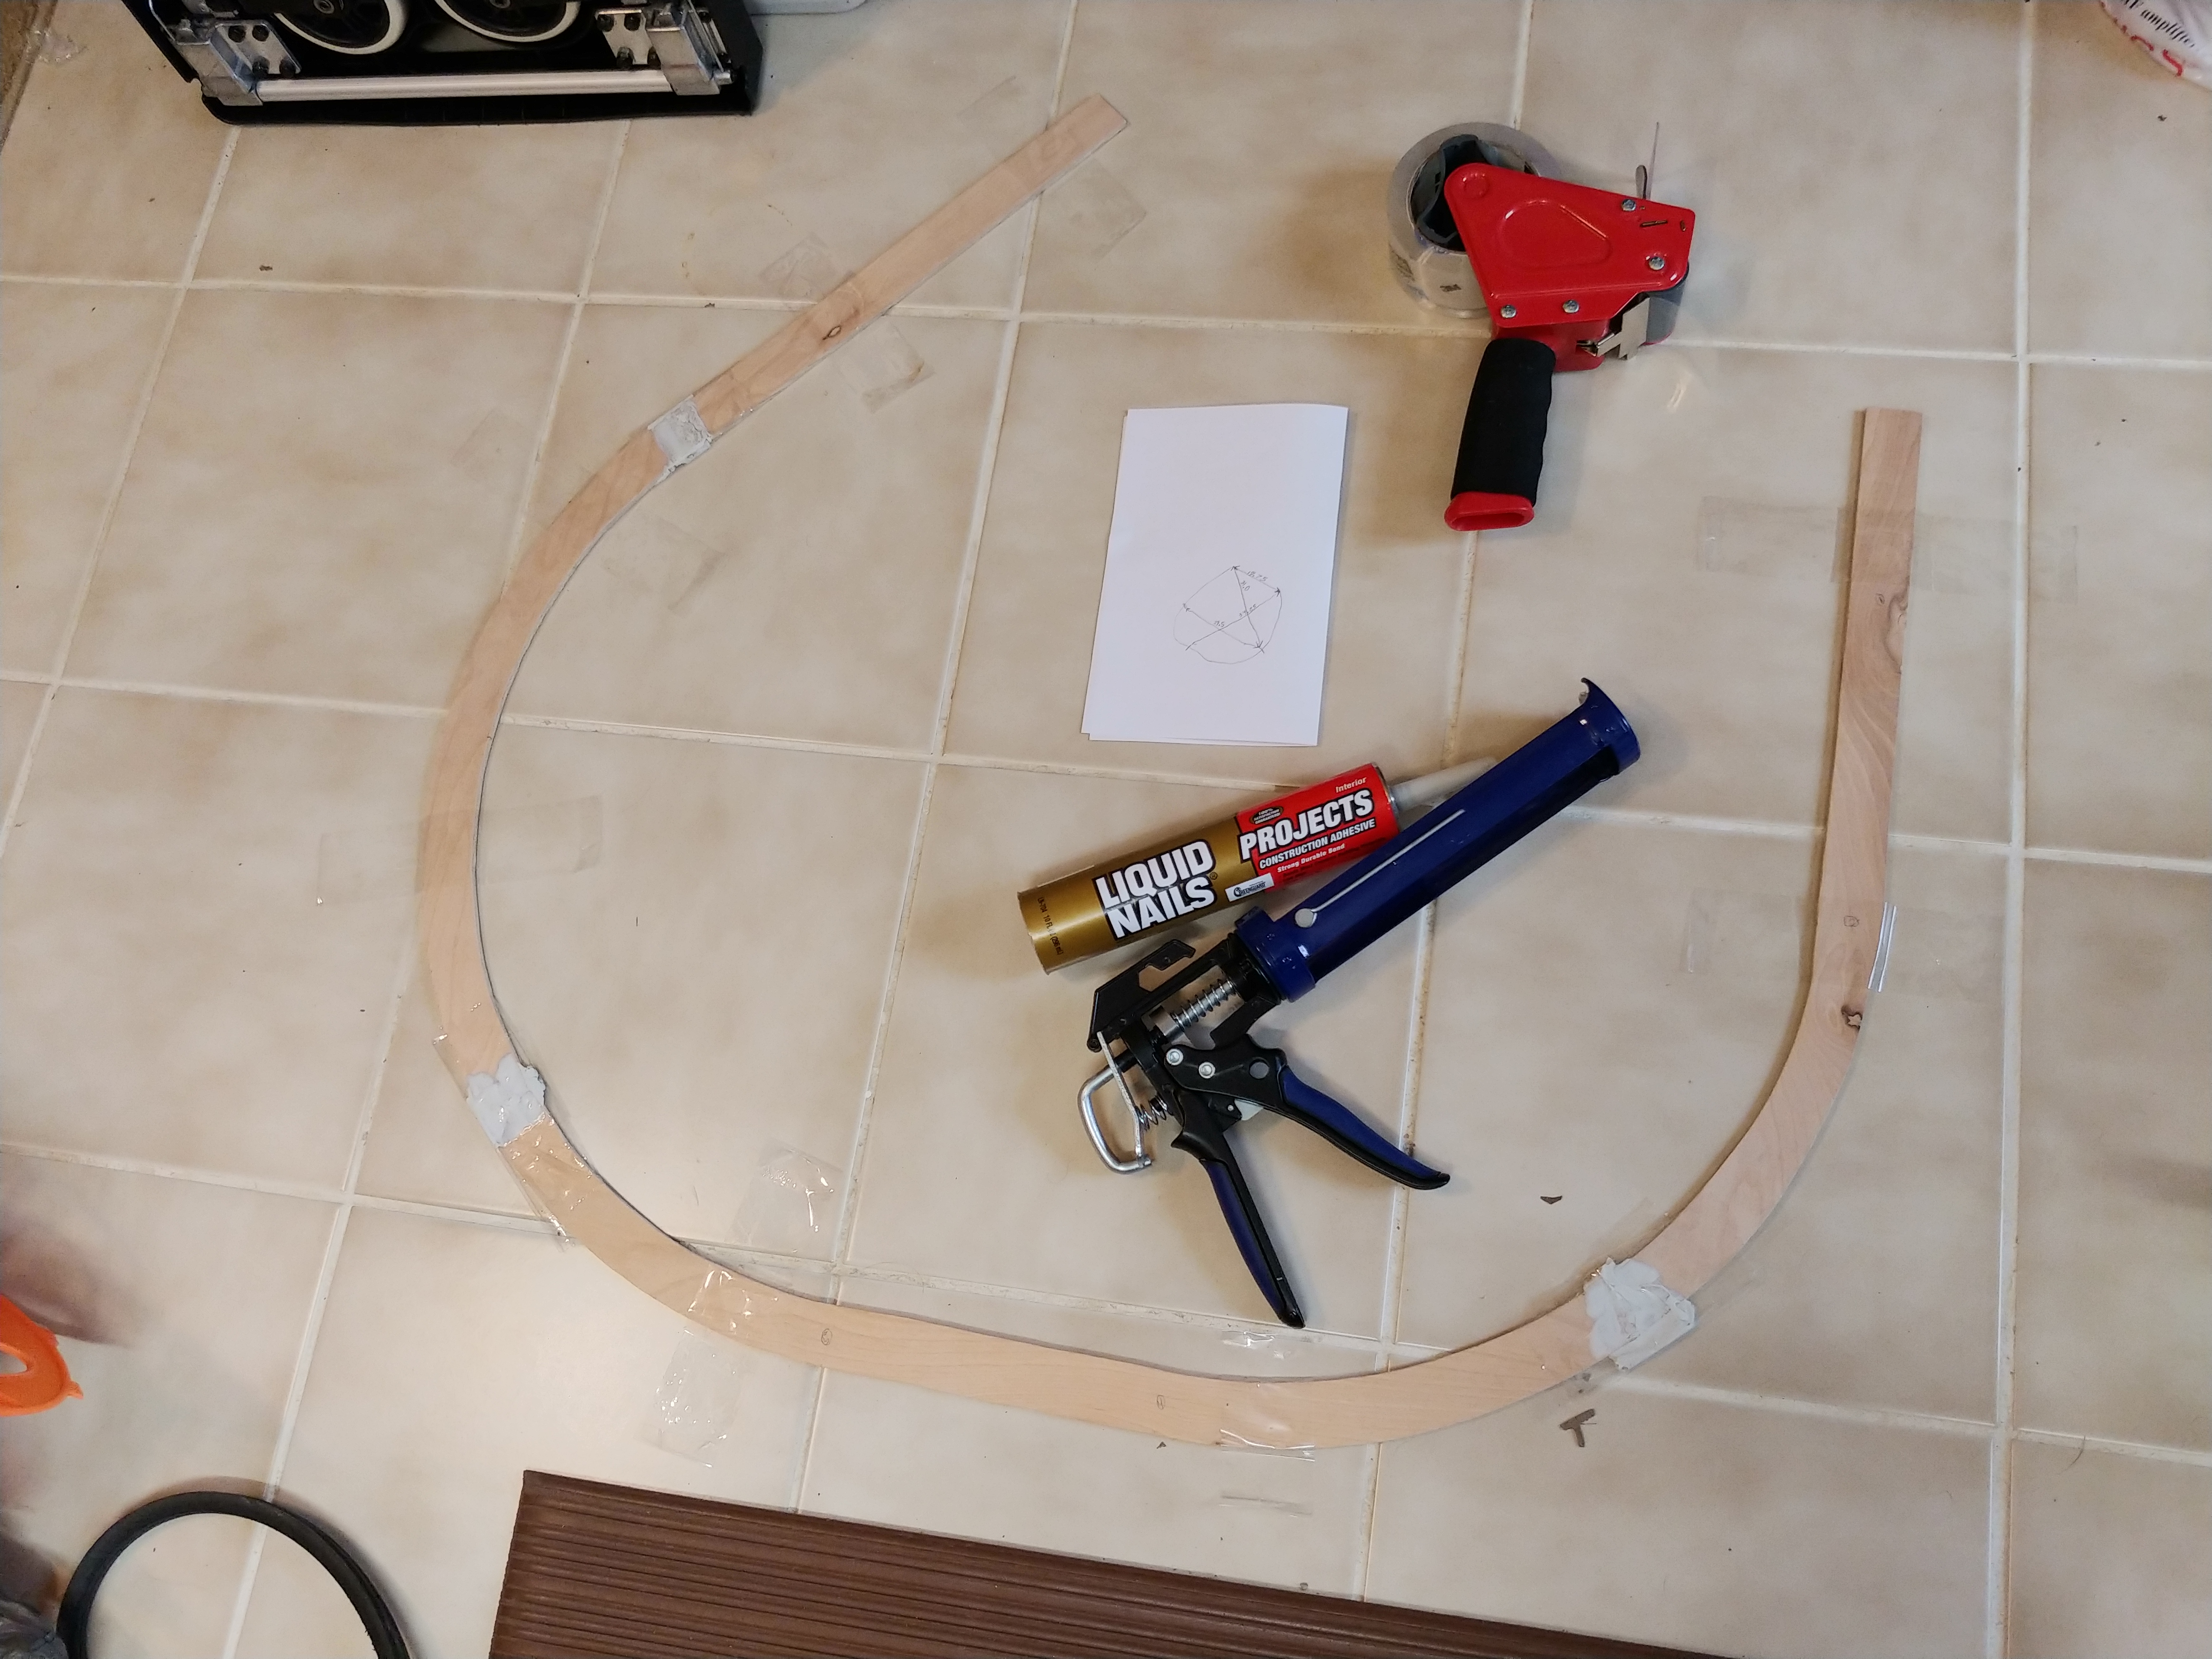
Gluing the wood bridge base pieces together
Constructing Bridge Track
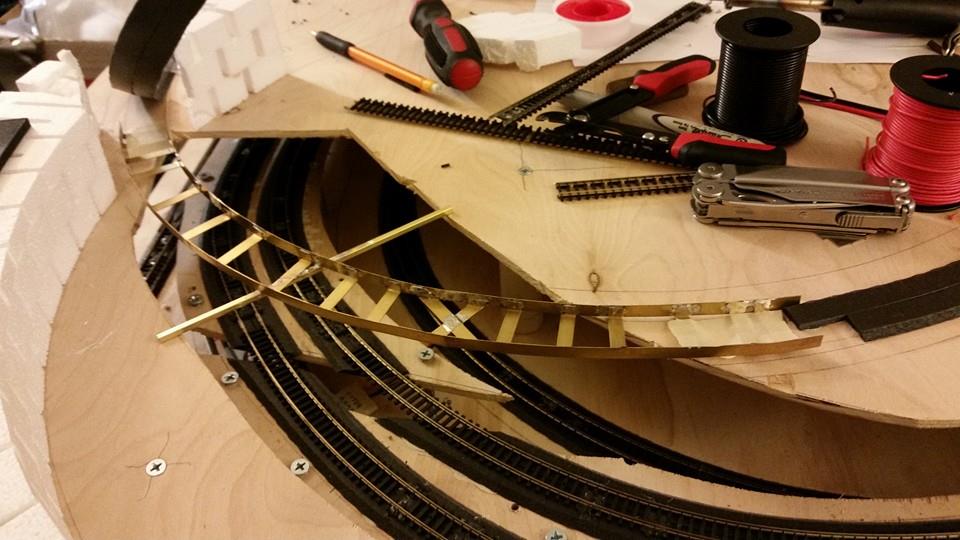
November 25, 2023
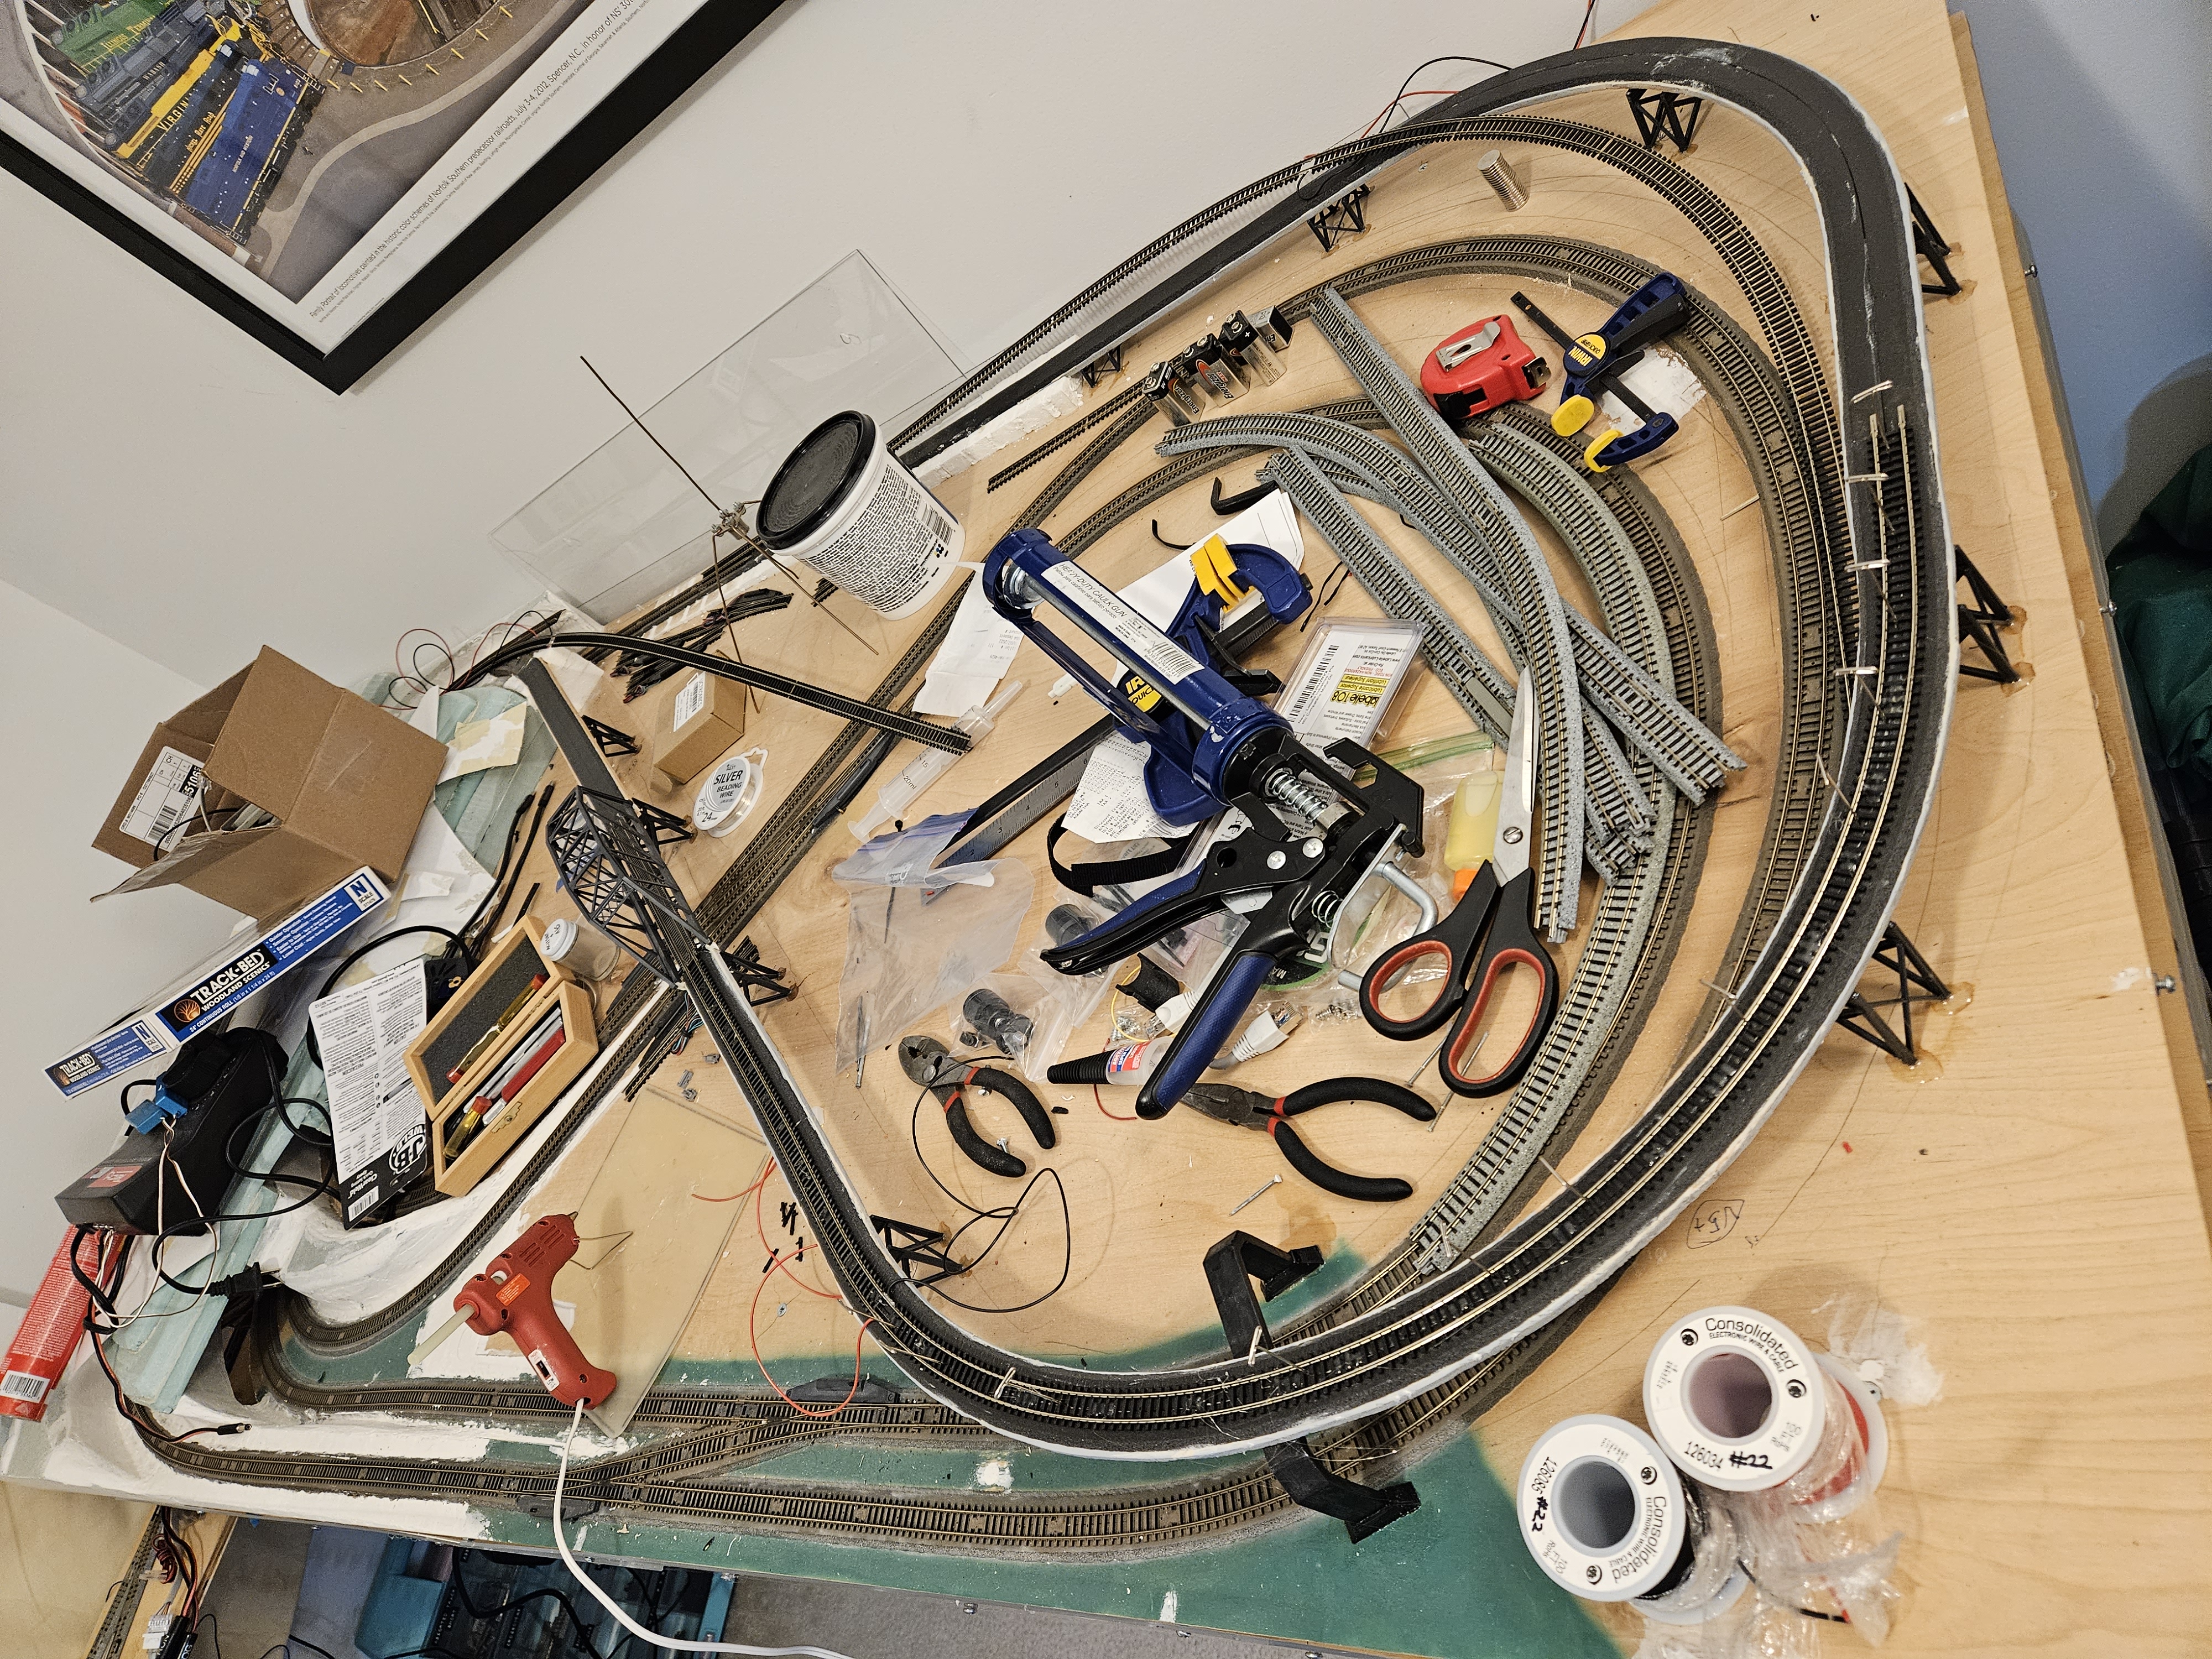
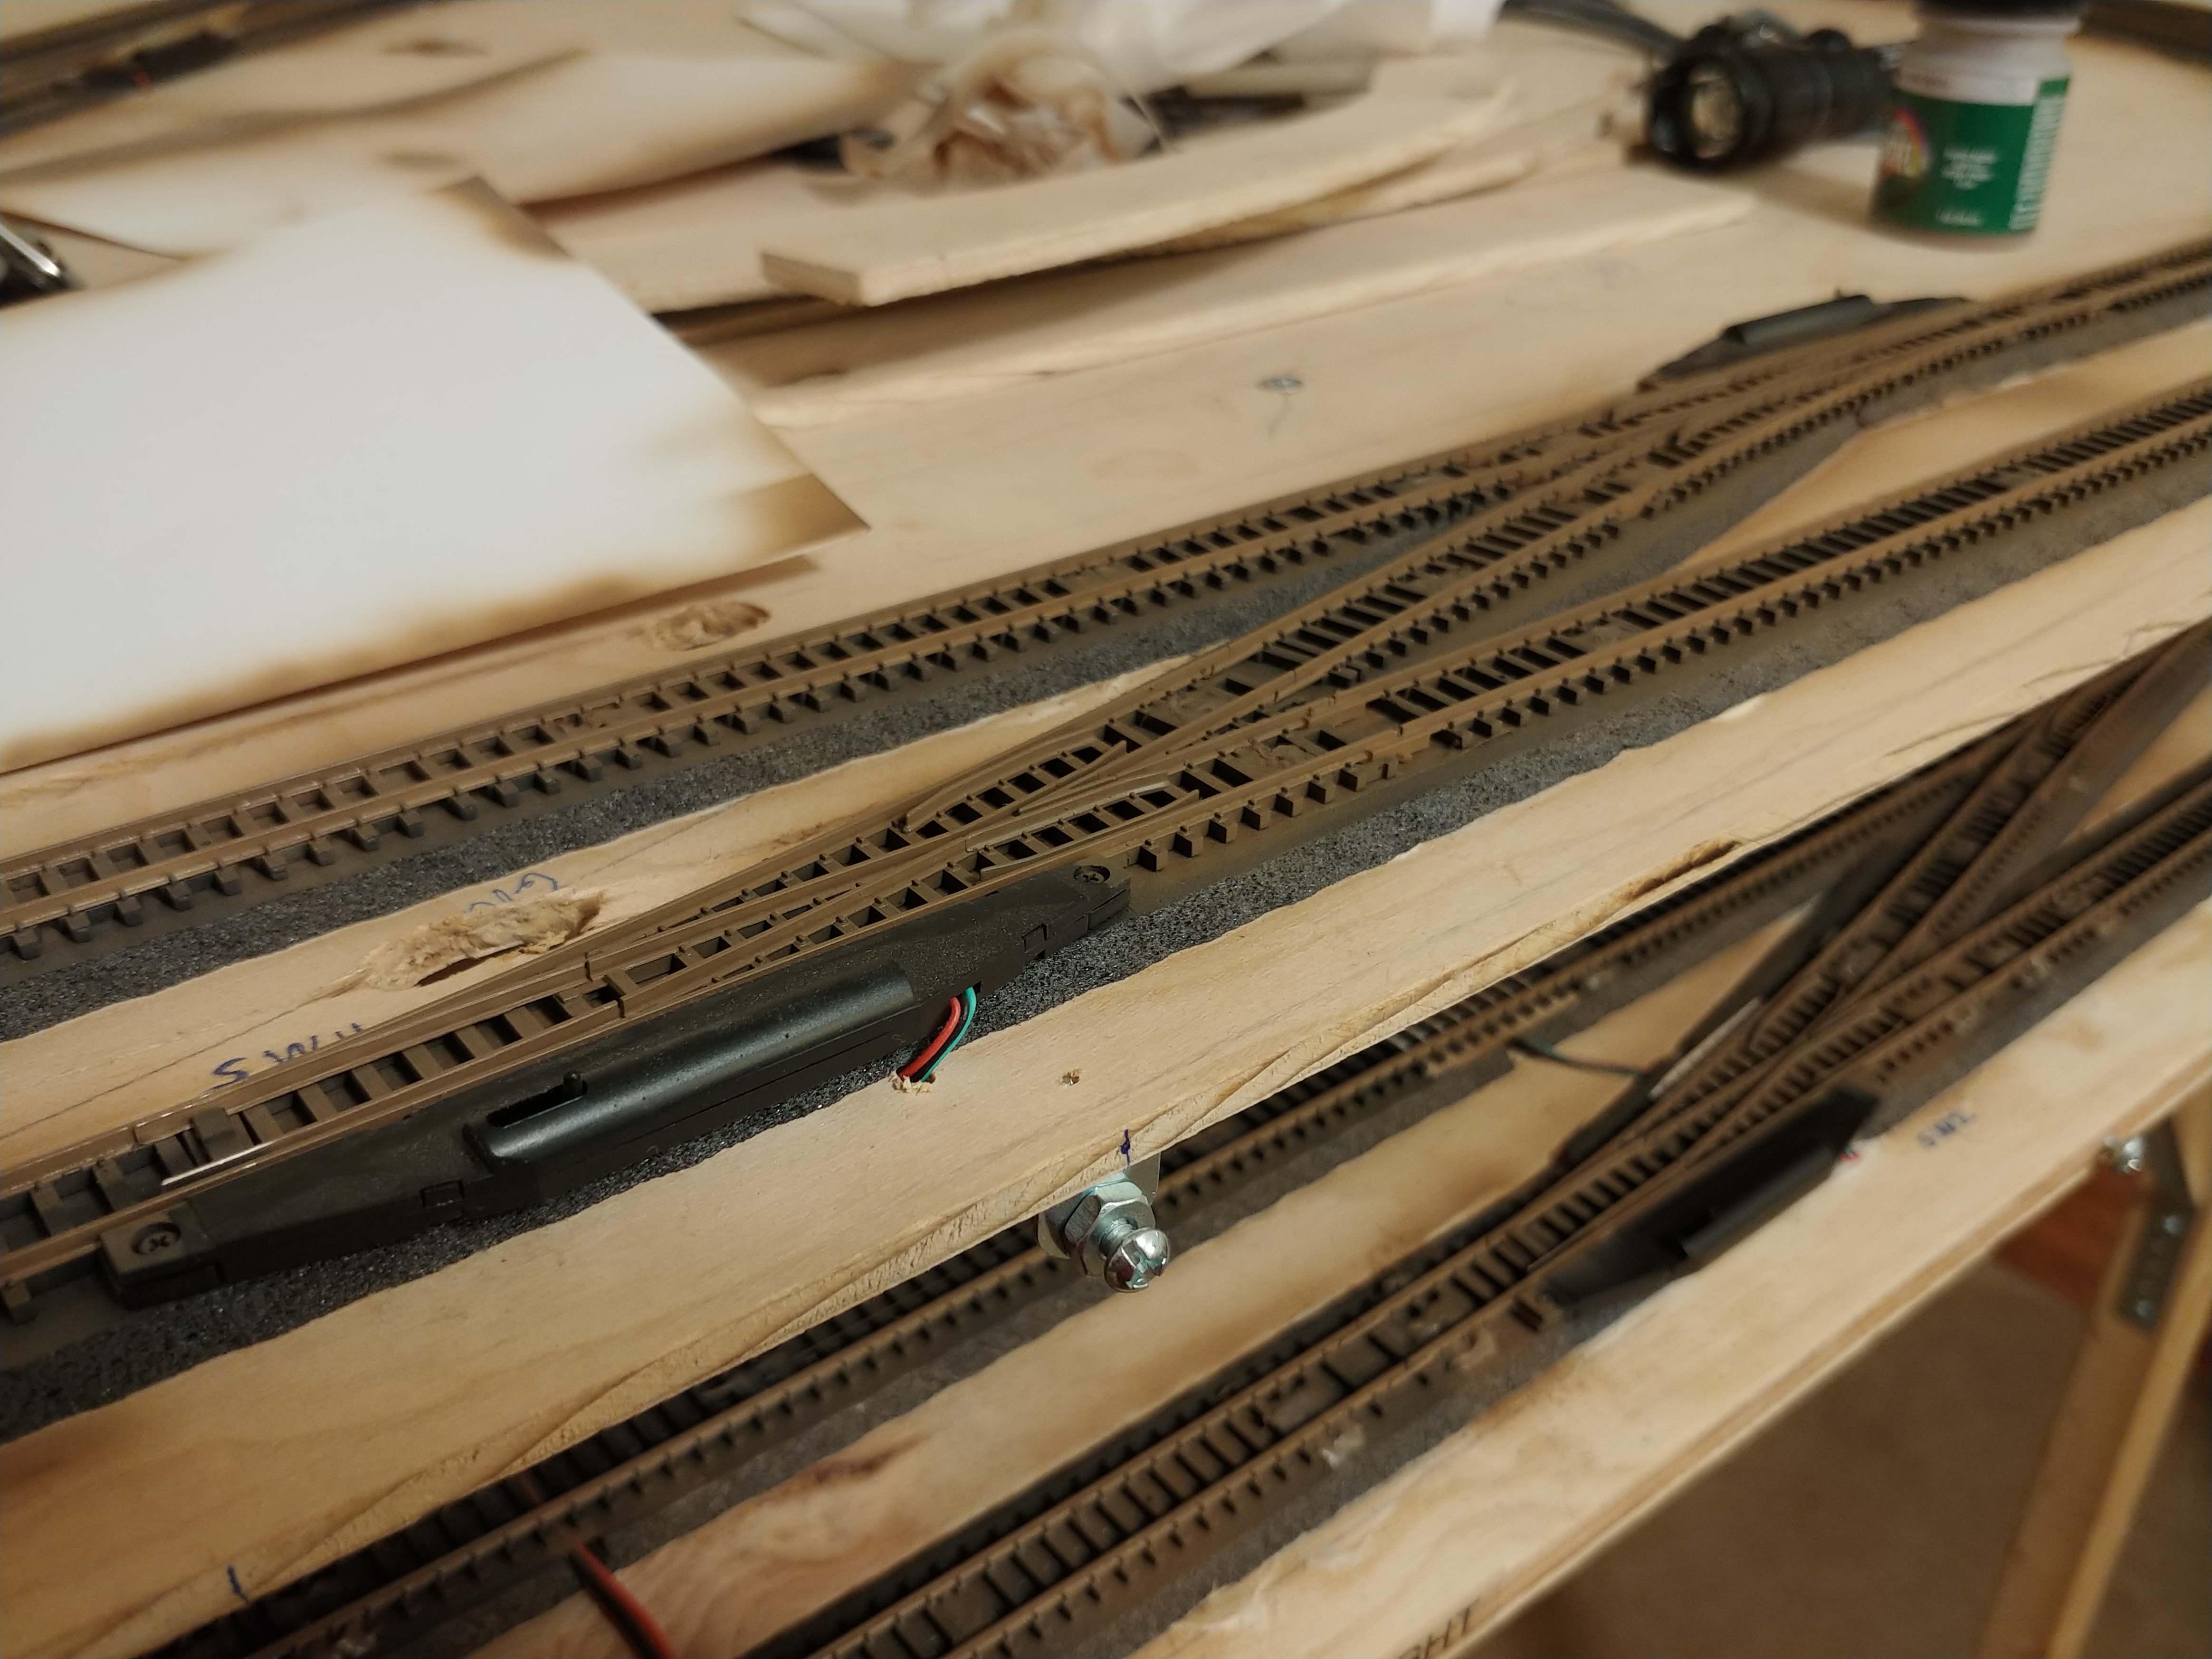
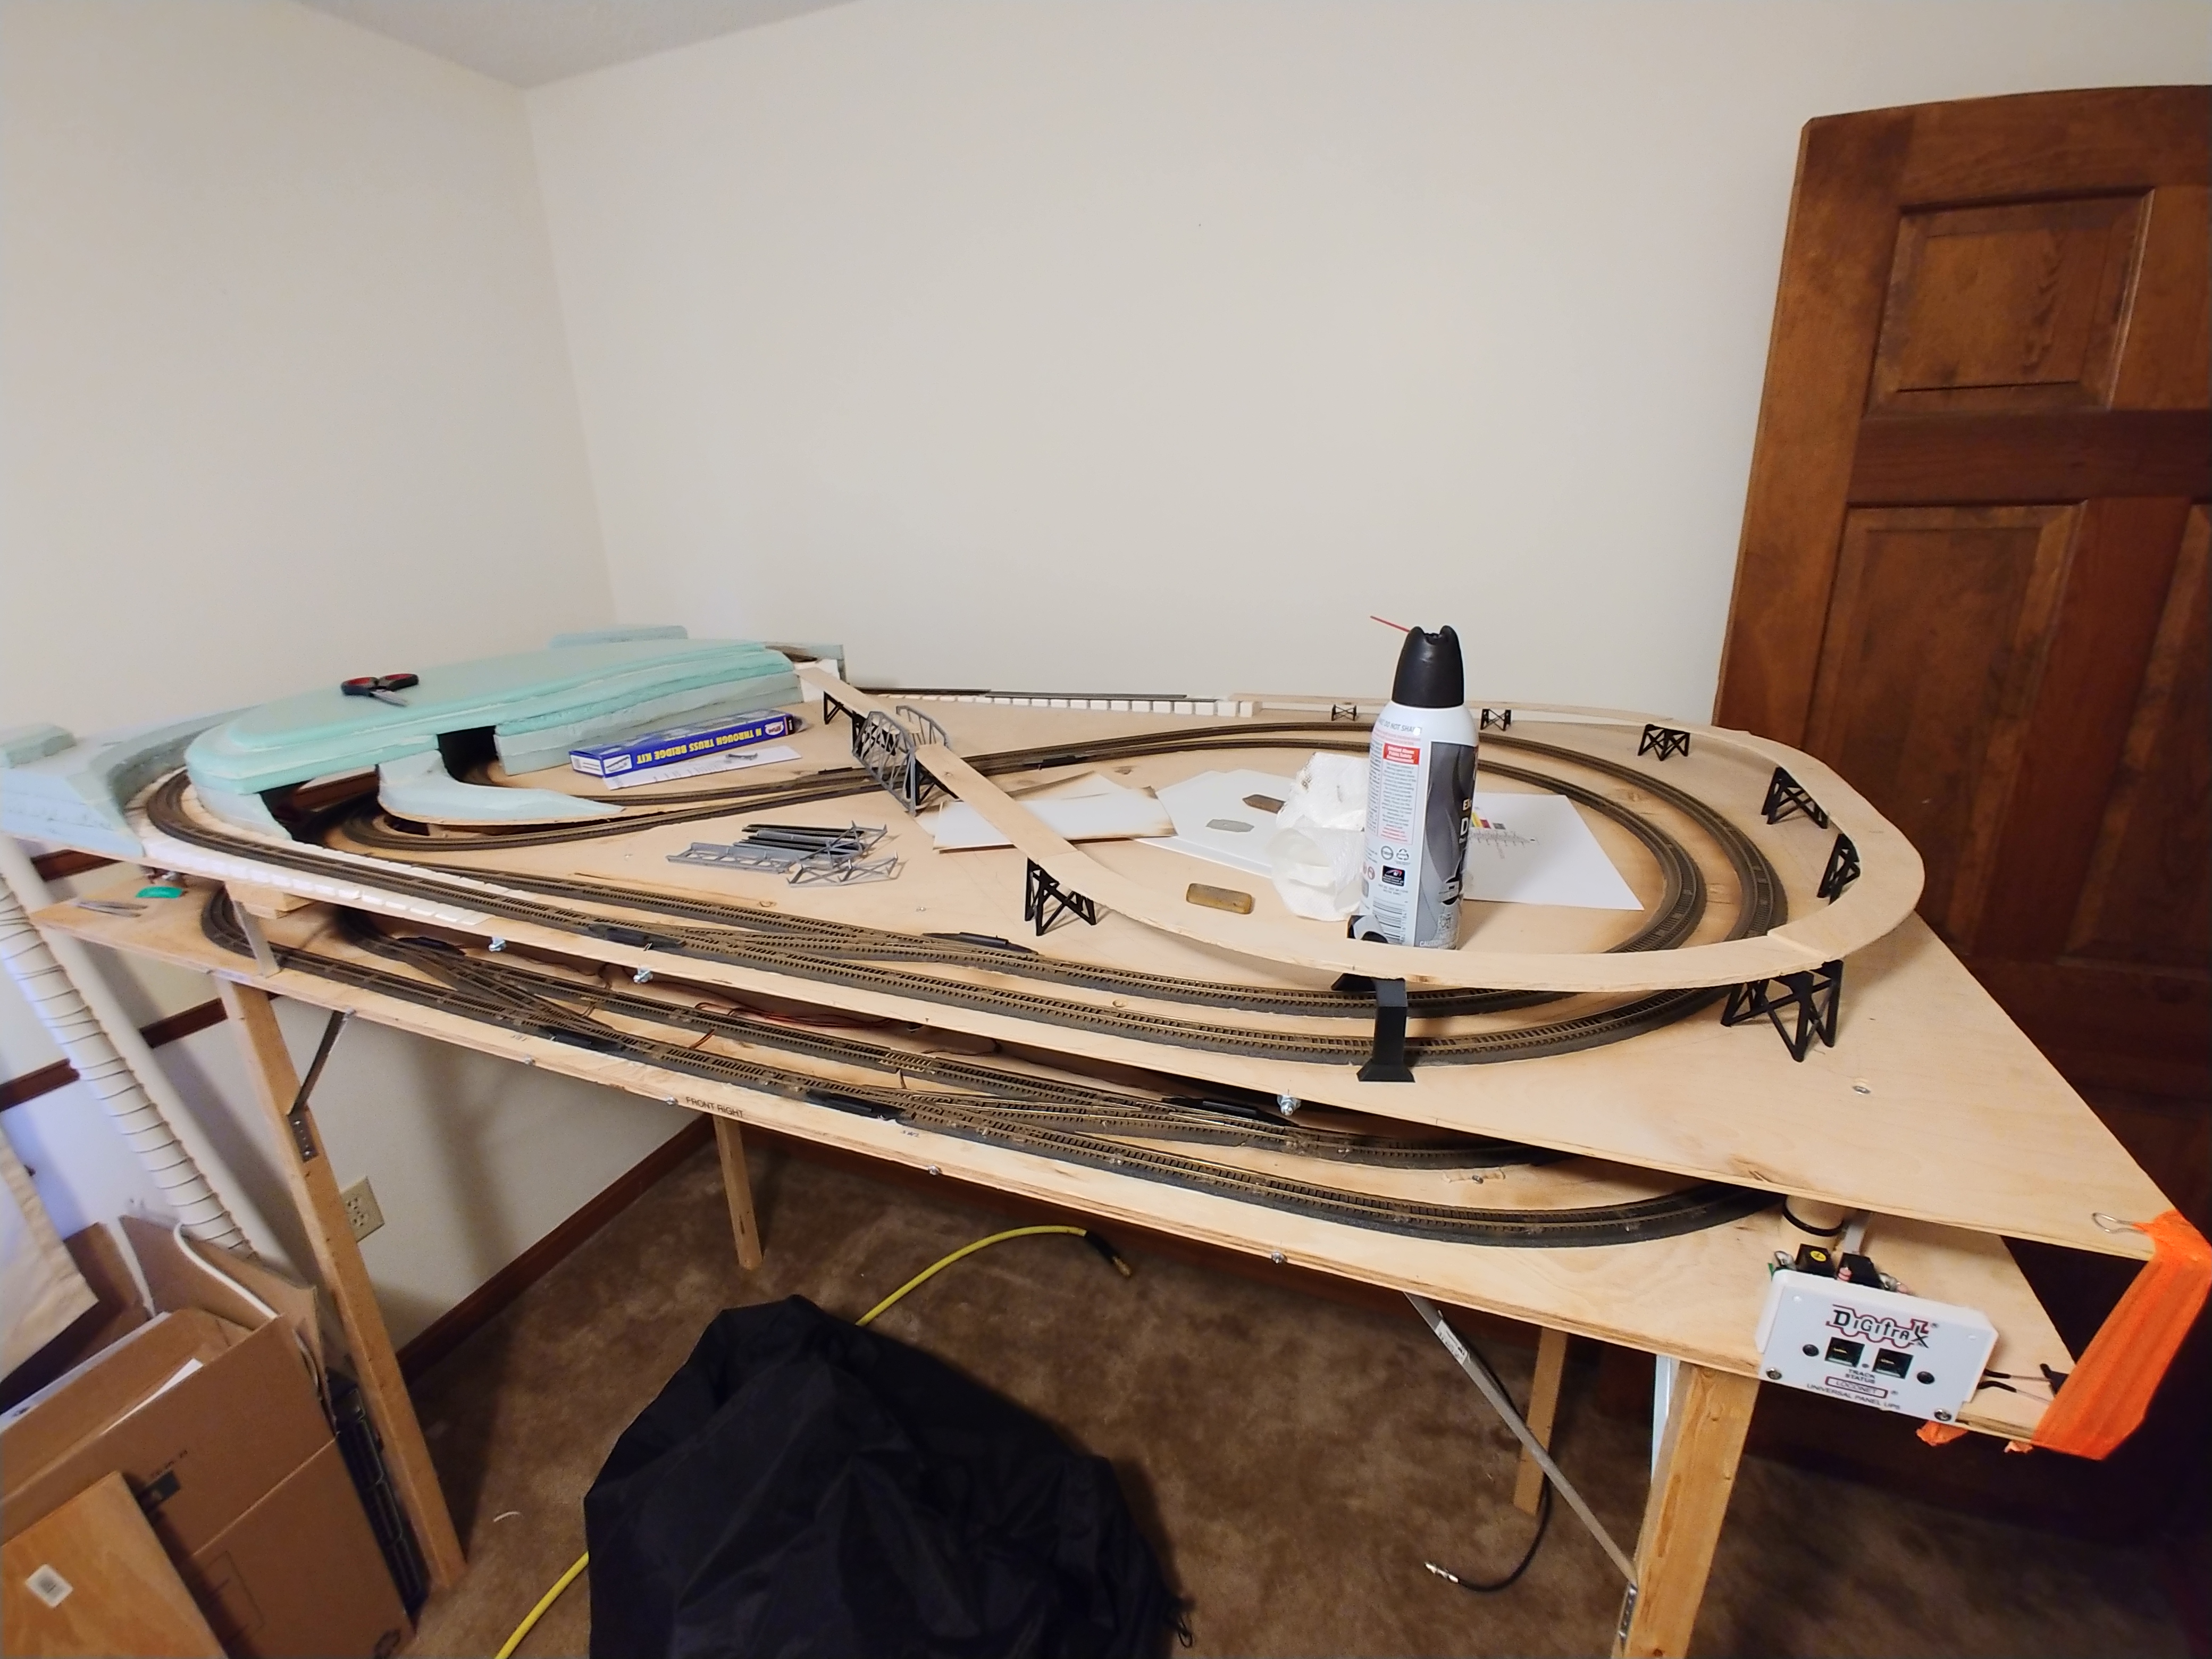
Nearly 9 years since the last track was put down, the bridge track is finally going into place. Previously (not pictured) this same week the bridge supports were epoxied onto the wood bridge base, and then epoxy "footings" poured around the base of the supports to hold everything down firmly to the wood tabletop. The bridge supports now fully installed, track is finally being put down on bridge.
November 25, 2023
Bridge supports installed, track being put down on bridge connecting to existing rear ramp (at front of picture, layout is turned around for access)
November 25, 2023
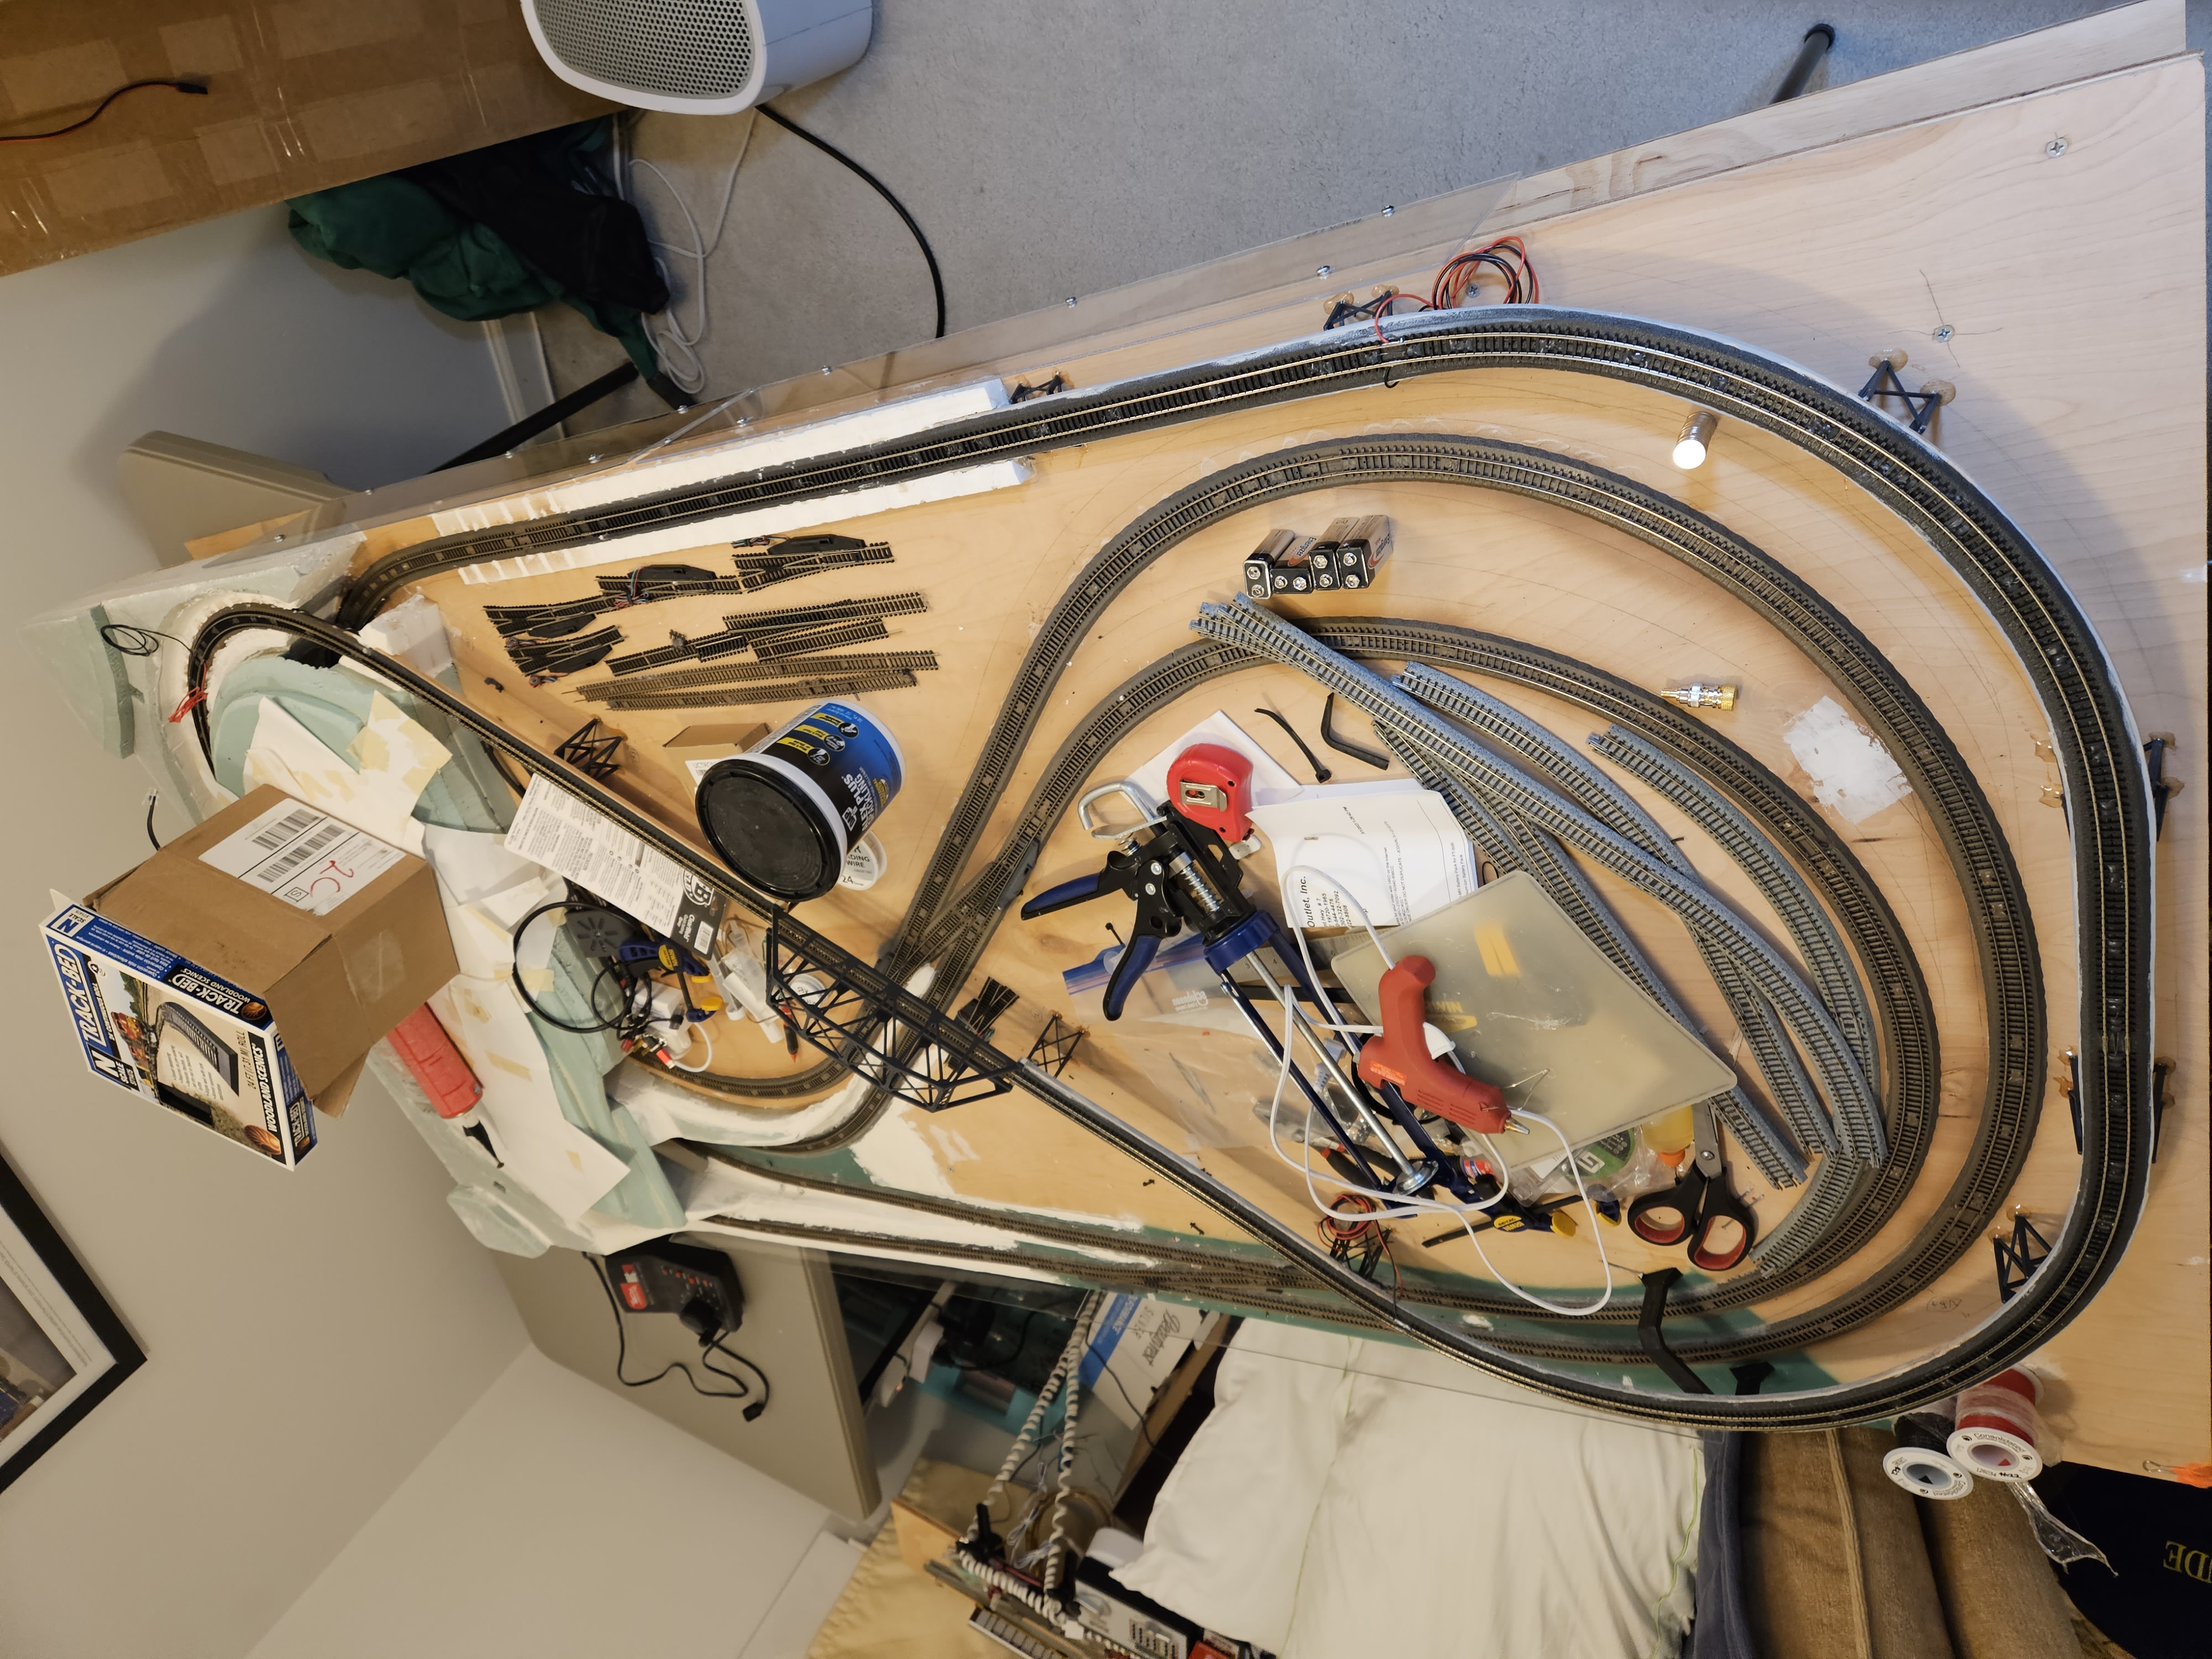
Bridge supports installed, track being put down on bridge. Final pieces in place to complete bridge loop.
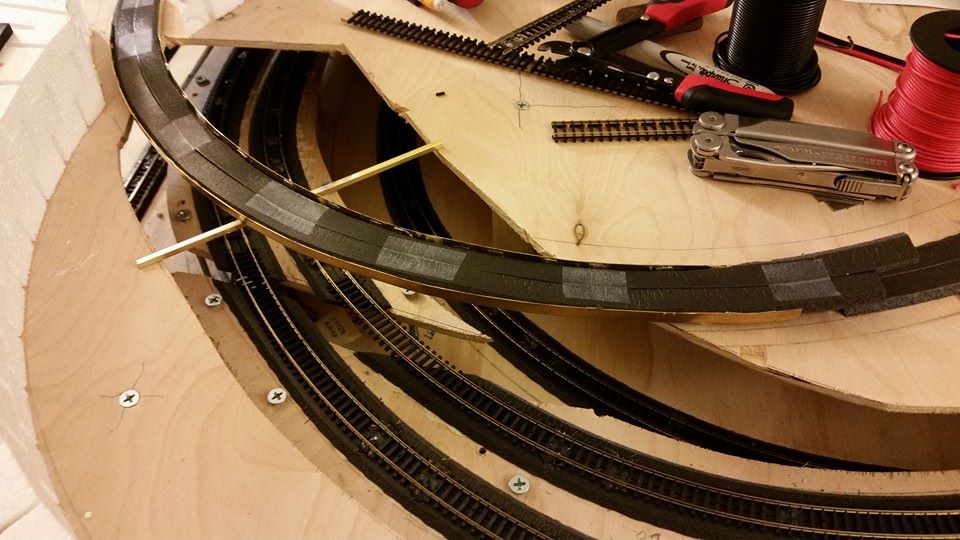
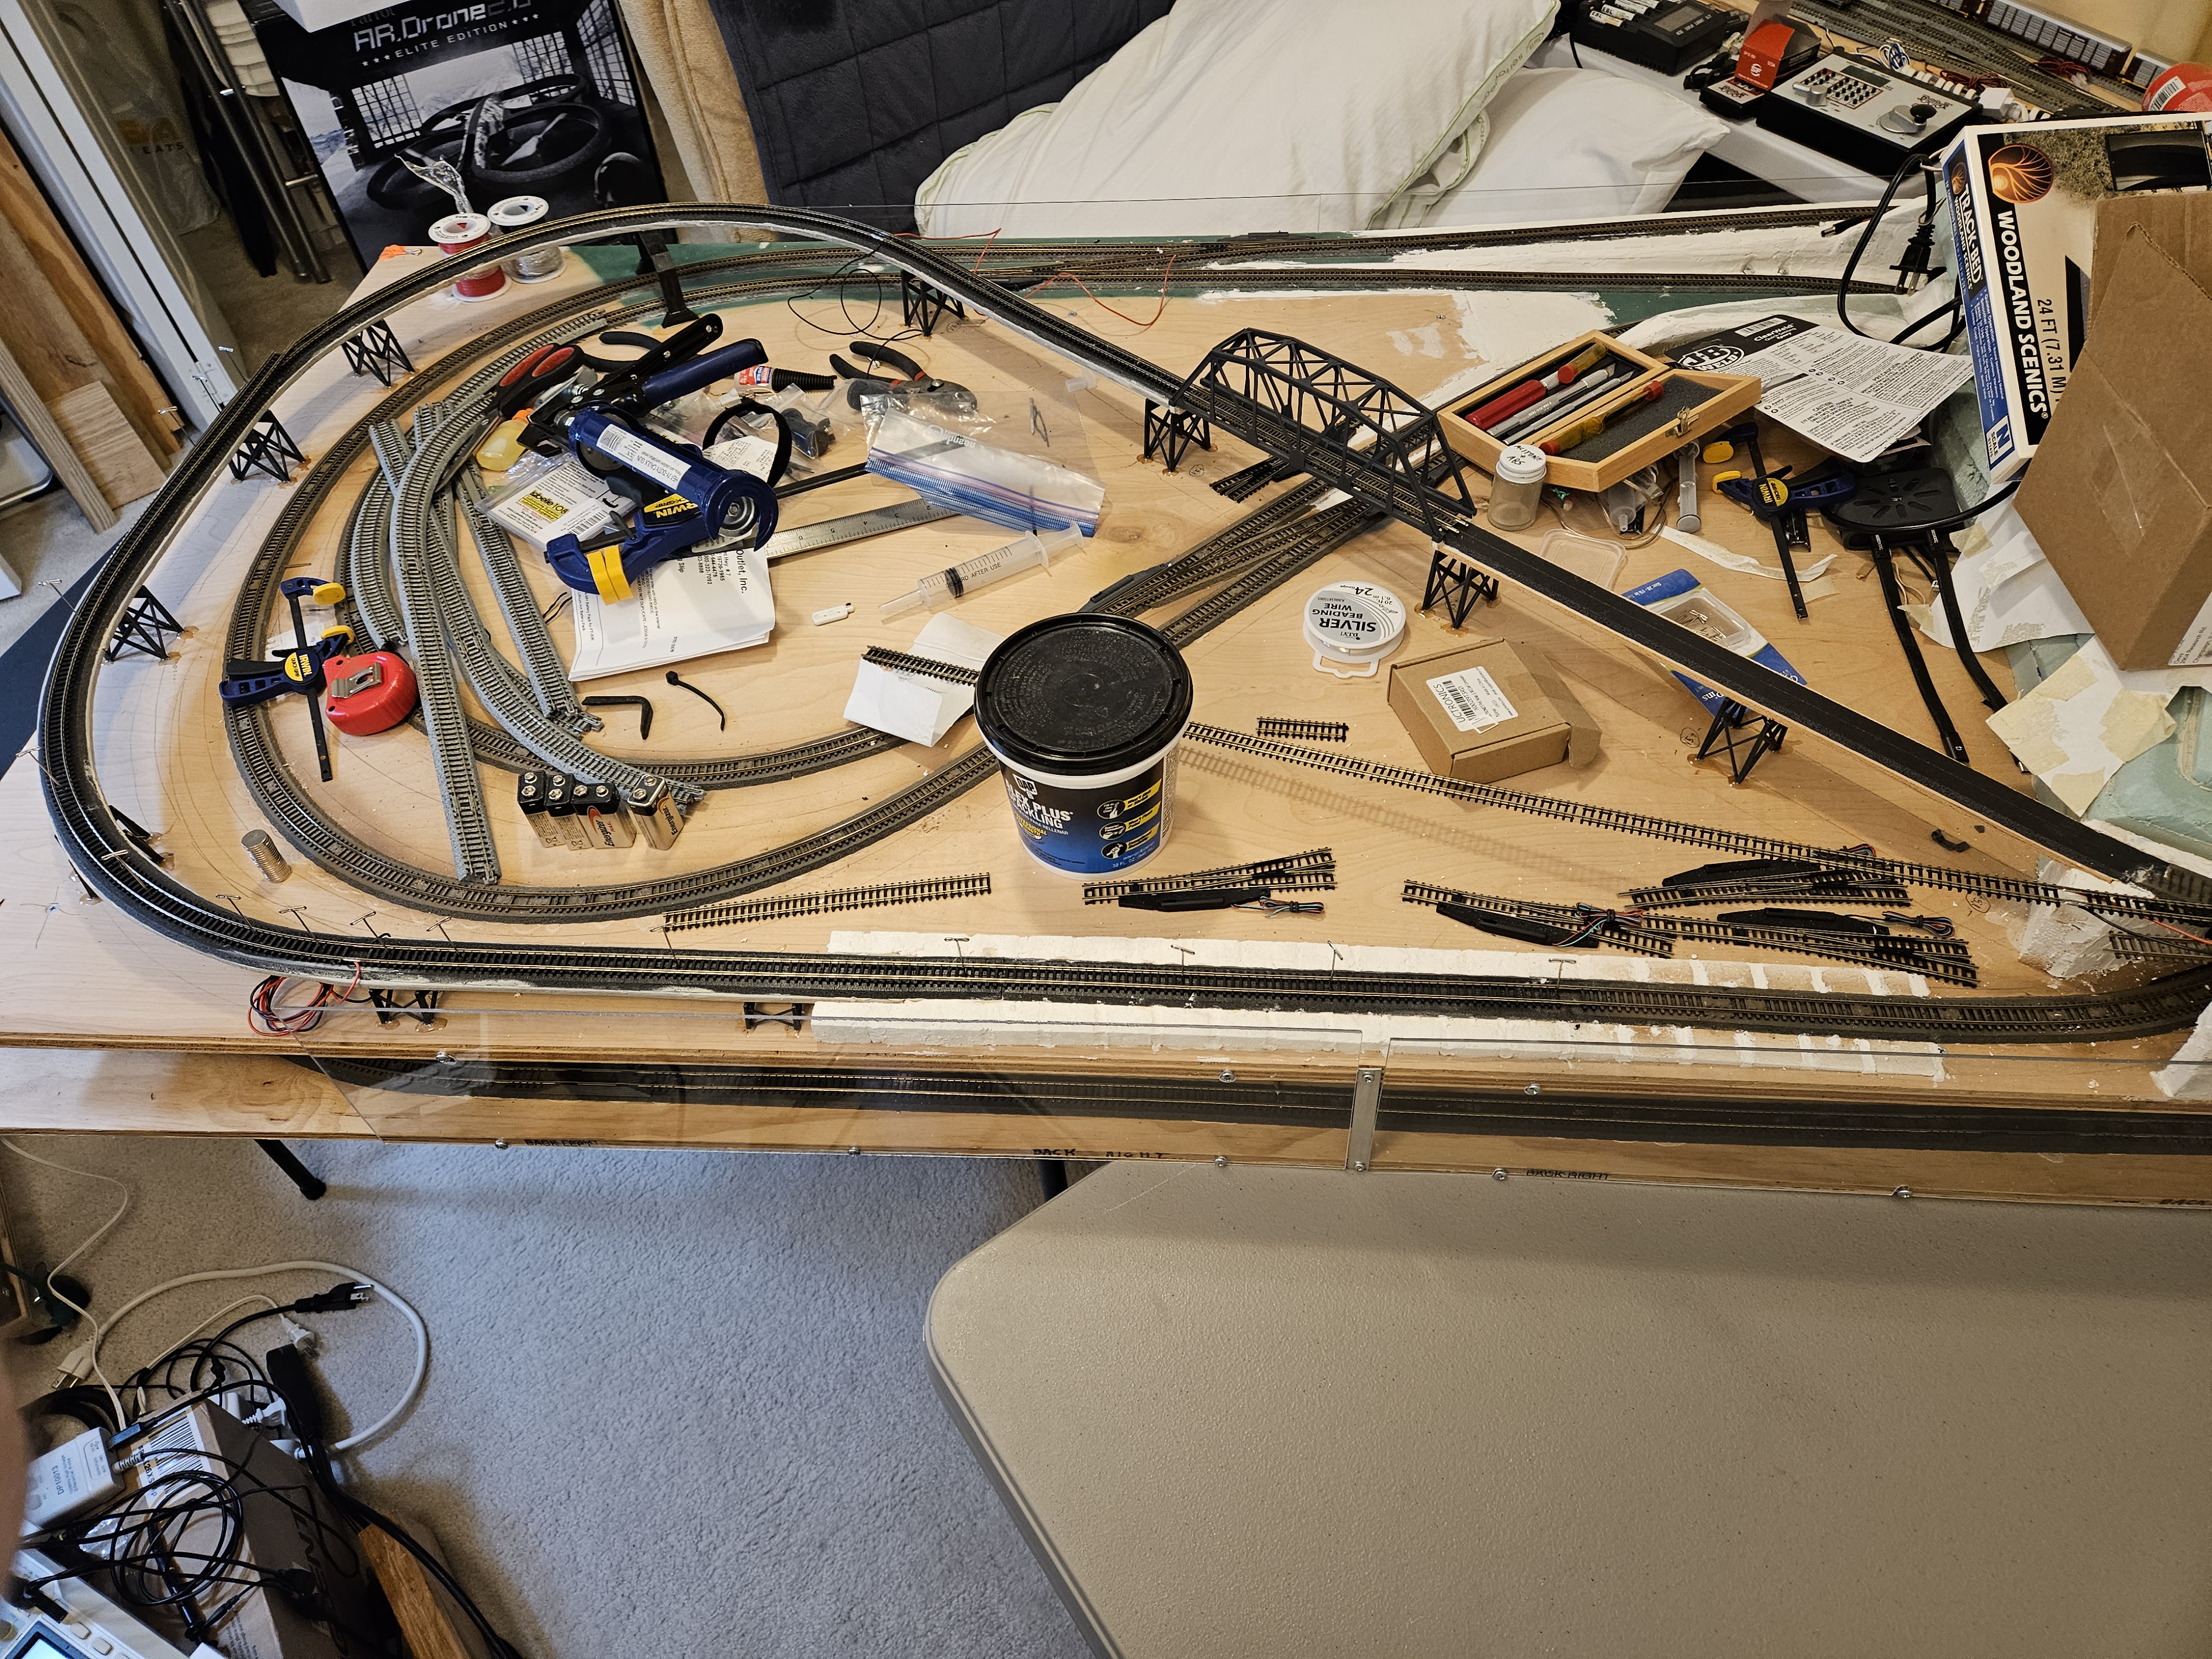
November 26, 2023
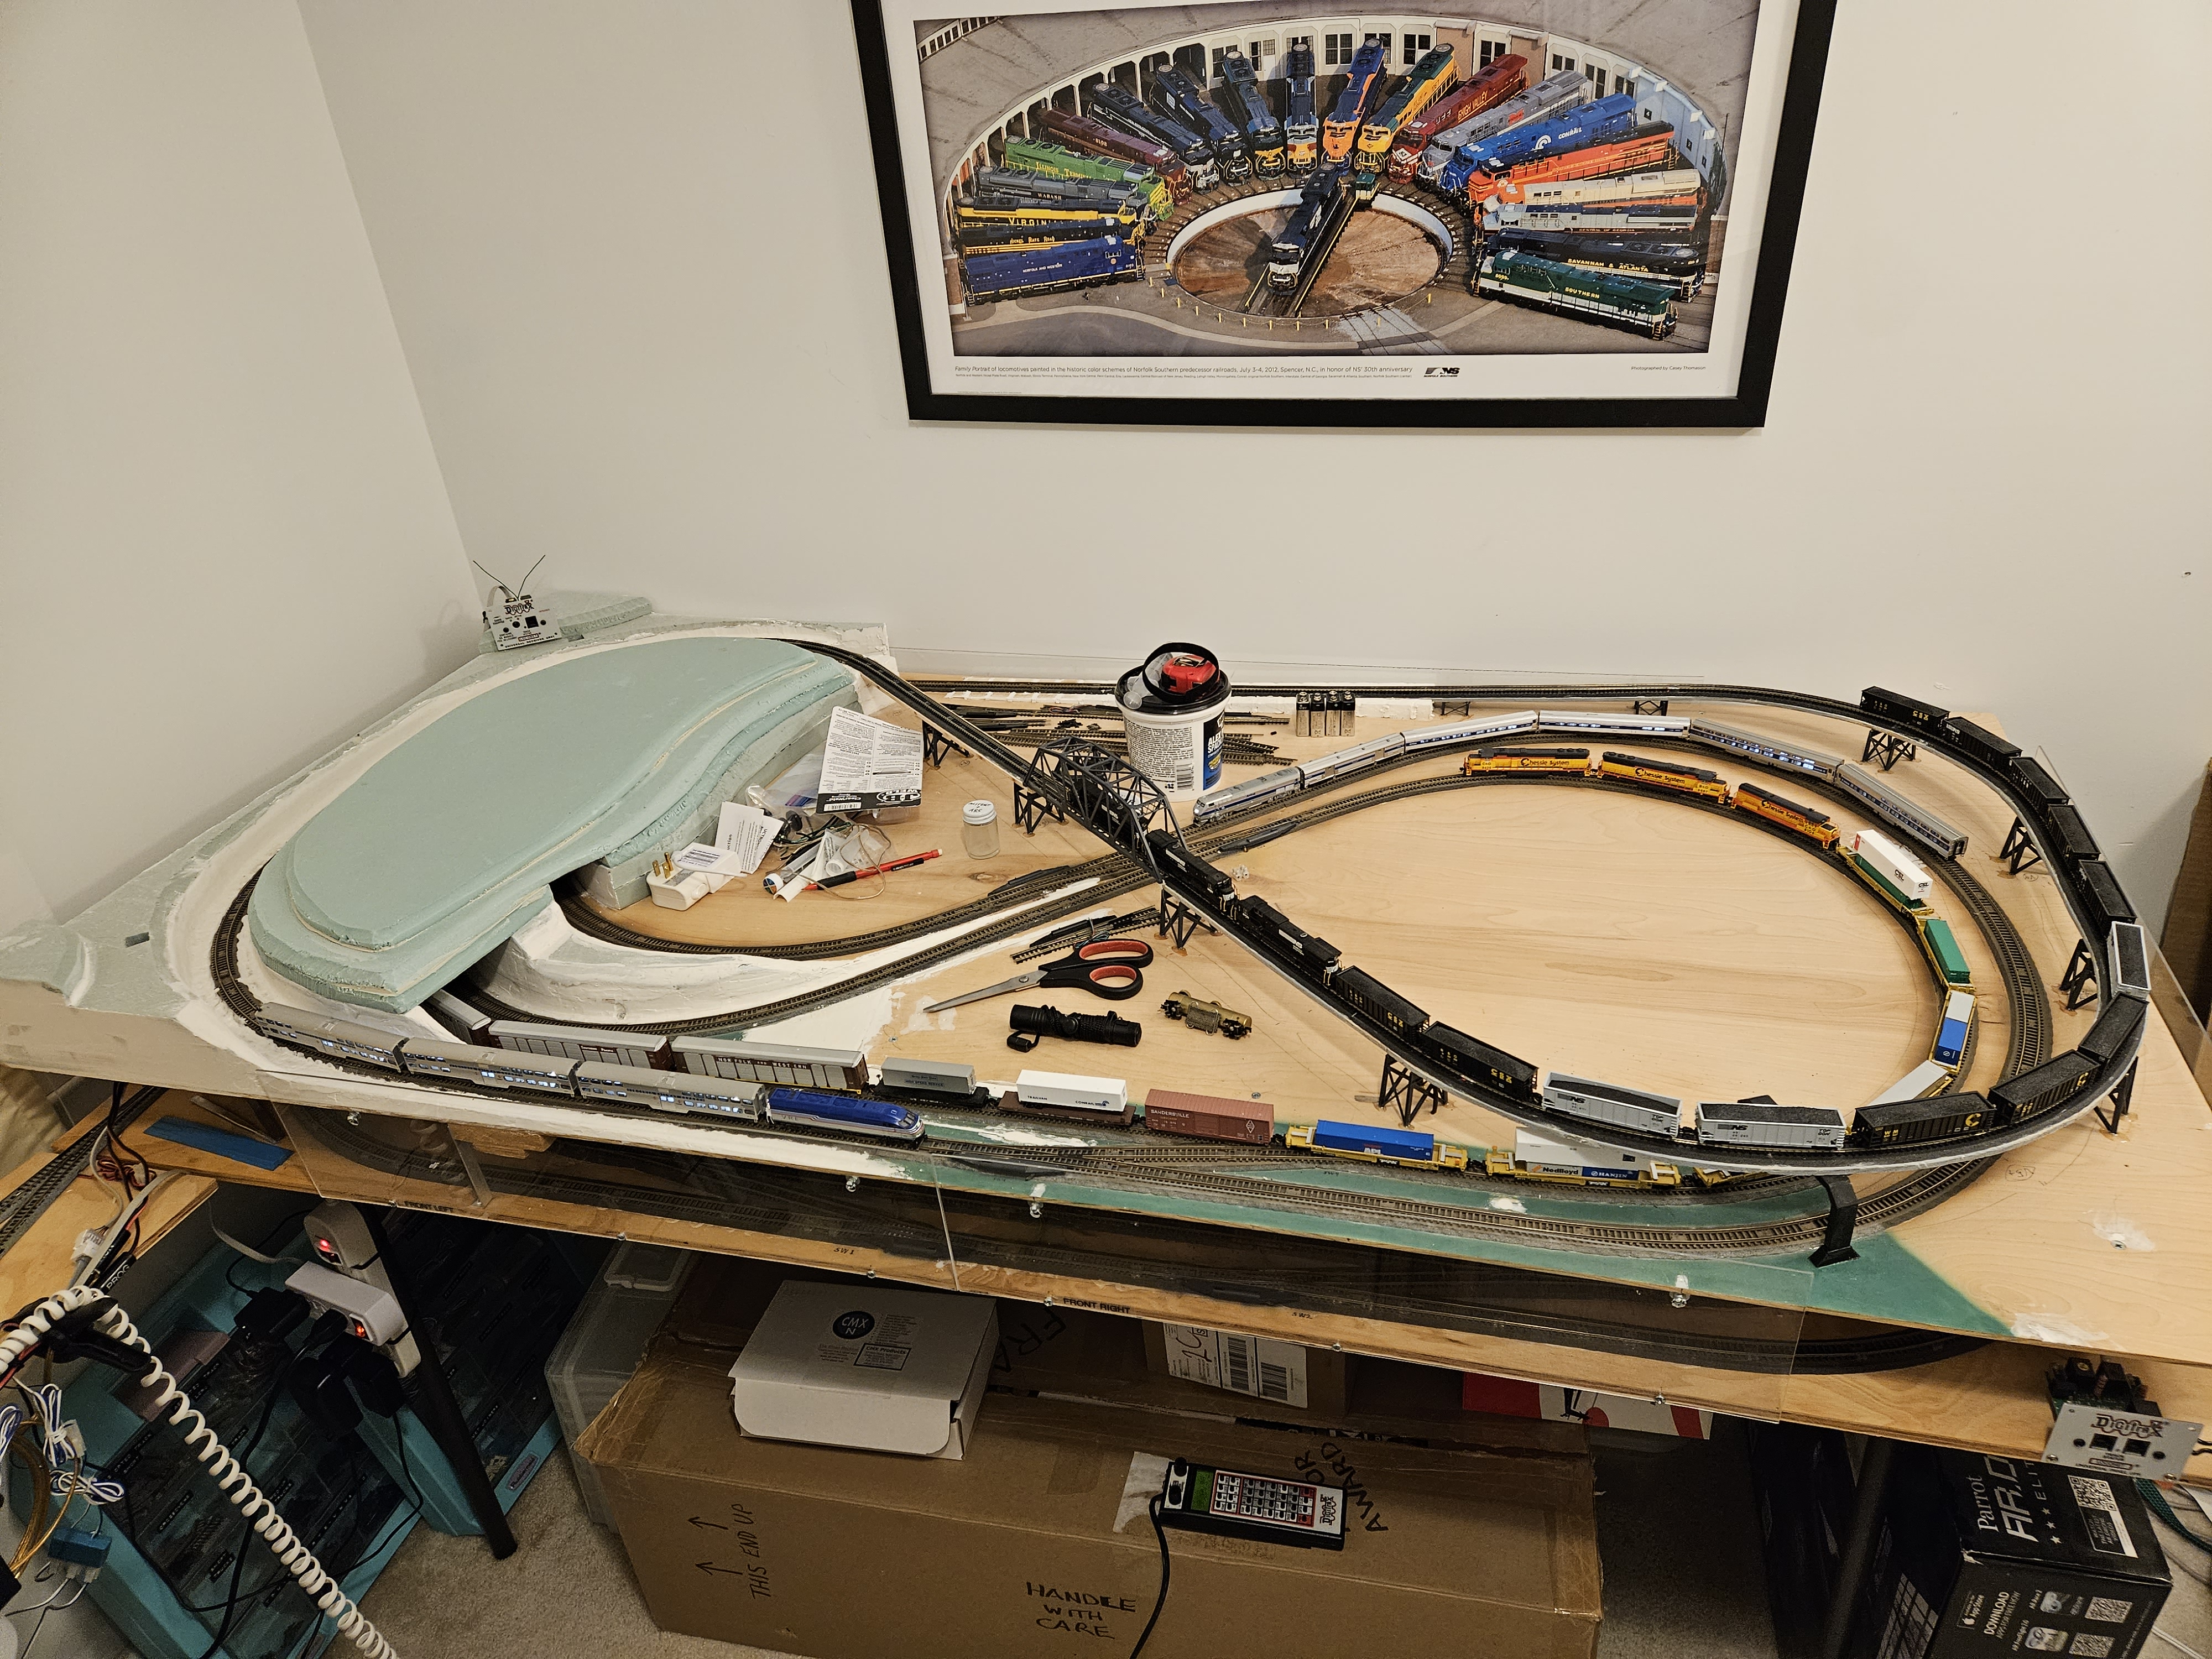
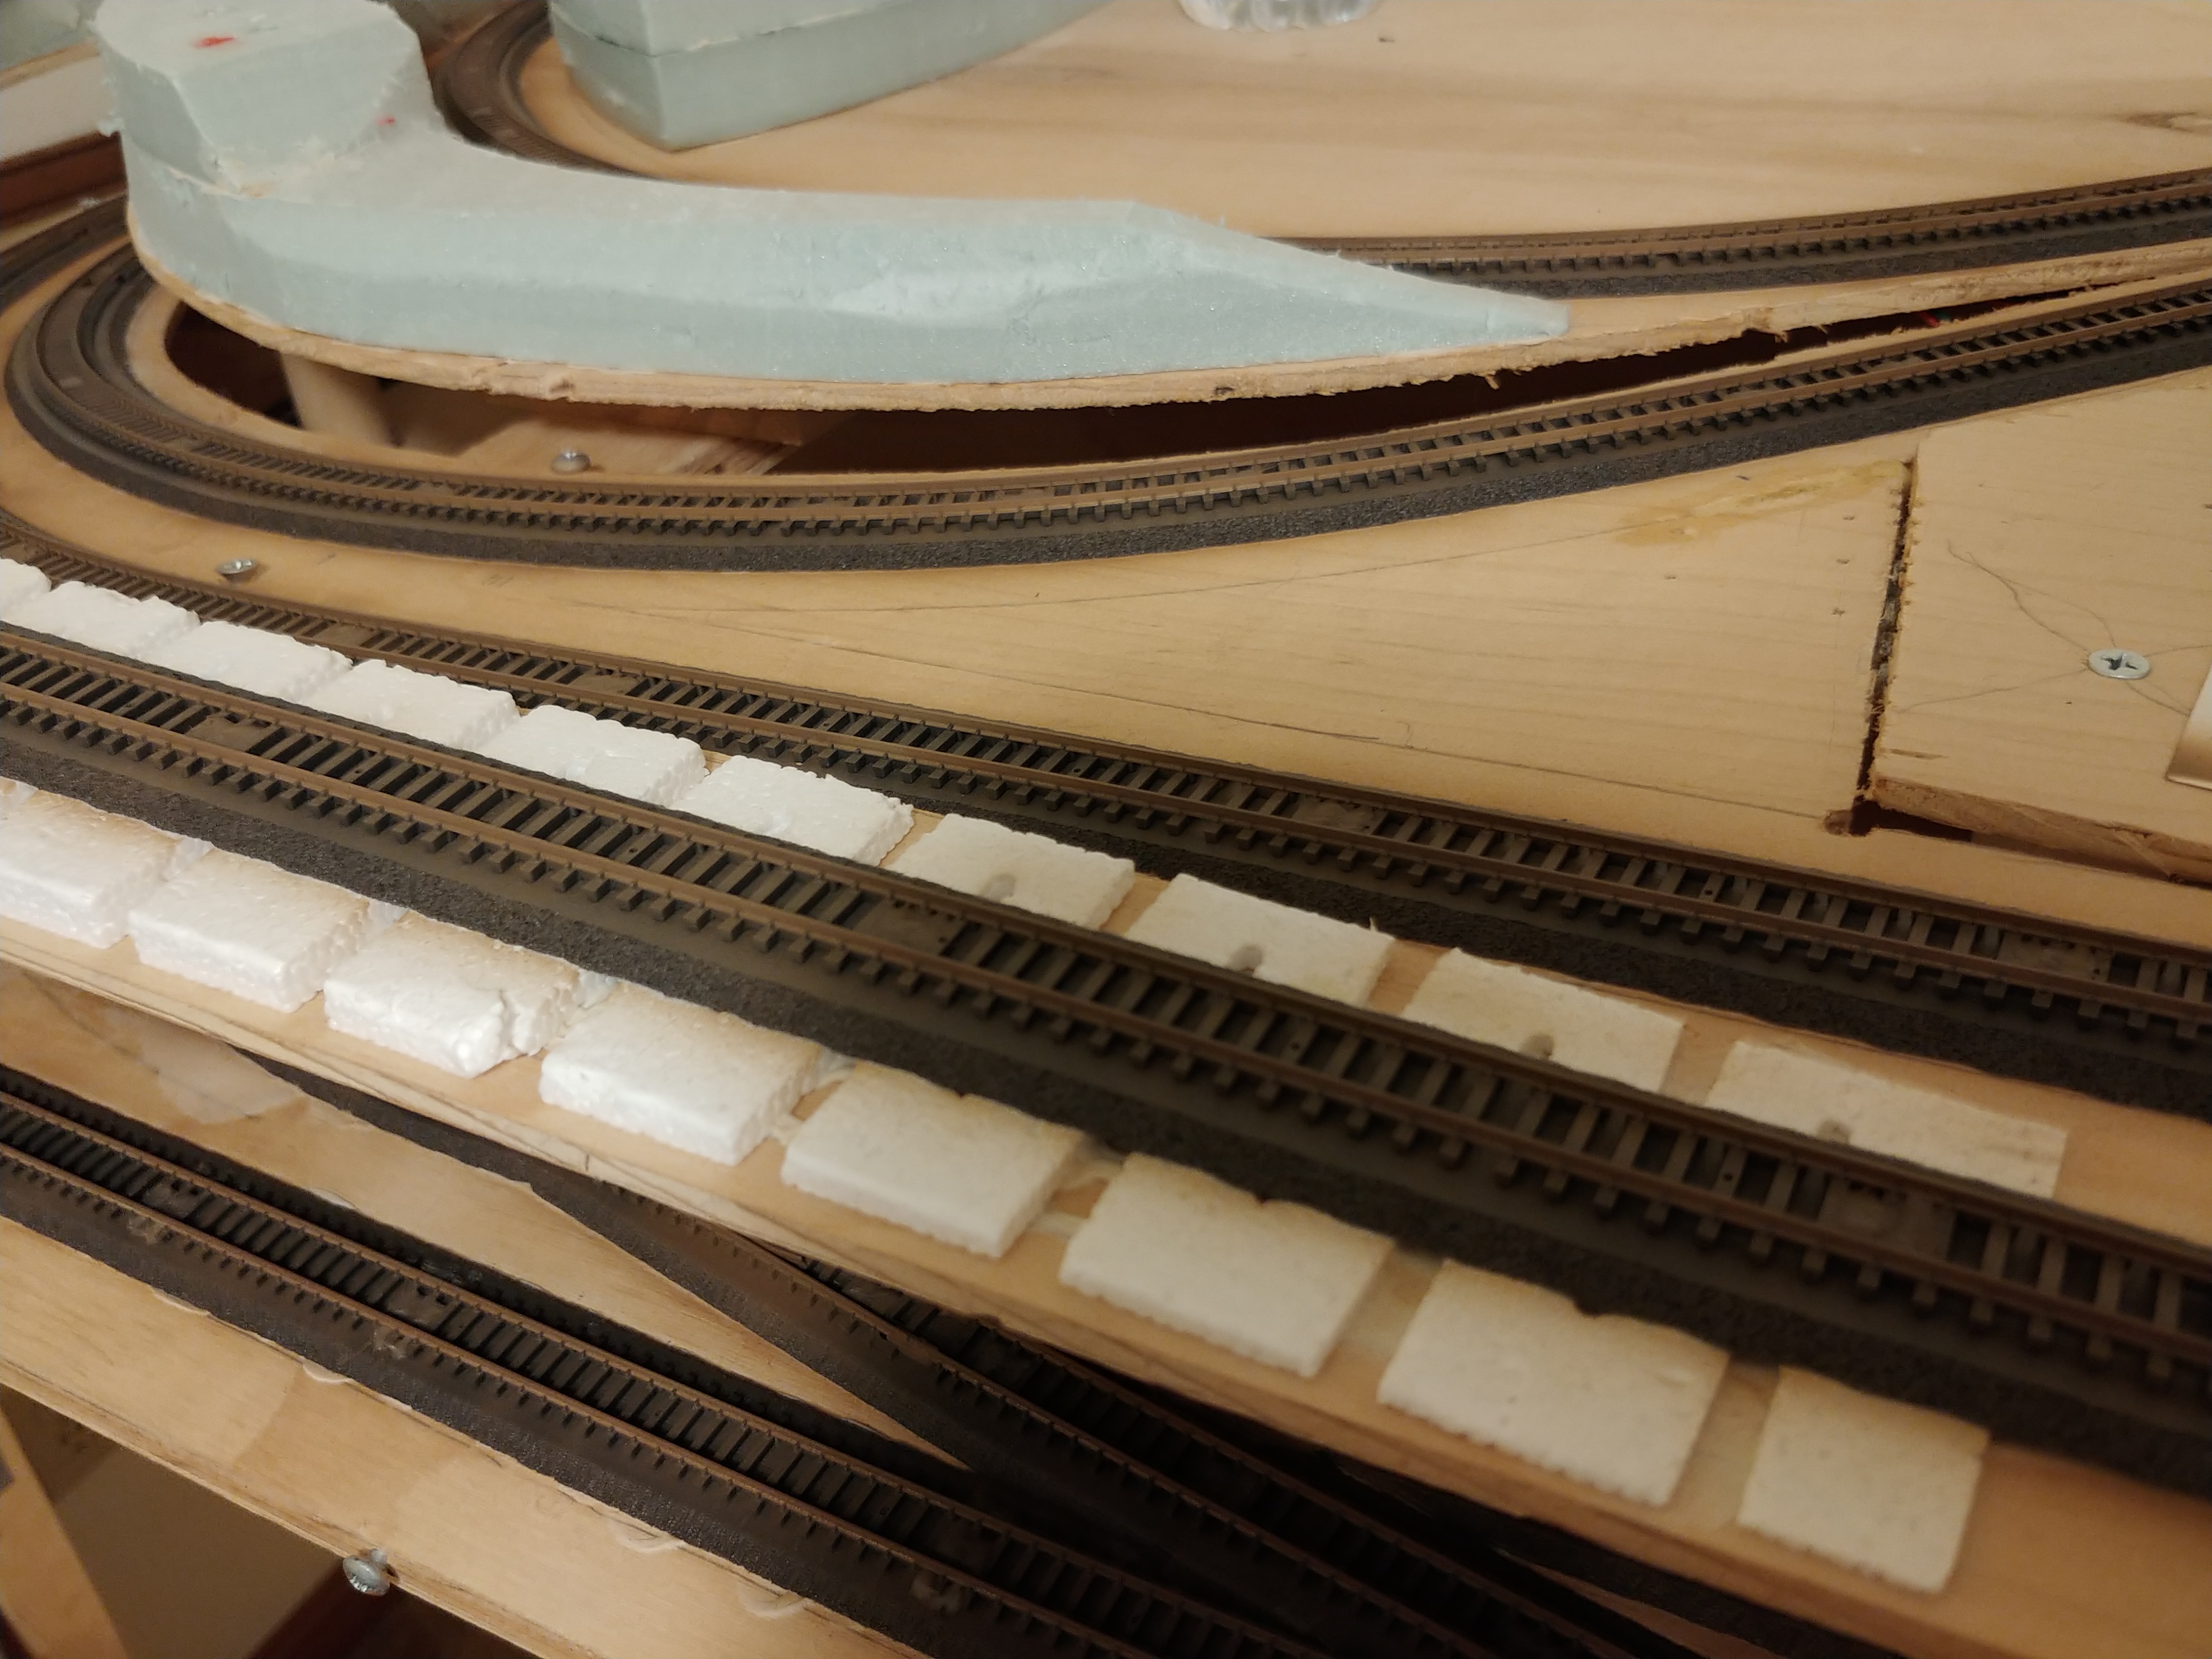
Remaining electrical feeder wires connected, slid back into position on the table
November 26, 2023
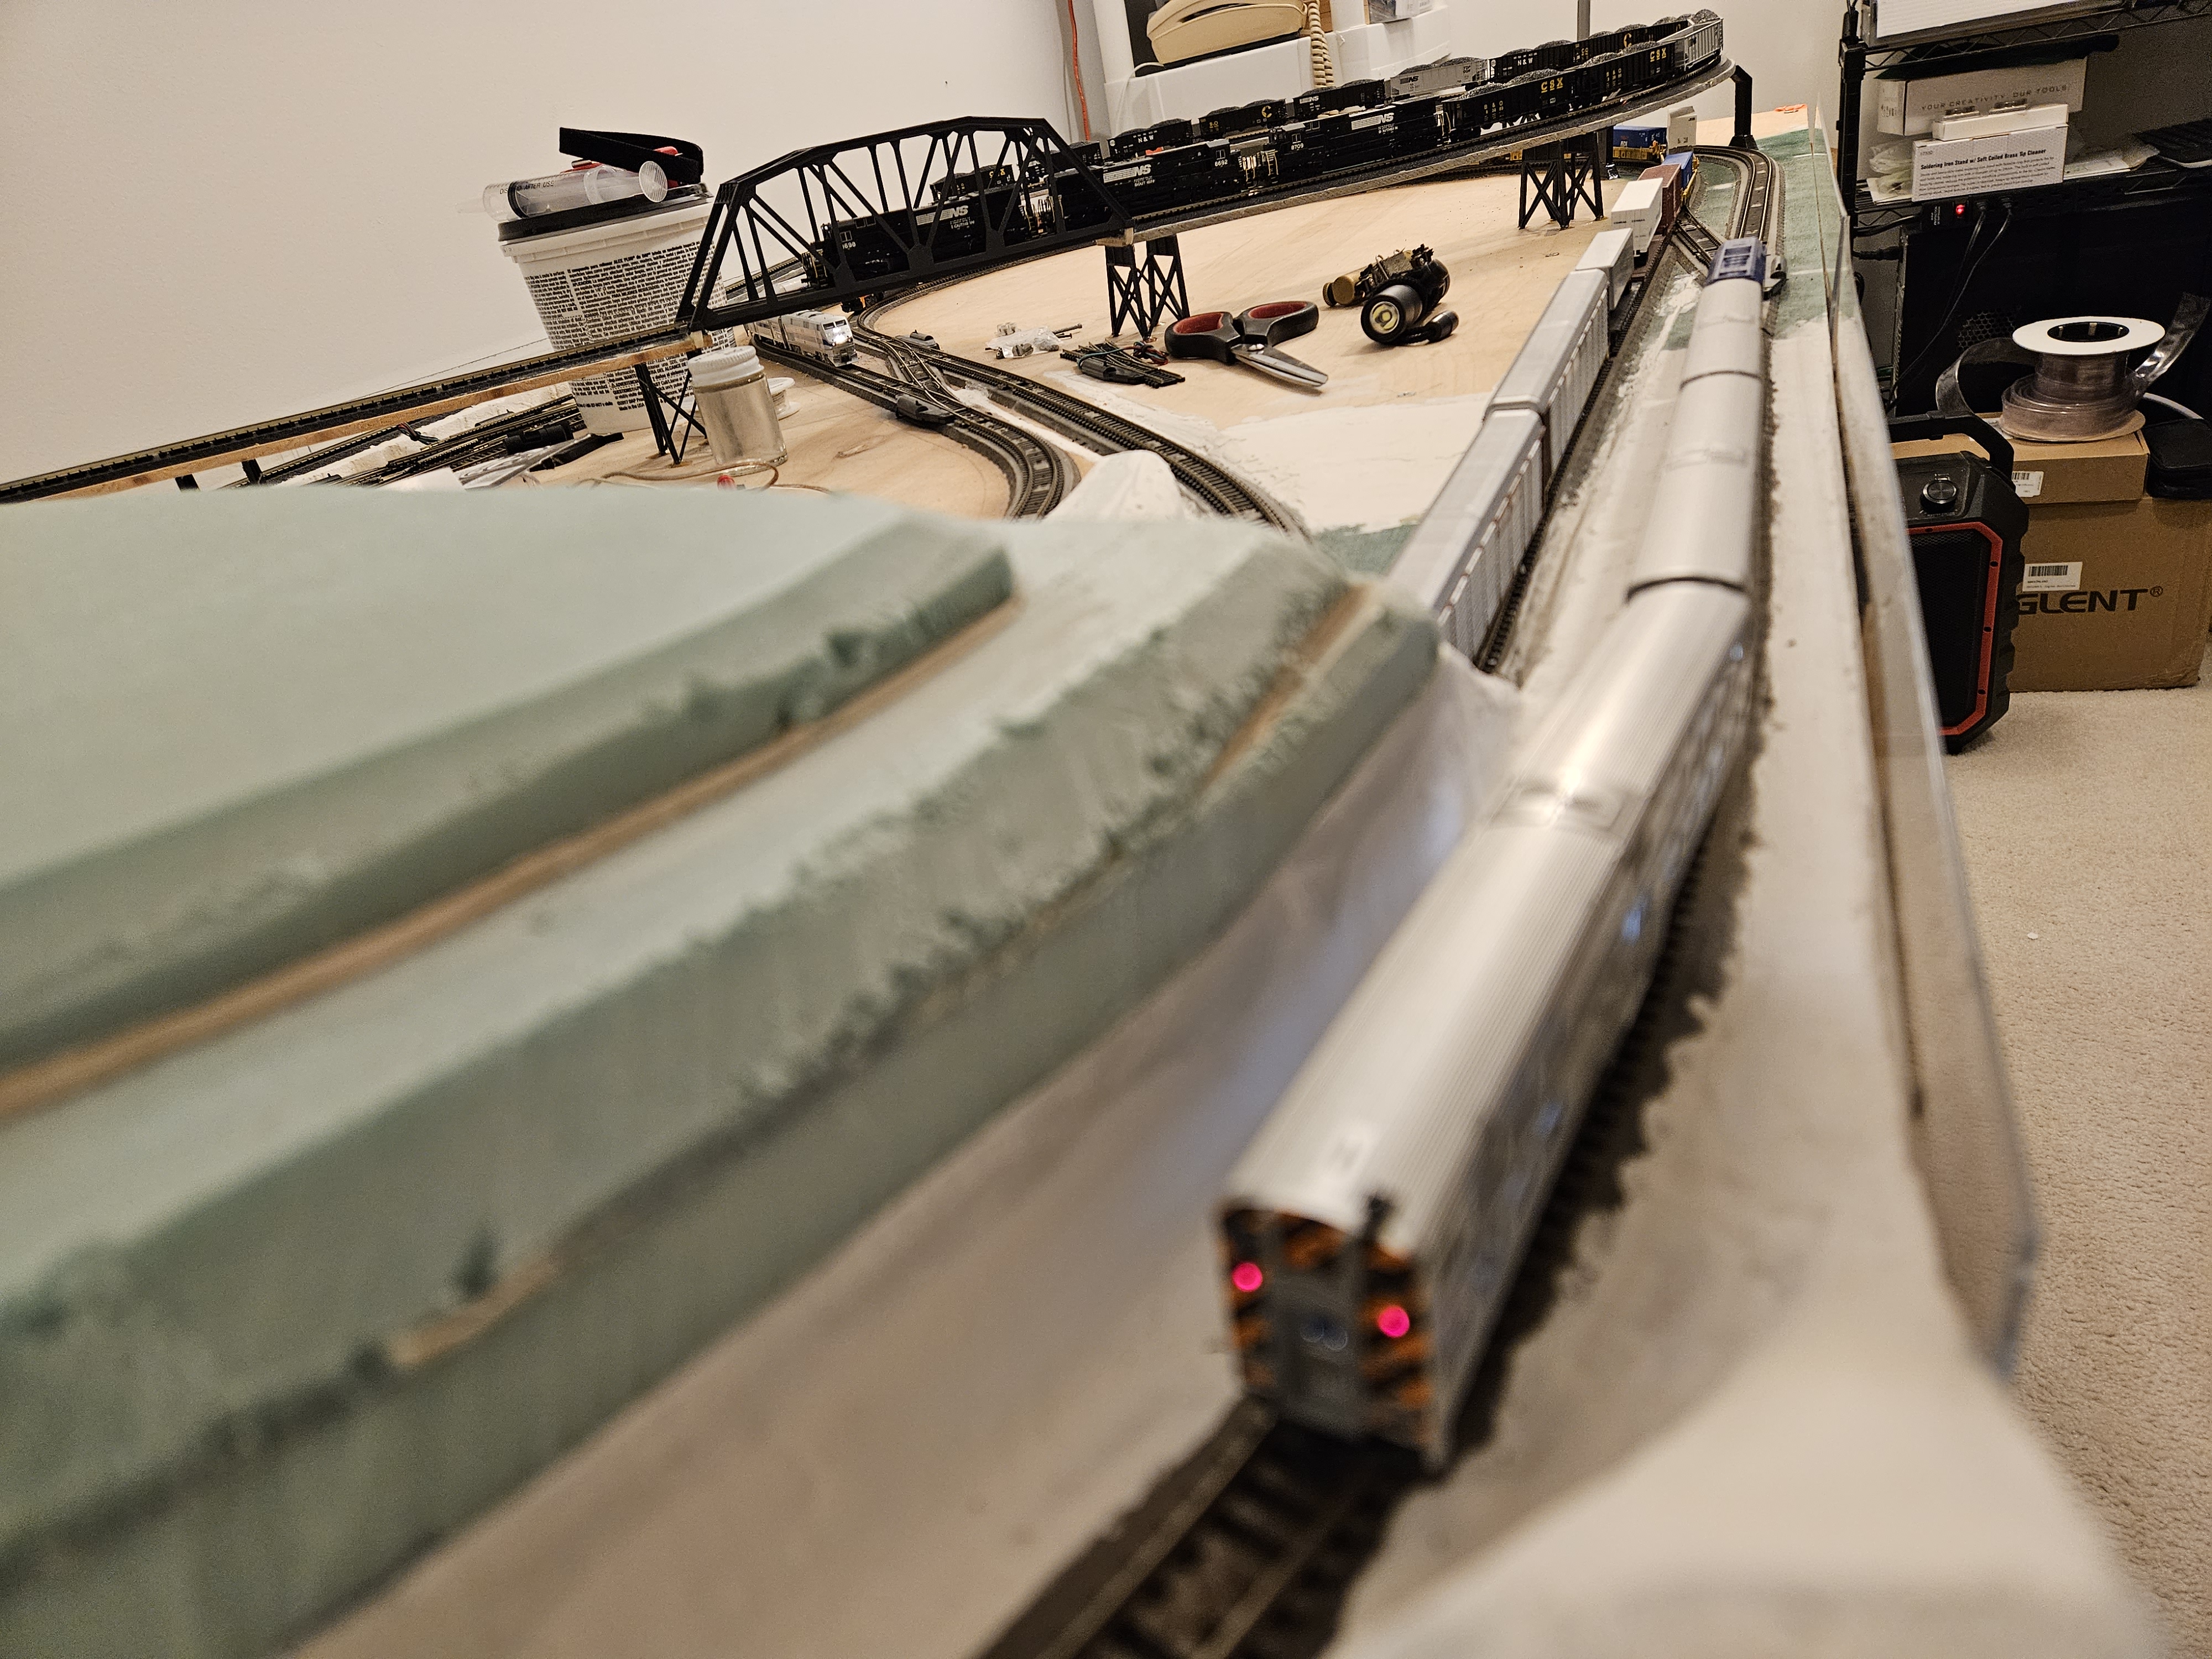
Remaining electrical feeder wires connected, slid back into position on the table
November 26, 2023
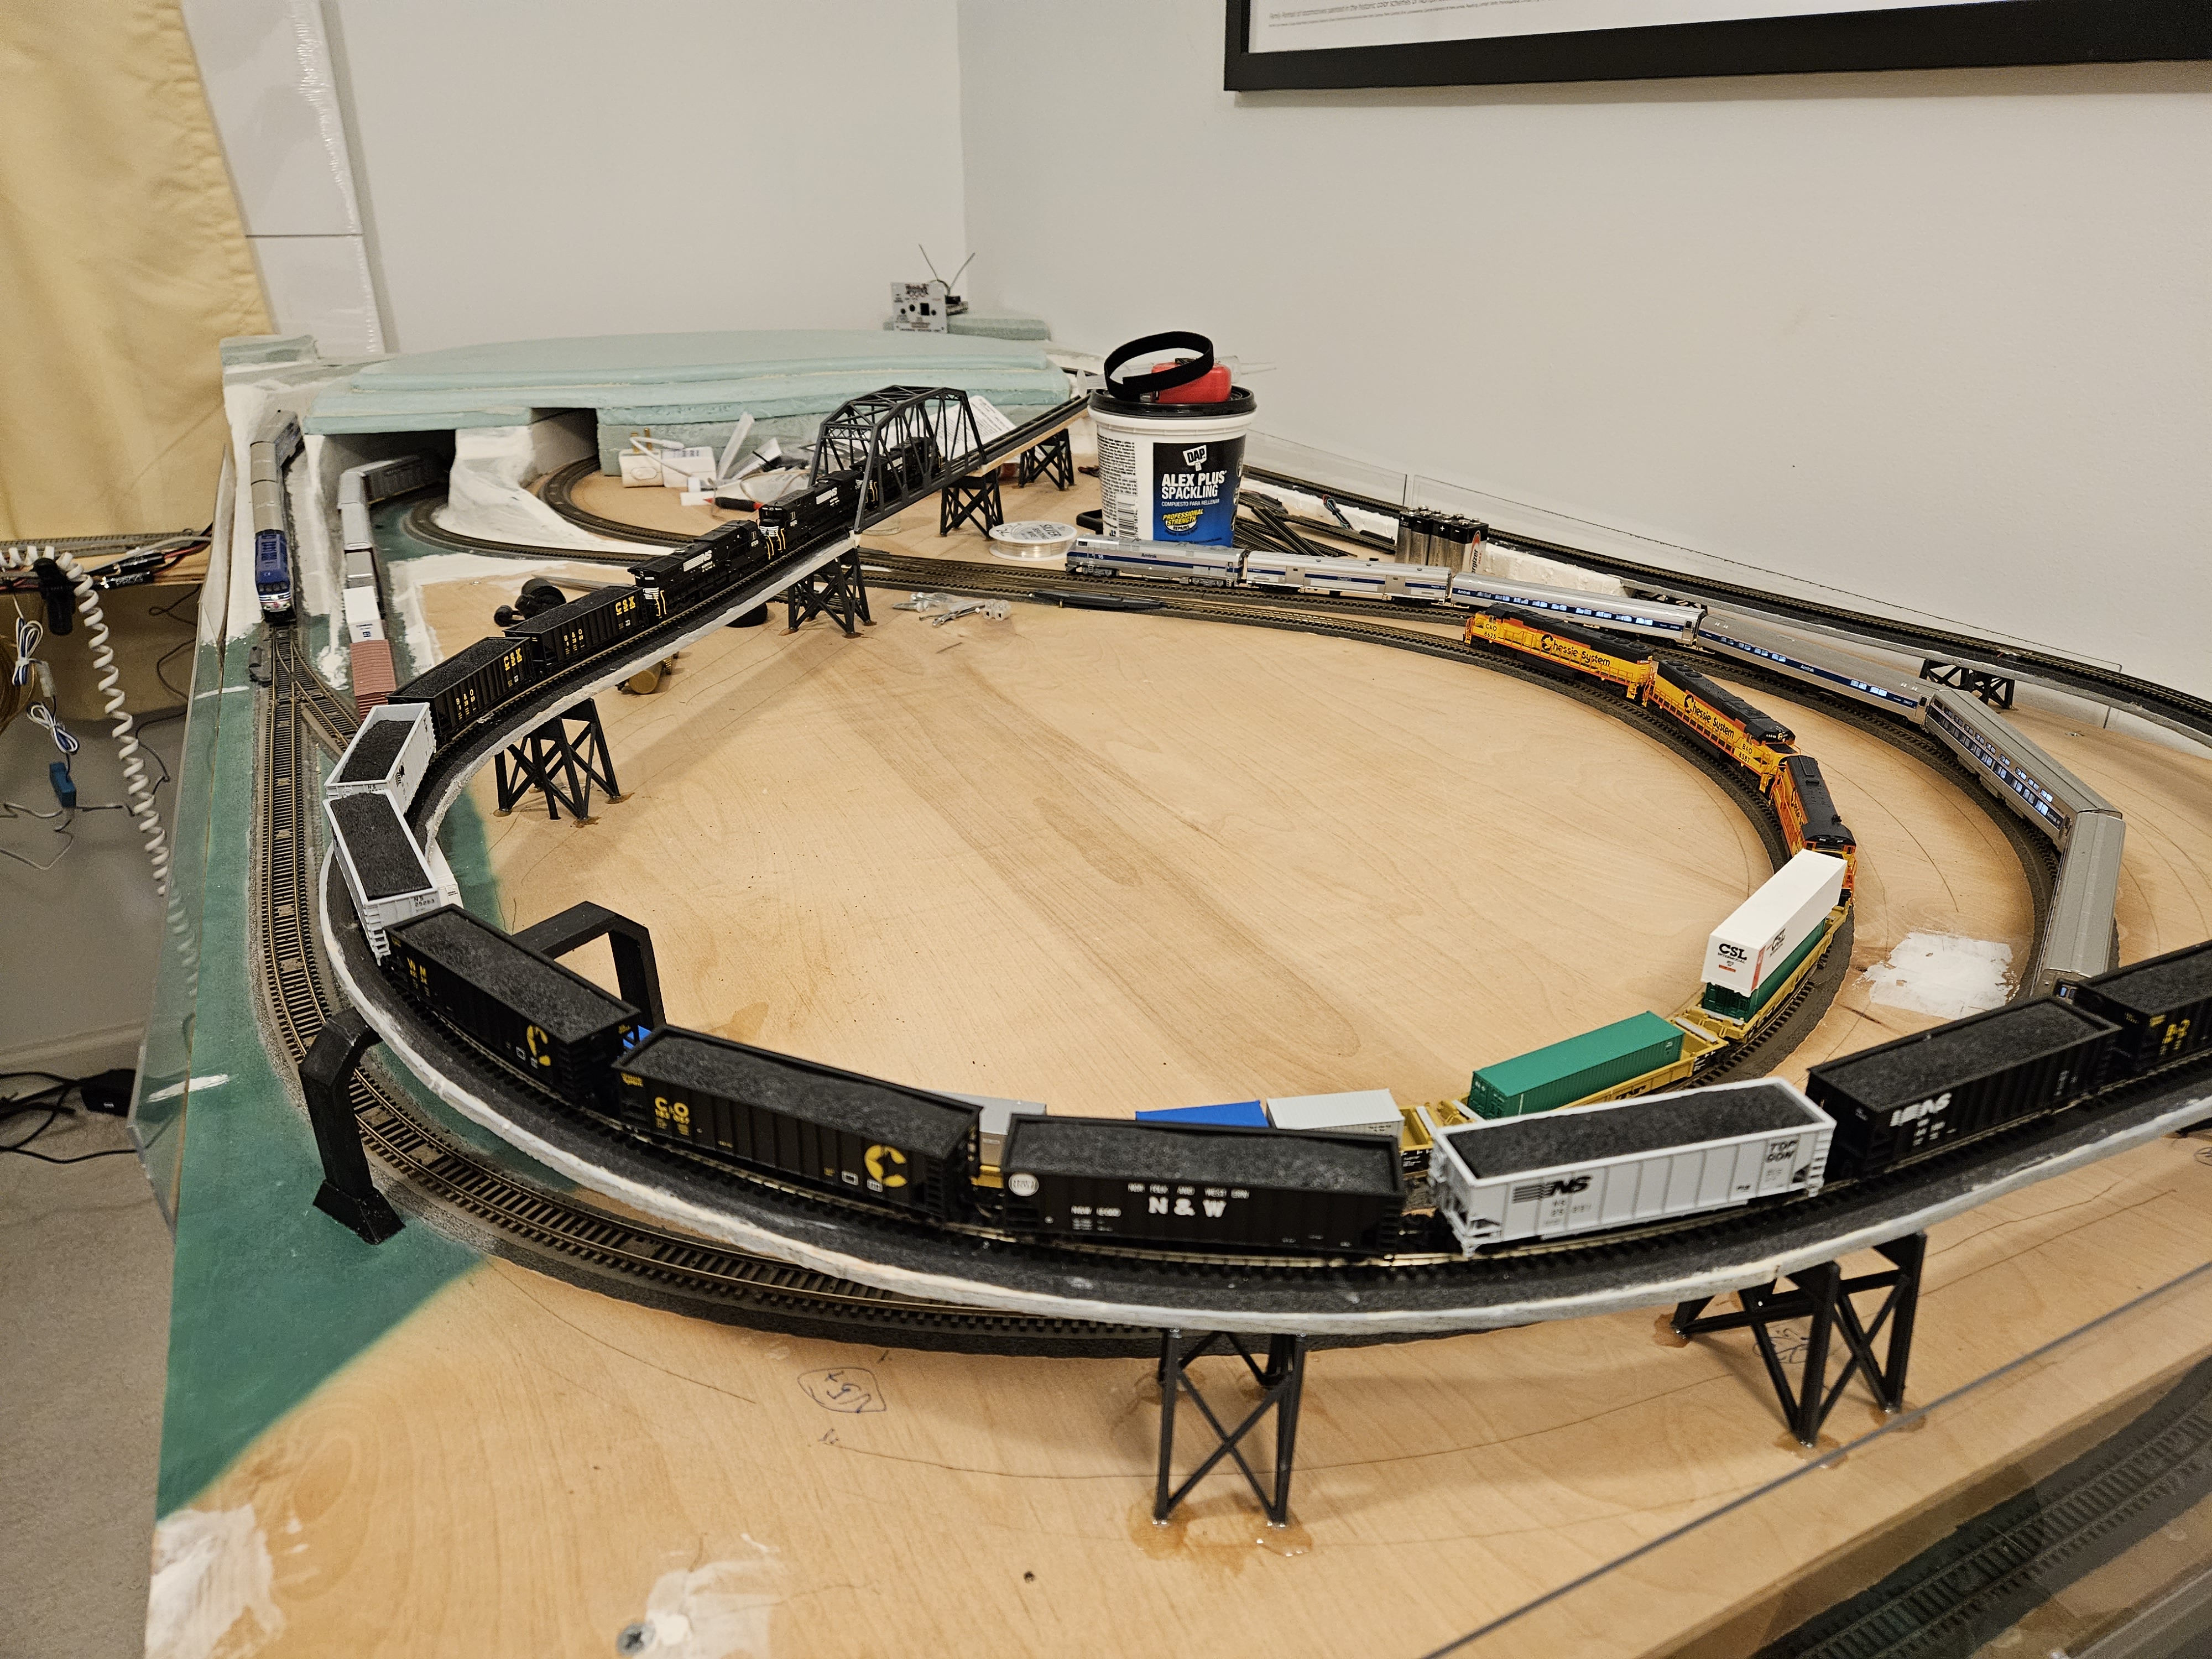
Remaining electrical feeder wires connected, slid back into position on the table
Continuing Weathering and Scenery
Placeholder for future work...