NOTE: This website is a static copy that has been archived on KK4NDE's website June 12, 2021 with the permission of G4HFQ to preserve the content before his site is shut down.
Starting the program and defining the rigs
Contents
- Index
- Previous
- Next
Starting the program and defining the rigs
The installation process creates a program group entry on the Windows Start Menu. The standard program menu name is FTBasicMMO. Click Start, then move up to Programs, then across to FTBasicMMO, then click the FTBasicMMO program entry.
If you have not yet registered the program then you will see the Reminder screens

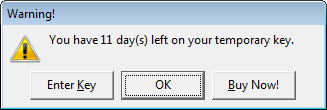
The next small screen shown is an advisory message regarding the restrictions on the program during an evaluation, together with a reminder that you need to either read the radio or load a memory image before the editing capabilities of the program are enabled. To stop this message from appearing in the future tick the checkbox Don't show this screen again and then click Close this window.

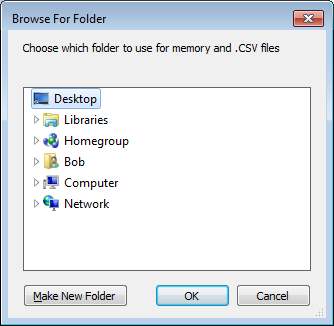
Next to appear is a folder browse window to enable you to choose which folder you want to use for storing memory files and .CSV files. Once you have chosen a folder the window will not be shown again unless you use the Settings menu command Choose a folder for memory and .CSV files. The sample memory files are installed in the same folder as the program was installed - this is usually C:\Program Files\FTBasicMMO for 32 bit operating systems or C:\Program Files (x86)\FTBasicMMO for 64 bit operating systems. If you wish to use the sample files then copy them to the folder you have chosen for storing memory and .CSV files.
The first time the program is run you will see the main screen with no rigs defined:
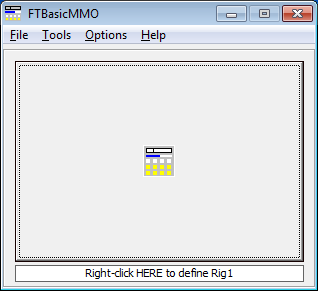
Click on the Options menu and choose the Number of rigs shown command. Click on 1, 2 or 4.
If you are unsure of which Com port your radio is connected to then use the Tools menu, 'COM port Detector' command.
Right-click on the message 'Right-click HERE to define Rig1' and choose the appropriate definition for Rigtype, Comm port and so forth.
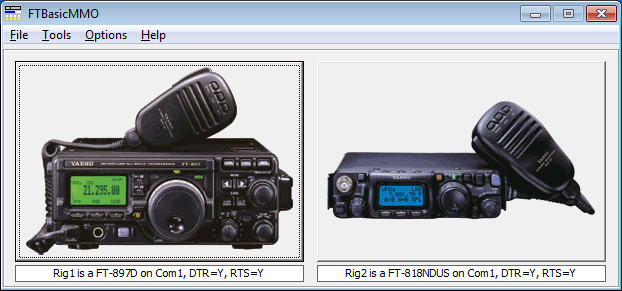
Please note that as of V1.2.6 the initial settings for RTS and DTR are Y. These are the required settings for cables that are powered from the serial port. If you are using your programming cable to also key your rig's TX function then change the setting to N for the pin that keys your transceiver. Genuine Yaesu CT-62 cables take power from the transceiver but many aftermarket cables take power from the serial port.
The FT-817 radio types need choosing with care. The ND models are different between the US and non-US models (only the US models have the 60M spot frequencies). The original FT-817 is rigtype FT817, the non-US model FT-817ND is FT-817ND, and the US model FT-817 is FT-817NDUS.
After defining rigs your screen may look more like the one below:
Modified radios
If you have changed your radio type using either software (e.g. Softjump) or a soldering iron then you may have to experiment with radio type definition to be able to read and write successfully. For example, if you have a US model FT-857D or FT-897D and have extended the VHF/UHF transmit range by removing JP1002 only then you will retain the 5MHz spot frequencies in memories M-601/5 and need to define the radio as a normal D model. Whereas if you have extended the HF transmit range and lost the 5MHz spot frequencies then you need to define the radio as a non-D model.
If you modify your radio and are then unable to read the radio despite re-defining the radio type definition please contact the author for assistance.
If you modify your radio and are then unable to write a previously created image then follow this procedure to recover your memories:
1. read the image file containing the memories you want to recover
2. export the memories to a .CSV file
3. read your radio
4. import the memories you exported in step 2
NOTE: This website is a static copy that has been archived on KK4NDE's website June 12, 2021 with the permission of G4HFQ to preserve the content before his site is shut down.