NOTE: This website is a static copy that has been archived on KK4NDE's website June 12, 2021 with the permission of G4HFQ to preserve the content before his site is shut down.
Reading the radio from an SD card
Contents
- Index
- Previous
- Next
Reading the radio from an SD card
If it is the first time the micro SD card has been used then format it using the radio as detailed on page 31 of the radio's Operating Manual.
Check that the Radio type drop-down in the top right of the window matches the DST and TYP identifiers shown on the white label on the end of your radio's packing box e.g. USA A2 or EU A2. If your radio has been modified for extended TX range then choose the TYP that has +Mod on the end e.g. EU C2+Mod.
Insert a formatted micro SD card into the radio as detailed on pages 29 and 30 of the radio's Operating Manual.
Make a backup of the radio as detailed on page 154 of the Operating Manual.
Turn the radio off and remove the micro SD card as detailed on page 30 of the Operating Manual.
Insert the micro SD card into a SD card adapter and plug it into your PC.
Depending on your PC settings an AutoPlay dialog may be shown:
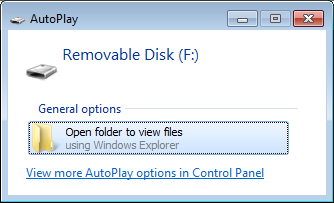
Take note of the Removable Disk drive letter that has been given to the card, then close the AutoPlay dialog.
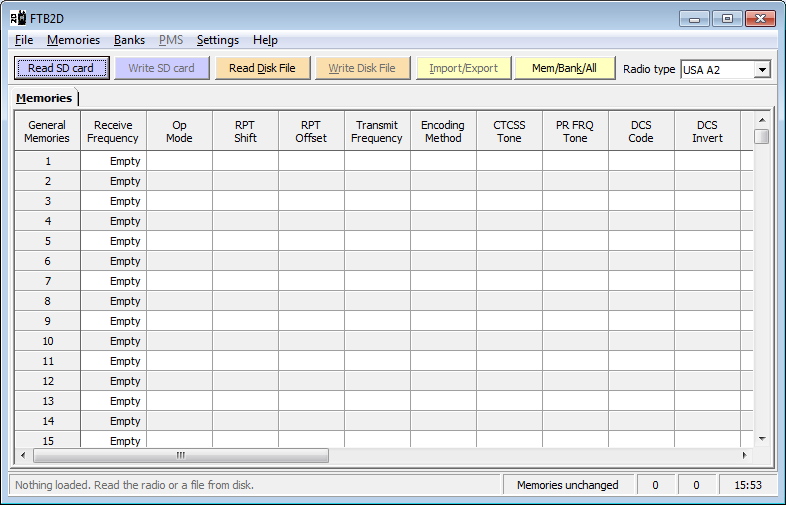
If the blue Read button at the top left of the screen shows Read Radio then open the Settings menu and click on the command 'Use an SD card instead of a programming cable'. The button should then show Read SD card and a tick should be shown to the left of the command.
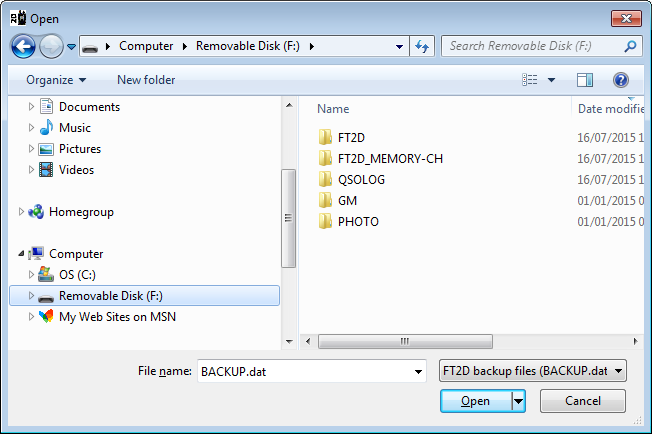
Click the blue Read SD card button. An Open dialog box is shown. In the left hand pane locate the removable disk drive for your SD card and click on it. The folders of the removable drive look like this:
In the right hand pane double-click the folder FT2D. This then shows the folders BACKUP and GPSLOG:
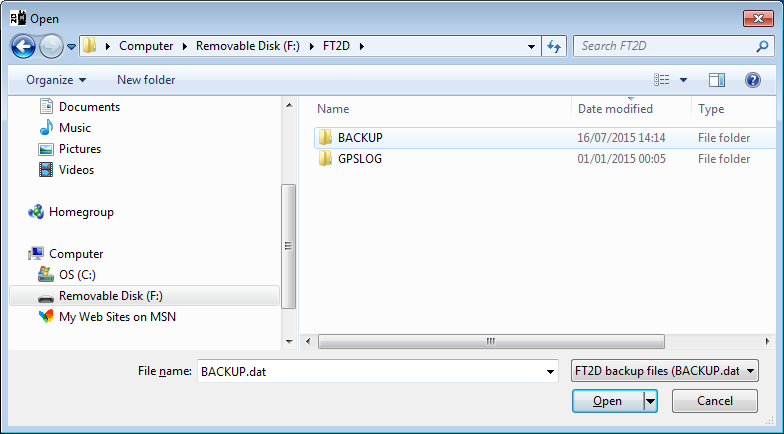
In the right hand pane double-click the folder BACKUP. This then shows the file we want - BACKUP.dat:
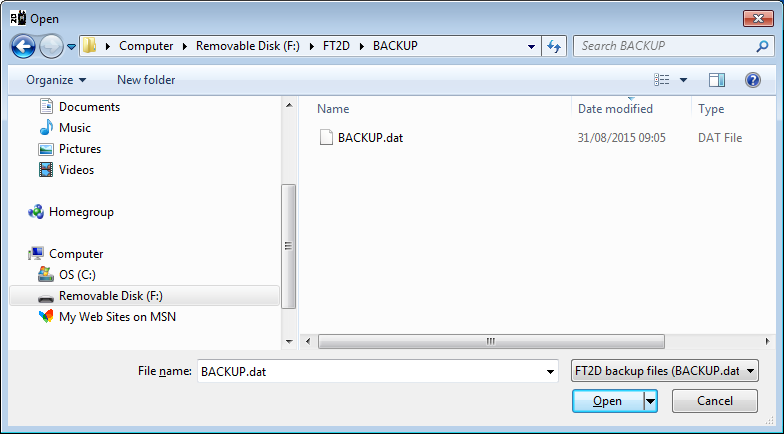
Click the Open button and the file is displayed:
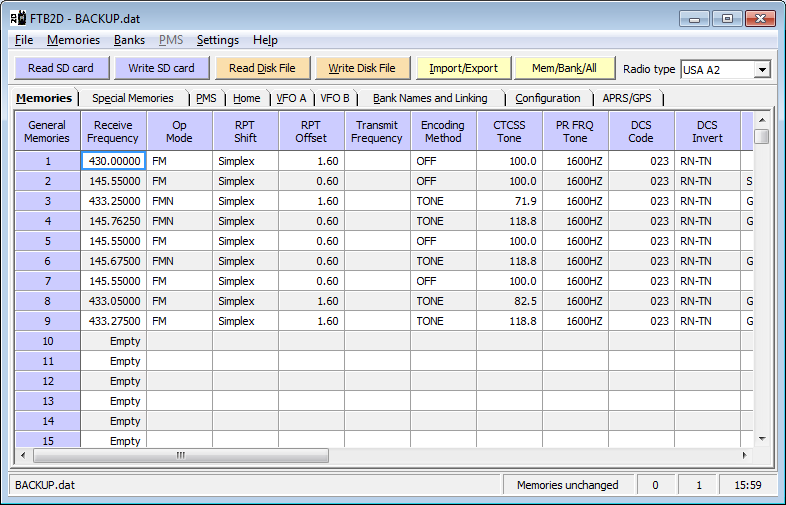
To save to disk as a .ftb2d file click the orange Write Disk File button. A Save As dialog box should be shown. If required navigate to the folder where you wish to save the file.
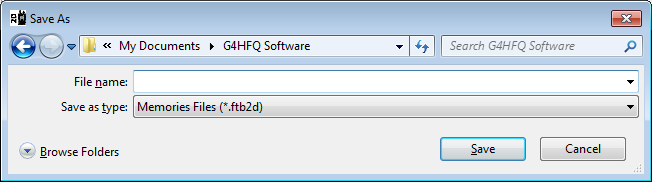
Assign a file name and save in the normal Windows manner.
NOTE: This website is a static copy that has been archived on KK4NDE's website June 12, 2021 with the permission of G4HFQ to preserve the content before his site is shut down.